Have you ever been to a beauty shop and smelled the aroma of absolutely gorgeous hand-made soap and thought to yourself, “I wish I could do something like this”? Well, the good news is that you can, with the right tools, know-how and imagination.
So why should you make your own soap? Not only is it fun and exciting, but you get to put exactly what you want in it, design it how you like and choose the colors and fragrance as well. Some store-bought soaps can be full of chemicals that can be harmful to the skin, but if you make your own you know exactly what is in it.
What is the melt and pour process? The melt and pour process is exactly how it sounds. You use ready-made blocks of soap that are uncolored and unscented and you melt the soap blocks. Then you add your own colors, fragrances and/or other additives, pour it in a mold and wait until it’s set. Melt and pour soap bases are available from online soap suppliers or craft stores. One of the advantages of using the melt and pour process to make soap is that you don’t have to deal with potentially dangerous lye.
The equipment you will need will depend entirely on the soap that you are creating. You’ll need either a double boiler or sturdy heat resistant microwave bowl or jug to melt the soap in and a base or mold for the shape of the soap. Also, a couple of whisks or spoons and a set of measuring spoons for additives. These are the basic tools you’ll need and then you can add absolutely anything you want from there on.
Before you start, it is good to bear in mind that the soap can be extremely hot when it has been melted, so it is best to be very careful. If you’re using the microwave, make sure you wear protective gloves and use a sturdy potholder to take out the microwave bowl or jug containing the hot melted soap. It’s also a good idea to wear gloves if you’re melting it in a double boiler, in case you accidentally splash. And make sure you’re not disturbed by children or pets.
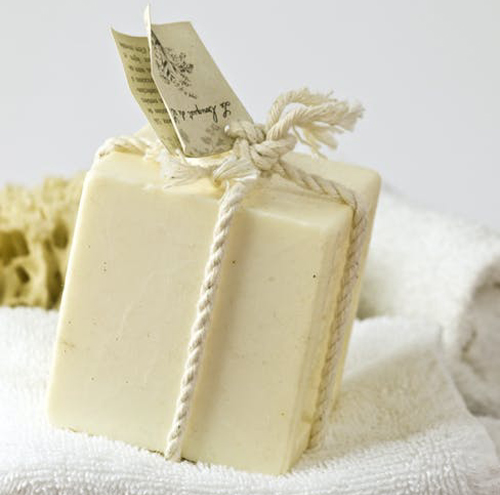
Now let’s try out a basic melt and pour soap recipe called Heavenly Vanilla.
In order to make this you’re going to need the following equipment:
* Clean cutting board
* Double boiler or sturdy heat resistant microwave bowl or jug, eg Pyrex
* Scales (to measure soap)
* 4 oz or 113 grams of good quality white melt and pour soap base
* Vanilla fragrance suitable for soap making
* Clean metal whisk or spoon
* Clean measuring spoons
* Clean 3-4 oz basic soap mold
* Rubbing alcohol in spray bottle
* Protective gloves
* Safety goggles
* Protective clothes
* Protective shoes
Now you have everything you need, so let’s move on to the exciting part, making your own soap!
After you’ve put on the safety goggles, protective gloves, clothes and shoes, you can first measure the fragrance and set it aside. Start off using 0.25 ounce of fragrance per pound of soap; you can make it stronger or weaker from there. So for this recipe you would use 1.9 ml or 0.06 oz or 1/4 +1/8 US teaspoons of fragrance.
Next, weigh the soap base and melt 4 oz in either a double boiler or in the microwave. If melting it in the microwave, cover the container with Saran wrap to stop the soap from drying out. Melt the soap in one minute increments in the microwave. Stir after every minute while being careful of the hot soap base.
Once it’s totally melted, it’s time to add the vanilla fragrance that you’ve already measured and set aside. Add it slowly and stir carefully and gently. If you get bubbles at this stage it means you’ve stirred it too hard.
Now you’re ready to pour it into the mold. Pour it very slowly and gently. Avoid splashing. If you get bubbles pouring it into the mold, spritz the surface of the soap in the mold lightly with rubbing alcohol.
Now put the mold in a safe place and leave it for a few hours. If you’re in a hurry, you can put it in the refrigerator (not the freezer) for about an hour until it’s set.
Once the soap is set (hardened), it’s time to unmold it. Unmolding soap is just like unmolding a cake from a cake tin. Gently tap the mold then see if the soap pops out. If it doesn’t it may need a further tap. If the soap is really stubborn, trying running some warm water over the bottom of the mold.
You can now use your Heavenly Vanilla soap right away!
Making soap can be good fun and the satisfaction that comes afterwards is great. So why not make your own soap today?
The Author:
Jennifer Christine is a Super Soap Making Enthusiast!