If you are looking for an inexpensive craft project that utilizes all of your left-over crafting supplies, you will want to try out this easy bookmark idea. You can make several of them at a time to keep for yourself or to give as gifts.
This project would be suitable for ages 5 and up with some adult supervision.
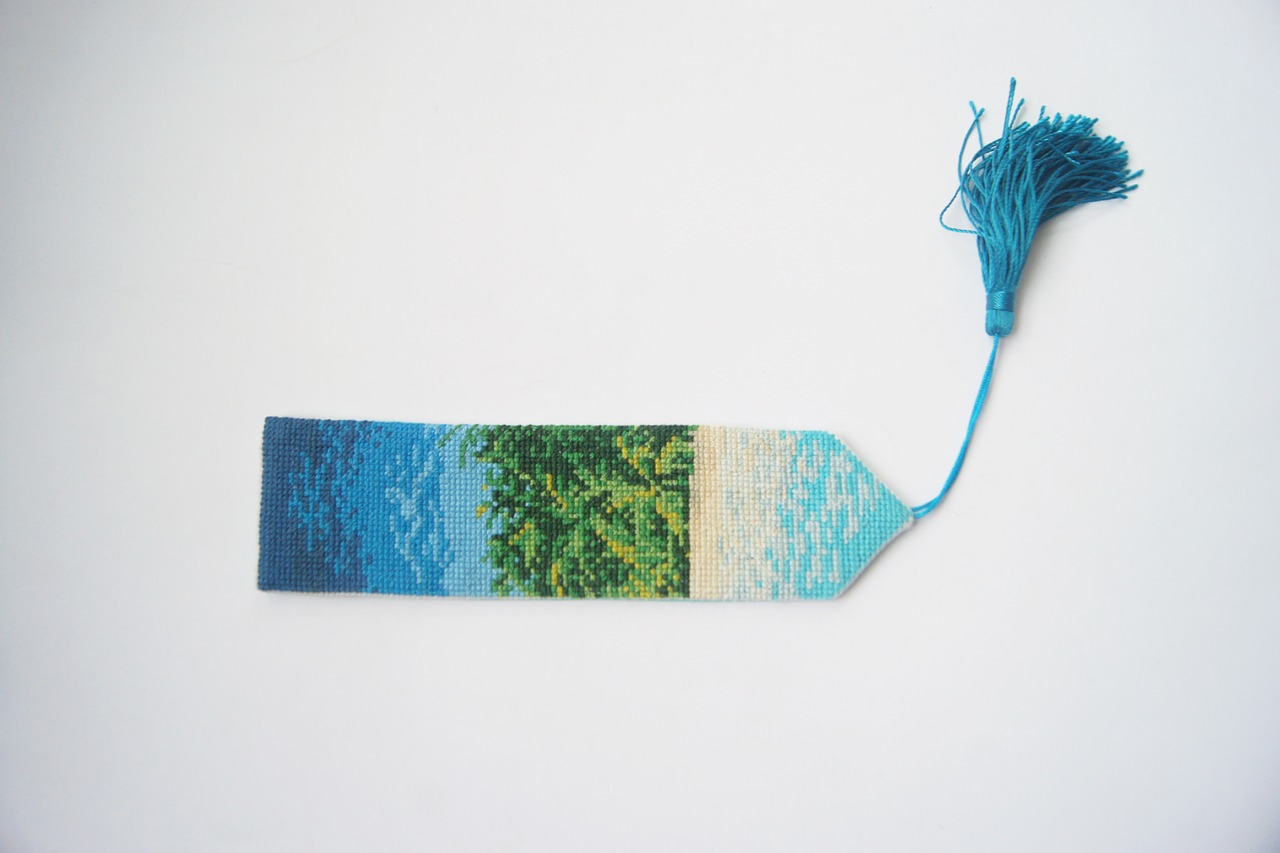
Scrap Happy Crafty Bookmarks
Here are the supplies that you will need:
* bookmark cardboard template measuring 7″ by 1 1/2″
* cardboard shirt gift box
* scraps of scrapbooking paper
* glue stick
* 5″ piece of furry yarn for tassel
* ruler
* hole punch
* scissors
Embellishments to decorate your bookmarks: stickers, markers, rubber stamps, ink pads, rick rack trims, brads, eyelets, charms, puzzle pieces, yarn, etc.
Cut off the flaps from your cardboard gift box. Use a pencil and trace around your template on the wrong side of the cardboard box. Cut out your bookmarks using scissors. Use the hole punch to punch a hole 1/4″ down from the top edge of your bookmark.
On the wrong side of your scrapbooking paper, trace out a rectangular shape measuring 4″ by 7″ in size. Using the glue stick, center cardboard on wrong side of your paper and wrap around the bookmark. Seal the back seam with glue. Use the hole punch to make a hole where the previous hole was punched. Make a tassel using the furry yarn and attach through the hole. You have now completed a basic bookmark.
Once you have the basic bookmark completed, it’s time to get creative and decorate them with the leftover crafting embellishments that you have collected. Let completed projects dry for 2 hours.
The Author:
Shelly Hill has been crafting for the past 30 years. You can visit Shelly online at: http://wahmshelly.blogspot.com
Photo. YX