A home comprises of a lot of things, of which some adds to its necessity while others add to the beauty of the house. There is something that does justice to both the above i.e. the floor tile of a home. Be it kitchen, bathroom or any other place, tiles just add to the attractiveness of a room or space. Due to its diversified colors, textures, and styles, it is one of the most used flooring materials.
However, when it comes to maintaining your tile, it definitely demands some work. Tiles are not that tough to clean as it is to clean the grout present between the tiles. There are times when tiles are looking astonishing but the grout between them does all the damage. Although nothing beats a professional for tile and grout cleaning but if you are looking for a grout cleaning DIY method, let us brief you with the same.
DIY Method to Clean Grout between Floor Tiles
Vinegar & Baking Soda Method
Step 1
Start off by making water and baking soda paste so as to form smooth moisture. While mixing these elements, make sure to add 3 cups of baking soda to 1 cup of water. The cleaner is capable enough to align with every grout color but the vinegar part may not be suitable for stones which are natural like limestone and marble. Now use your fingers to apply this paste to the grout lines. Also, make sure to wear rubber gloves as neither we nor you want that you end up getting an irritated skin or scratches from gout and baking soda.
Step 2
The next step is to use a spray bottle to make a uniform solution of water and white vinegar. As soon as you are done with it, sprinkle it along with the baking soda paste you applied. In no time, you will witness bubbling which is a clear indication that the cleaning process has kicked off in style!
Step 3
According to the cleaning professionals, it is advised to take no action till the bubbling stops as this is a chemical reaction taking place between vinegar and the baking soda. If you are thinking as to how long you have to wait, let us relax you by telling it is just a matter of few minutes. It is imperative for the chemical cleaning action to wait till the bubbling stops.
Step 4
The next step definitely takes you closer to your ultimate goal of grout cleaning. Use a brush to scrub the grout lines but make sure to use only a toothbrush or a scrub brush which is nylon bristled. When you are scrubbing, make sure to pay equal attention to the cleaning of edges and corners.
Step 5
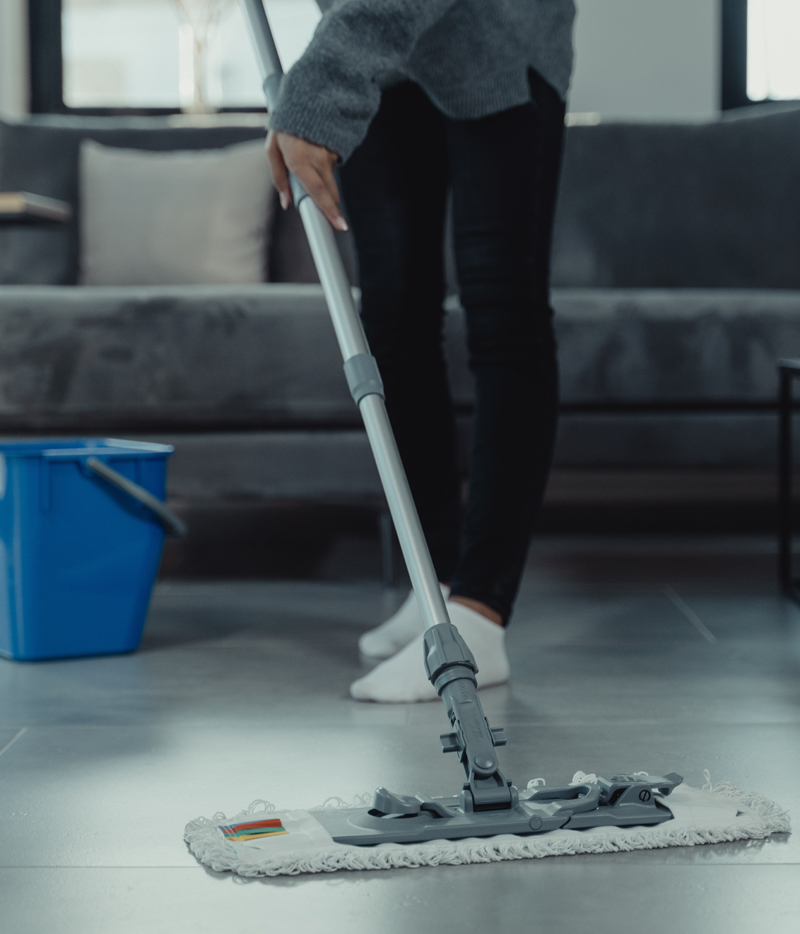
The next and the final step involve mopping the floor with plain water. In order to remove the residues left behind by the baking soda and vinegar, use plain water and mop effectively. The only precaution to take over here is not to use the same water again and again as this leads to the spreading of residue around the floor. This DIY method will surely help you in getting rid of the ugly looking grout, eventually coming up with a neat and clean grout. In case you find it too hard to do it yourself, you can always take the help of a tile and grout cleaning professional for the same.
The Author:
Prerna Jain is a highly trained and skilled cleaning expert who has been the backbone of Ministry of Cleaning for years. It is her passion for this field that drives her to share her experience and knowledge as a writer and contribute the same to the world.