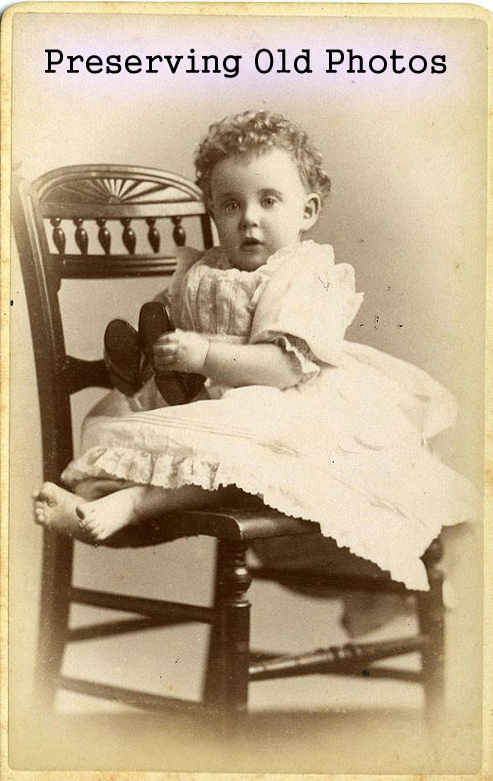
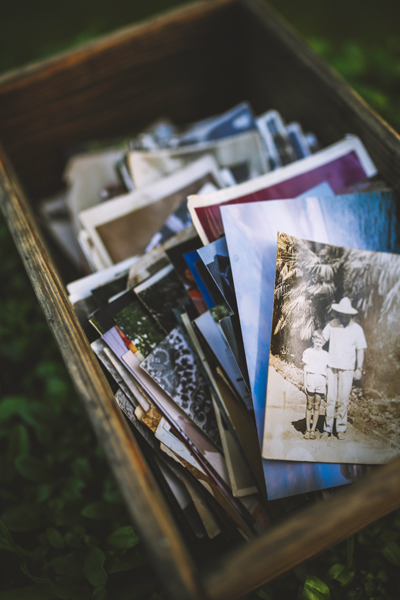
My mother has several albums of family photos going back to the early 1900s and even before. Her mother and grandmother, thankfully, kept scrapbooks and photo albums. But as these pictures age, I worry about preserving them. Here are some things that we have been doing that may help you in preserving your old photos. These are the steps I go through.
Scanners and Photo Editing Software
If you have a scanner, and photo editing software, it might be a good idea to scan the photos, either individually or a group at a time. Depending on how skilled you are with the editing software, the pictures can be retouched or restored if they are starting to fade. You might also check in your area as to businesses that provide photo restoration. I have seen these advertised online, but personally, I’m afraid to send these heirloom keepsakes anywhere. They can’t be replaced. I’m sure the places are dependable, but accidents happen – people are human.
Digitizing
An important step in protecting your photos is to digitize them. Upload them from the scanner to the computer. Sign up for an account with a photo site, such as Shutterfly, Kodak, or several others. You can upload your photos to the site, or even create your own website with them. This protects your pictures in case your computer crashes and you lose them, or the originals were somehow lost or destroyed.
Another advantage of these sites is that you can order prints or photobooks right from your account, and have them delivered to your home.
Digital scrapbooking is very popular, and with good reason. You don’t have the mess of paper and glue, and the software in the various programs allows great creativity. Again, though, I would highly recommend storing your digital scrapbooks on one of these online photo sites.
Regular Scrapbooks
My mother and I have been going systematically through her oldest photo albums. They were originally put on the old sticky cardboard pages with plastic that folded over the page. The pictures were always slipping out. They didn’t stay attached to the page, and the plastic was always coming loose. So here is how we are working on our project:
 1. We take a page of photos at a time and carefully pull them off the old page. Using pretty scrapbook paper, the pictures are attached to the page with double-sided scrapbooking tape. It is removable, acid-free, and photo safe.
2. The next step is to write captions. They can either be written directly on the page by the photo, or on journaling stickers and adhered to the page. It’s not a good idea to write directly on the photos; it might ruin them.
The captions should be short enough to be concise, but long enough to give information about the photo for generations to come. Answer at least some of the journaling questions – who, what, when, where, why, how. Who is in the picture, when and where was it taken, why were they there, what was the occasion, and so on.
3. When we have a page completed, we slip it into an archival grade plastic sleeve. They can be purchased at stores like Staples in boxes of several hundred for a reasonable price. Archival grade products help to keep the photos and documents from yellowing with age. Actually, before we put the page in the sleeve, I scan the page on the scanner and upload it to my Shutterfly account. So I’m creating a digital album at the same time as the paper album. Again, this protects your hard work.
4. The last step is to put the completed pages in an album. You can use the 12 by 12 inch size or 8 1/2 by 11 inches. We have been using the 8 1/2 by 11 inch size in a 3-ring binder. It has also been easier to find the plastic sleeves in this size, and it the page fits in my scanner.
If you have been uploading the pages to a photo site, you could have the whole album made into a beautiful photo book, in either hard cover or paperback.
It’s a big job, but if you work on it a little each day or as you have time, you can get a lot done. It is a project well worth the effort and time you put into it.
The Author:
For ideas and tips on homemaking, cooking, crafts, family life, gardening, and family history, visit http://www.oldfashionedhomemaking.com. Or if you prefer a nostalgic stroll back to the turn-of-the-century [http://www.thevintagehome.org] is a growing library of information and illustrations. Learn how our ancestors kept house, cooked, raised children, celebrated holidays and weddings, quilted, decorated, had tea parties, and much more.