How to Make Your Own Milk Mask
We love milk. Whether it’s in a glass, with our favorite cereal or added to tea and coffee, we love its health benefits and we’re simply blown away by its amazing uses! But most of all, we love it because it can give us beautiful skin!
Milk contains the right proportions of fat and moisture to feed and soothe our skin. For centuries, women and men alike have taken advantage of the beautifying properties of milk for softer, more radiant skin. So today we’d like you to take advantage of some “milky” goodness!
If you’ve been living green and healthy, that’s well and good. But if you feel you need to make up for those late nights and unhealthy food and beverages, try giving your skin a treat – use milk! Milk contains lactic acid, a gentle exfoliant, and is a good source of vitamins A and D which nourishes the complexion. Milk also has natural moisturizing properties and is easily absorbed by the skin, preventing it from drying. Milk by itself or in its various forms, (e. g. buttermilk, cream, yogurt) or in a combination with many other things, is an excellent all-natural skin care product. We love how it can also help you achieve a glowing complexion! Try mixing the cream of milk (malai) with a little flour and make it into a smooth paste. You can then rub this mixture on your face, arms, neck and massage gently till the flour crumbles off leaving the cream behind! There are so many uses for milk (Google it and we’re sure you’ll be amazed!), but for your face alone, it can do wonders! There’s just so much goodness in milk!
The Problem Of Dry Skin
So you have dry skin? Don’t fret, many suffer from this problem and the good news is, milk can help!
If your face looks dry, this means that your skin has a low level of sebum and can be prone to sensitivity. The skin has a parched look caused by its inability to retain moisture. Dry skin usually feels tight and uncomfortable after washing, unless you apply a moisturizer or skin cream (which can be very expensive!). Dryness is exacerbated by wind, extremes of temperature and air-conditioning, all of which cause the skin to flake, chap and feel tight. Dry skin needs plenty of thorough but gentle cleansing, regular stimulation through massage and generous quantities of oil and moisture. Thanks to milk, you can now take care of your skin and protect it from drying! Ditch the soap and water routine because although it may remove grime, it also removes the natural oils protecting the skin!
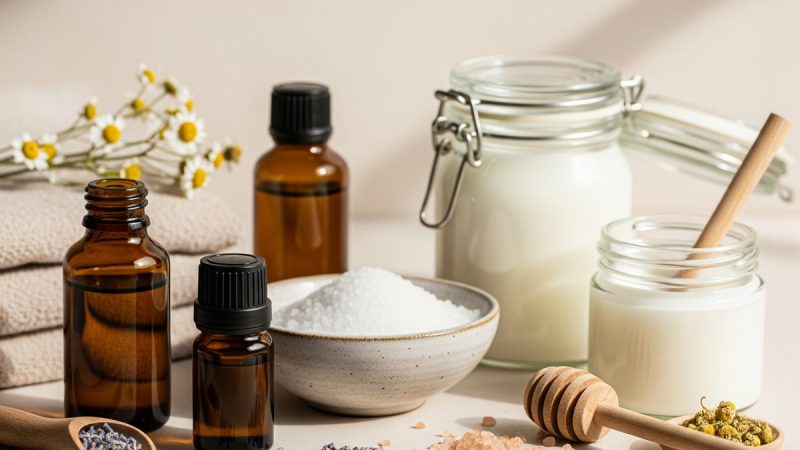
There are plenty of interesting milk facial recipes out there, but we decided to share with you two of our favorites recipes which are ideal for dry skin: the Classic Milk Mask and the Milk and Honey Facial Mask. (The combination of milk and honey are terrific in skin care because they’re both soothing and nourishing for the skin. Both of them have natural properties that help alleviate redness and calm irritated skin, are hydrating and provide gentle, skin-renewing exfoliation. We love honey because it’s an amazing moisturizer, and because its unique texture has an amazing benefit — it’s so thick and occlusive — locks moisture in!)
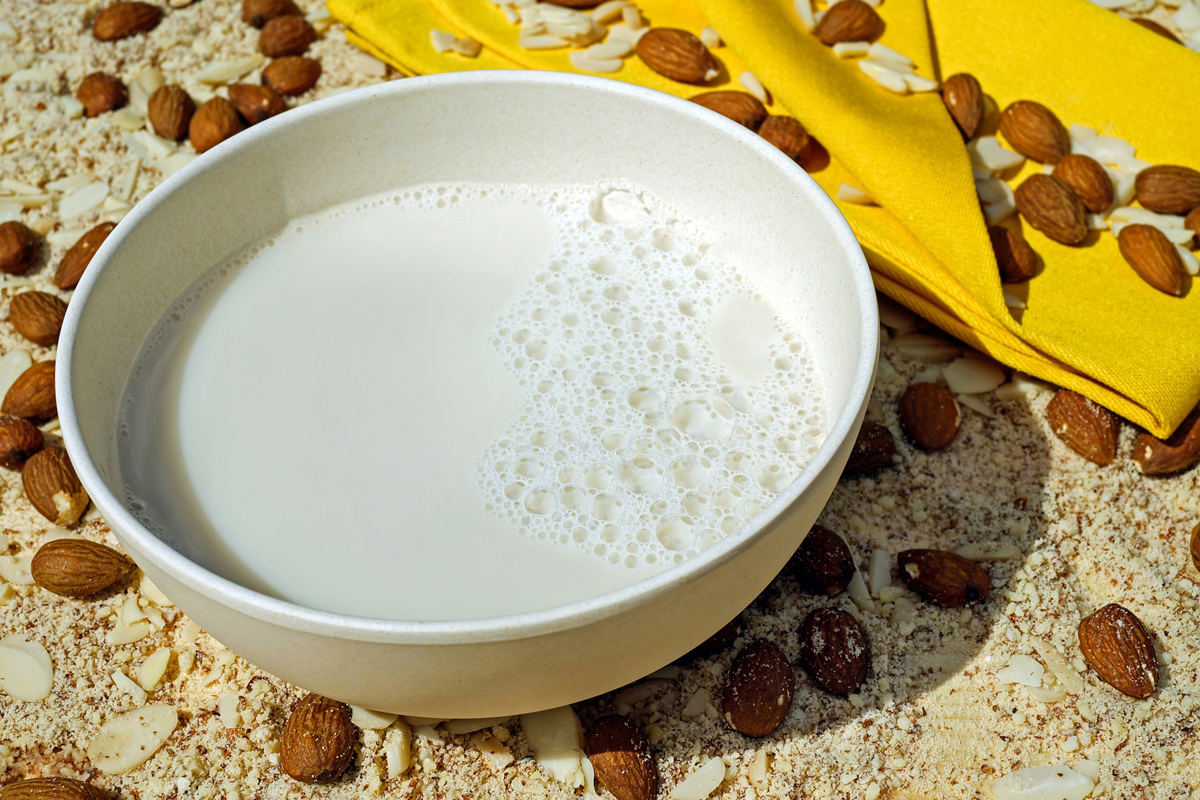
Classic Milk Mask
For: Dry skin
Ingredients:
- 1 tsp. powdered milk
- 1 tbsp. liquid honey
- 1 tsp. aloe vera gel
- 2 drops essential oil
- 1 tbsp. pulverized almonds
Directions:
- Mix all the ingredients well in a bowl.
- Apply to freshly cleaned face and leave on for 15 minutes.
- Wash off with warm water and pat dry.
The Author:
Green Blossoms


You can also add tumeric paste and malic and besan . its good for dry skin. It scrub as well as nourishes skin . and remember that this mask should be for at least 1 hour.
Thank you for sharing your suggestions! Adding turmeric paste, malic acid, and besan (gram flour) can definitely be beneficial for dry skin. Turmeric has anti-inflammatory properties, malic acid helps to exfoliate and brighten the skin, and besan can provide nourishment. Scrubbing and nourishing your skin at the same time can be a great combination. Additionally, allowing the milk mask to sit for at least one hour can ensure that it has enough time to work its magic on the skin. Thanks for the additional tips!
To make your own milk mask, follow these steps:
Gather the ingredients:
2 tablespoons of milk
1 tablespoon of turmeric paste
1 tablespoon of malic acid
1 tablespoon of besan (gram flour)
In a small mixing bowl, combine the milk, turmeric paste, malic acid, and besan. Mix well until you have a smooth paste.
Wash your face thoroughly and pat it dry with a clean towel.
Apply the milk mask evenly to your face using your fingers or a soft brush.
Leave the mask on for at least 1 hour to allow the ingredients to work on your skin. You can also cover your face with a warm towel or use a facial steamer to enhance the mask’s effectiveness.
After the recommended time, rinse off the mask with lukewarm water and pat your skin dry.
Note: This milk mask is particularly suitable for dry skin types as it provides nourishment and exfoliation. However, if you have sensitive or allergic skin, perform a patch test before applying the mask to ensure that you don’t have any adverse reactions to the ingredients.
It’s important to note that turmeric can temporarily stain the skin, so expect a slight yellow tint that will fade within a couple of hours. Additionally, always perform a patch test before applying any homemade mask, especially if you have sensitive skin or allergies to any of the ingredients.