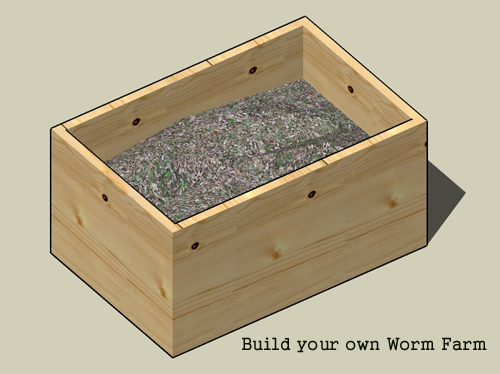
Build your own Worm Farm (Vermicomposting): Step-by-Step Instructions
Vermicompsting is organic, non-burning, and rich in nutrients. You can use vermicomposting in any garden project or for any plant in your house to enrich the soil and ensure healthy plant growth. The following is a “HOW TO” guide to creating your own vermicomposting farm.
Step-by-Step Instructions to Create Your Own Worm Farm.
1. Set up a worm bin.
2. Obtain a suitable worm bedding.
3. Fill the worm bed with the bedding.
4. Introduce the worms into the bin.
5. Feed your worms.
6. Breeding and harvesting.
1. Set Up a Worm Bin:
MATERIAL:
Although your worms do not need to be kept in a box, herding worms is easier with a container. Your worm bin can be made out of anything that will hold bedding and allow drainage. Ideas include:
- Tubs
- Rubbermaid Containers
- Wooden Crates
- Cement Blocks
**CAUTION: The best materials are made of either wood or plastic. Metal containers may emit poisons as the metal reacts with moisture in the bin. These poisons can slow down production and kill the worms.
MATERIAL TIP: One advantage to a wooden bin is that it breathes. Air is drawn into the bedding as moisture wicks through the wood.
Bin Tips:
Size:
Minimum requirements:
Depth: 8 inches
Width: Bin should always be wider than deep.
Ideal Size:
Depth: 12 inches
Width x Length: 2 ft. x 3 ft.
HOLES: One inch holes should be drilled for every square foot in the bottom of the bin. Place a small metal or plastic screen over the holes to prevent worms and dirt from leaving the bin.
LIDS: Do not cover your bin with plastic lids that do not breathe. If you cover your bin, use cardboard or a piece of burlap. Leave at least one inch of free space on either side to allow air to enter the bin. Sprinkling water onto your lid will create a humid atmosphere that the worms will enjoy while they crawl on top of their food at night.
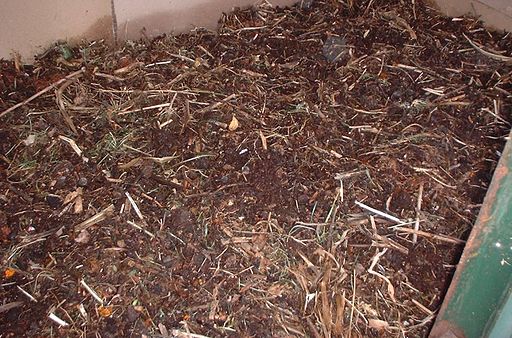
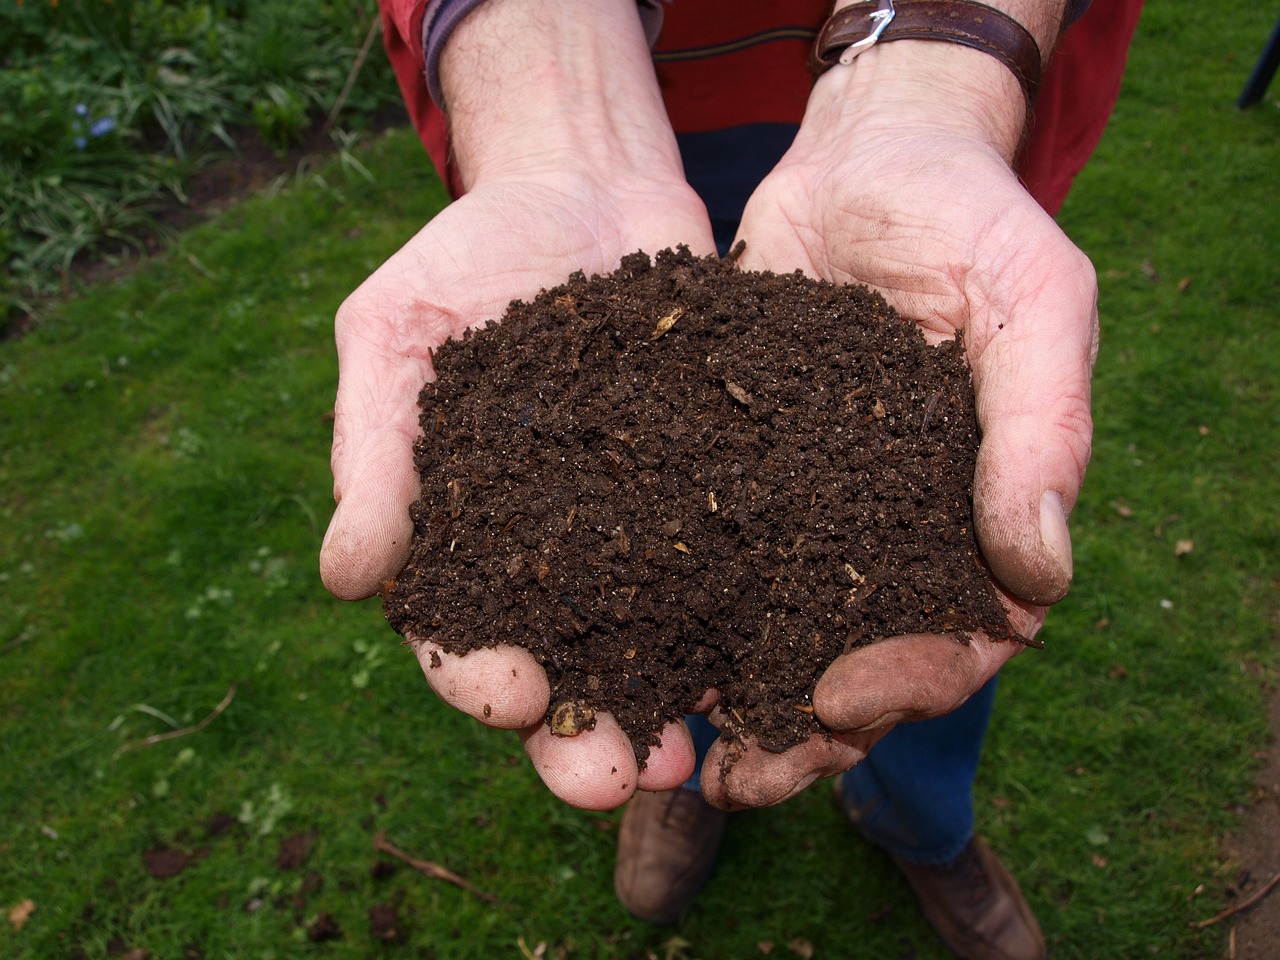
2. Obtain a Suitable Worm Bedding:
A healthy soil increases worm reproduction. Bedding serves two primary functions: (a) permits air to enter, and (b) retains moisture.
Bedding Materials:
The initial bedding must be a blend of compost and other materials.
COMPOST: Aged manure makes the best compost, but old food scraps also works well.
Other Materials: Mix your compost with one of the materials listed below.
- Peat moss
- Coir (Coconut Fiber)
Bedding Preparation:
Prepare the bed before the worms arrive because you do not know how long your worms will survive in the original container. The bedding should be moist, but not wet. Ideal moisture content is about 60%. To achieve this, do the following steps:
- Soak the peat moss or coir in water overnight.
- Wring the material out so that only a few drops of water come through.
- Mix the material with the compost.
3. Fill the Worm Bed with Bedding
Fill the worm bed, leaving approximately four inches of space between the top of the bed and the bedding.
4. Place the Worms into the Worm Bin
The worms will likely crawl into the bedding to get away from the light. Place the bin in a dark place that is sheltered from extreme temperatures. The ideal bedding temperature range is 72-75 degrees Fahrenheit. Unless you have a small bin sitting in the sun, the temperature will be the same day and night.
The Effects of Temperature on Nightcrawler and Red Wigglers
Reproduction and food consumption drop rapidly at bedding temperatures below 60 F*. However, the worms will survive the cold as long as they don’t freeze. If they do freeze though, most of the cocoons usually survive to hatch in the spring. Wigglers and Nightcrawlers can survive temperatures up to 90 degrees for short periods of time, but it really stresses them.
Bedding temperatures can be raised through the decomposition of organic matter and the activity of the worms. The adverse effect of a large worm bed is that they can become warmer than the average air temperature in the summer. If you live in an area with very hot summers, you might need to keep the bin inside your house.
5. Feed your worms.
Red Wigglers and European Nightcrawlers will eat just about anything that you throw into the worm bin. Red Wigglers are composting worms and thus the following section mostly applies to them, however, Europeans will eat everything mentioned below as well.
Quantity
Red wigglers will eat their weight in food daily. For every pound of red wigglers, feed half that weight in food waste. Feeding twice a week or weekly is fine. Do not over feed your red wigglers. Bury the food waste to avoid decomposing stenches and choose a different location each time you feed the worms.
Food Choices
Any vegetable waste generated from food preparation can be used as food. The following list provides some examples:
- Potato Peels
- Carrots
- Lettuce
- Cabbage
- Celery
- Apples
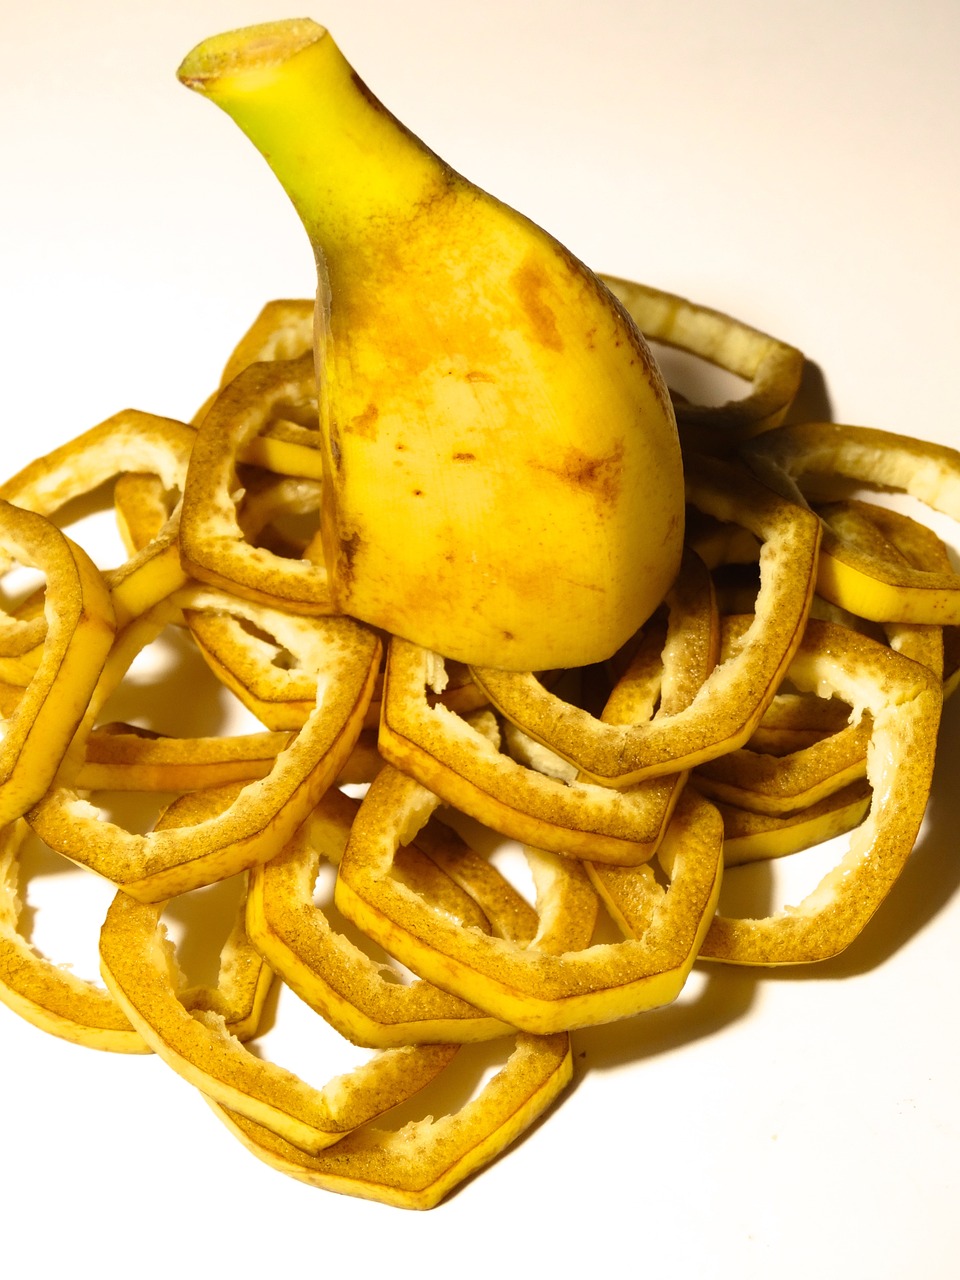
- Banana Peels
- Grapefruit or Orange Rinds
- Tea Leaves
- Tea Bags
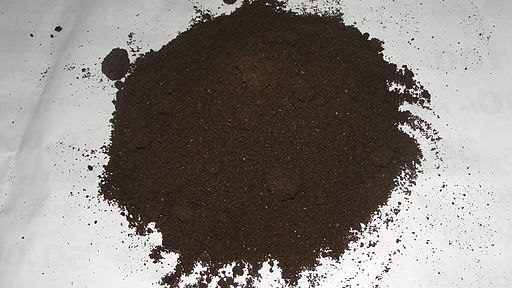
- Coffee Grounds
- Paper Filters
Waste decomposes at various speeds. For instance, banana peels compost within a week, while orange peels take about a month to decompose. To increase composting rates, cut the waste before placing it in the bin.
Calcium carbonate or Egg shells are needed to maintain a safe pH level in the bedding and they act like vitamins for the worms. Dry the shells out, crush them, and sprinkle at least one tablespoon in the bin every week.
CAUTION: Avoid feeding your worms the following products:
- Meats
- Dairy Products
- Eggs
- Oily Foods
- Salt and Vinegar
- Bones
Red wigglers will eat their weight in food daily. For every pound of red wigglers, feed half that weight in food waste. Feeding twice a week or weekly is fine. Do not over feed your red wigglers. Bury the food waste to avoid decomposing stenches and choose a different location each time you feed the worms.
Temperature Control Through Food
Decomposing food will raise the temperature of the bedding. The following tips can help decrease bedding temperatures:
- Keep the bedding wet.
- Place frozen foods in the bin with the lid on (see Step 2 for proper lid usage).
- Place frozen water bottles into the bedding.
- Place the bin in a well-ventilated area.
Moisture Control
At ideal moisture, there will be very little or no liquid coming out the bottom of the bin. If excess liquid comes out, it won’t affect the worms that much, but can make the castings less valuable.
Overly wet conditions bring on pests like flies and mites. Conversely, dry bins will slow down appetites. The following tips will help with moisture control:
1. Water more often, but less at a time.
2. Feeding high moisture foods like lettuce and watermelon will significantly decrease the frequency that you need to water your worm bin.
3. Use Lukewarm water, unless you are trying to cool the bin.
4. Do not use chlorinated water.
Breeding and Harvesting
Breeding
The European Nightcrawler is a prolific breeder and lays more eggs than many other worms, including the Red Wiggler. Each worm lays between one and two capsules per week and each capsule contains between 4 and 20 worms. Worms are asexual, which means there are no male or female worms and all worms produce offspring.
Important European Worms Breeding Fact:
Worms breed best at the beginning of their life cycle. While red worms have a life cycle of three to four years, the European Nightcrawler only lasts about a year. Purchase worms accordingly. If you are breeding Nightcrawlers, order worms that are younger and at the beginning of their life cycle. If the purpose of your worms is for fishing, buy European worms that are larger and are at the end of their life cycle. When purchasing from Wholesalefishingworms, you can specify ‘Bait’ or ‘Breeding’ worms in the comments section when you buy.
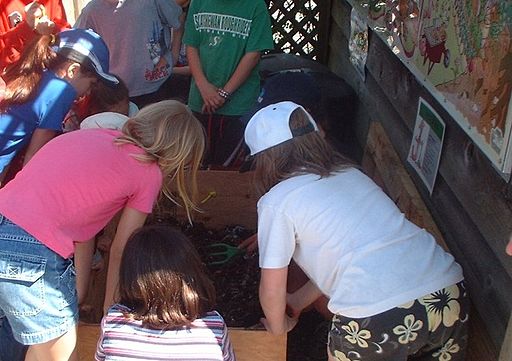
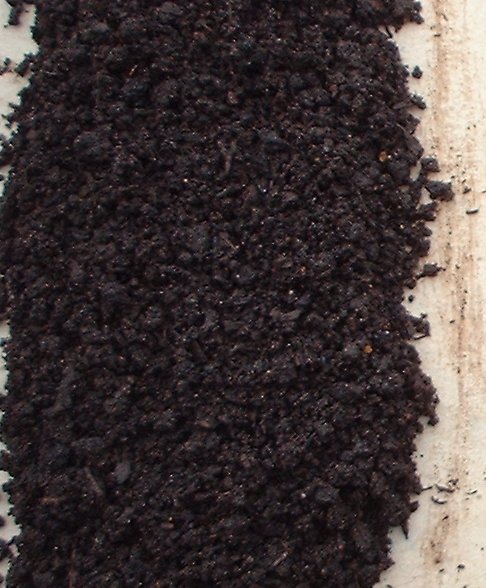
Harvesting
When you initially put the worms into our bin, you left about four inches of free space between the dirt and the top of the bin. Gradually the dirt level will begin to rise and when the dirt level is close to the top of your bin, it’s time to harvest the worms. You should harvest your bin about every three months to ensure a healthy worm supply and a good mixture of castings and vermicompost.
Illustrated below are two methods used for worm harvesting.
- Move the contents of the bin to one side. Add new bedding with composted food onto the other side. The worms will eventually move to the new bedding in search of food and you can remove the old bedding after one or two weeks.
- Place a pile of bedding with worms in it onto a slab beneath a bright light. Slowly remove the first layer of bedding. The worms will continue borrowing to escape the light. As they do this, continue to remove the layers of bedding unto the bedding is gone and only the worms are left on the slab.
TIP: Do not feed the worms for one or two weeks prior to harvesting.
Typically, the first four inches of bedding contain the majority of the worms. However, most of the cocoons and castings are found six to eight inches below the surface. You can expect to have about double the quantity of worms from the original quantity.
Happy Worm Farming!
The Author:
A large supplier of Red Worms and European Nightcrawlers


:%20Step-by-Step%20Instructions)