Carpentry Fun Time: Sawing and Measuring
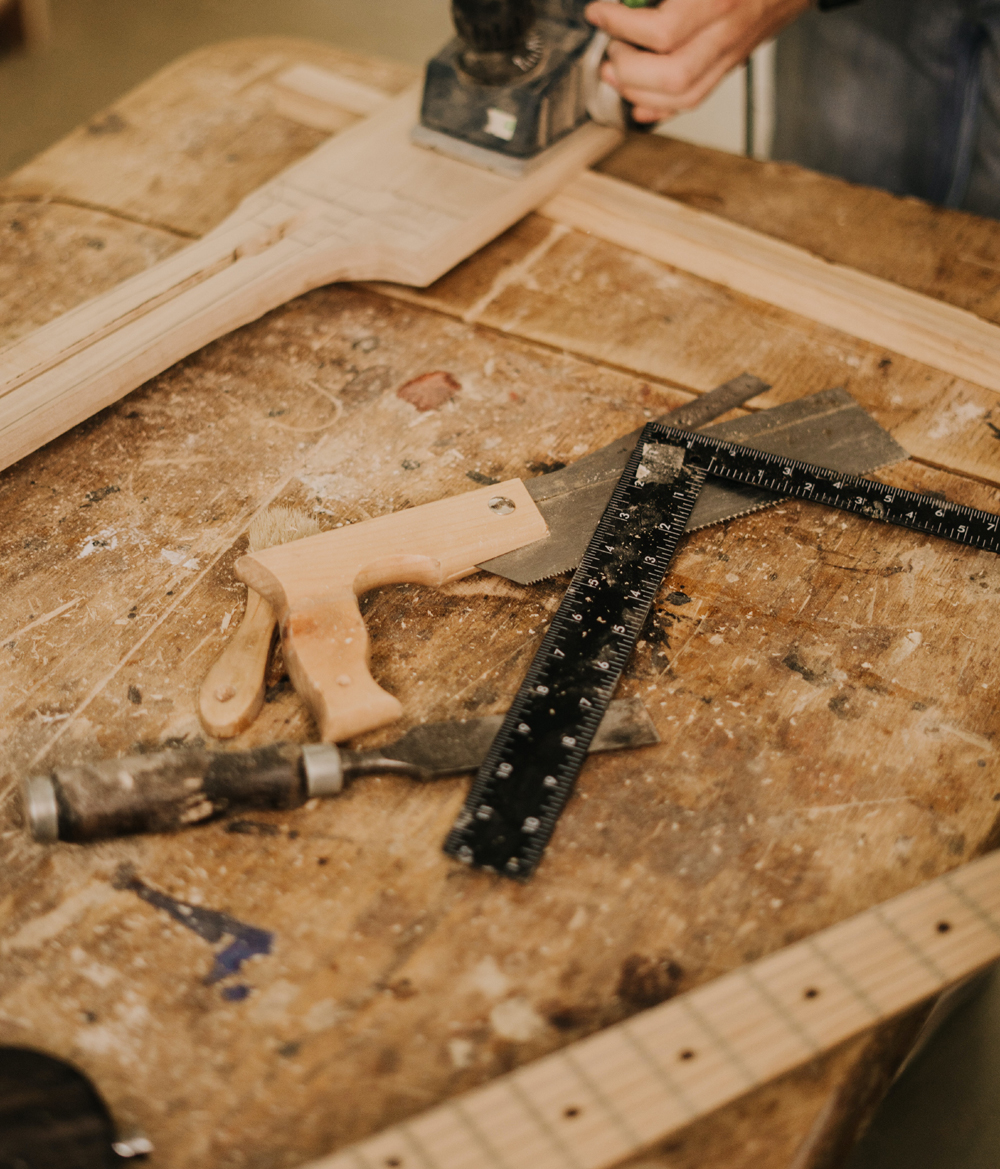
Just like the title says, let’s get to sawing and measuring! Of course, we’ll need a saw. I suggest a hand saw, coping saw or one of each. Make sure that they are the correct size for your child. Also, we’ll need rulers, a yardstick, tape measure and a T square if you have one available. Don’t forget something to measure and cut! Have a few C clamps, plastic foam, thick pieces of cardboard and some wood pieces and boxes ready.
Sawing Practice
Make sure they set up their work space and workbench while you gather the above items. Before having your child jump right in and start sawing logs, let’s ease them into it. Have them practice through a few thick pieces of cardboard. You can even use large pieces of plastic foam.
Show them how to use the clamp to clamp down the foam to their workbench. Then demonstrate with the hand saw how to saw through the foam or cardboard. Take all the time you need to explain what the saw does and how to handle it safely. Guide them as they take their turn and encourage them if they get disoriented or discouraged. Have them changing materials and try sawing some more!
Sawing Wood
Your child will need many supervised opportunities to saw through wood. If you can, make sure that the wood is of the softer variety. Help them saw in a straight line by drawing a guideline on the wood with a pencil and a T square, yardstick or ruler. You may want to explain to them about the sawdust collecting on the floor beneath where they are sawing and that it will need to be cleaned up every time they finish working in their work space. I know I sound crazy, but walking them through every step of the process of woodworking now will develop good habits that will stand them in good stead for the future. Naturally, this means that you’ll have to lead by example, so don’t be a slacker. Clean up, clean up, clean up!
Measuring Practice
Now, sawing is a lot of fun, and if all you want your child to do is cut things safely, then your job is done. But don’t we want them to be able to make things? Well, they’ll need to know where to start cutting, won’t they?
Ahh, looks like they’ll need to know how to measure! Alright then. Let’s get out the rulers, yardsticks and tape measure. Let your child use the tools to practice measuring the heights, widths and/or lengths of objects around the room; tables, chairs, their arms and feet! How about your arms and feet? Ask them questions like “Which chair is wider? Is your foot longer than Mommy’s/Daddy’s? How tall are you?”
Obviously measuring will require some mastery of numbers, so this gives you a perfect opportunity to help them with that. Ease them into it. Repeated measuring is something that can actually help your child improve their ability to recognize numbers and the order they come in.
Working with Squares
Oh, I forgot to tell you one thing. You’ll need blank paper and pencils for this one. Sorry.
Anyhow, completely cover a table with paper. Set out the pencils and a T square. Let your child practice drawing lines on the paper, using the T square as a guide. You can also use a ruler, but getting them accustomed to the T square will enable to them to be ready to use it effortlessly on their woodworking project when they are ready. Add wood pieces or boxes and let them measure the sides and ends.
Measuring is so much fun that your child will probably start measuring everything in your house and telling you how long it is, how high it is, etc. Be ready for that. Ask them how long Daddy’s shoe is in comparison to Mommy’s shoe, or their own. Ask them how long the dog’s tail is, if you have a patient dog. Encourage their curiosity about numbers. Who knows, maybe they’ll become an accountant-just kidding!
And never forget to carpenter’s mantra.
Measure twice. Cut once.
The Author:
M R Hall


