Chicken Runs and Coops for the Undecided Rancher
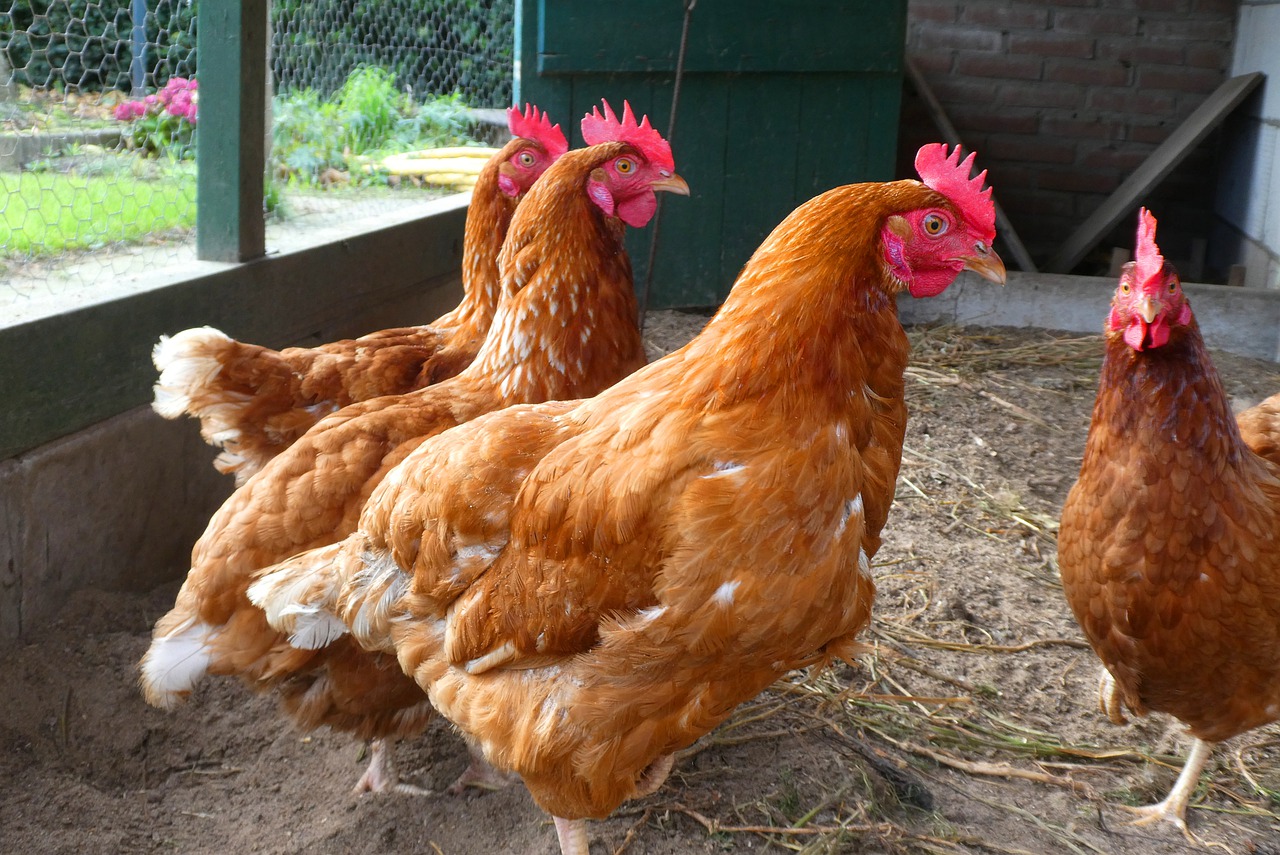
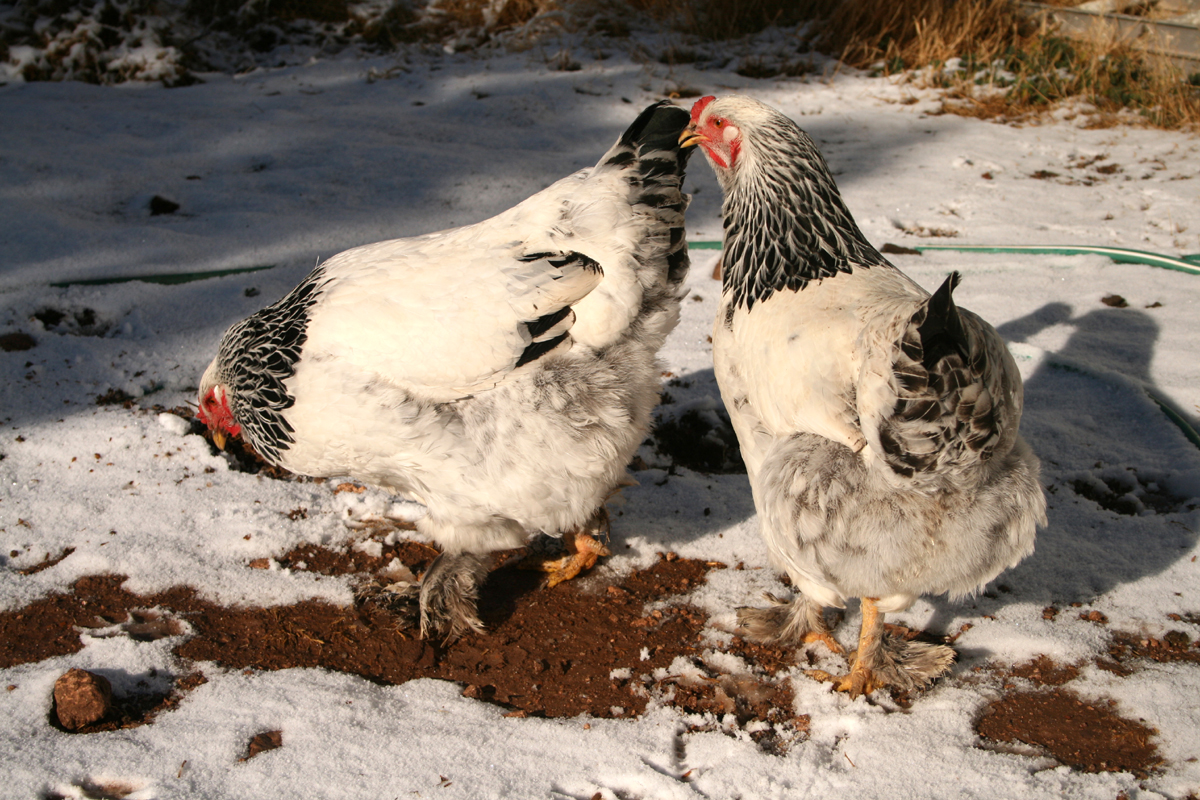
Have you thought about raising chickens for all the benefits you heard about having chickens in your back yard. Would you like fresh eggs, pets for the children, fertilizer for your lawn? Have you gone back and forth about the pros and cons of raising chickens? Like daily care, watering, feeding, cleaning, and clipping wing tips?
What I previously mentioned are a few of the things that do go along with being a chicken rancher, big or small. Being a chicken rancher for many years, I love all the benefits and love I get from raising and caring for them. I have recommended this to many of my friends, relatives, and readers from my articles. Many have wanted to give it a chance, but often they were on space or don’t want to build anything permanent. If this is you, here are some things I recommend as an option to my friends that might be right for you too!
Temporary Chicken Runs and Coops
I am not talking about an egg crate or an empty cardboard box from a refrigerator you just bought for temporary chicken runs and coops, but a real temporary coop; those temp solutions can work for a day or two but are ultimately unfitting. What I am suggesting is a trial period for you to experience and give it an honest effort to see if it is a fit for you and your family. I have experimented with the typical temporary devices for quick fixes, many did not work. The answer I came up with that has worked the best is temporary fencing sections that can be put together very quickly and very cost effectively.
What Are These Sections?
The sections can be made of any size and dimension of squares, rectangles, or tri angles. Depending on the area you have to work with or the number of chickens you want to begin with. These sections will allow you to assemble your chicken runs and coops quickly and sturdy, with the ability to disassemble quickly too!
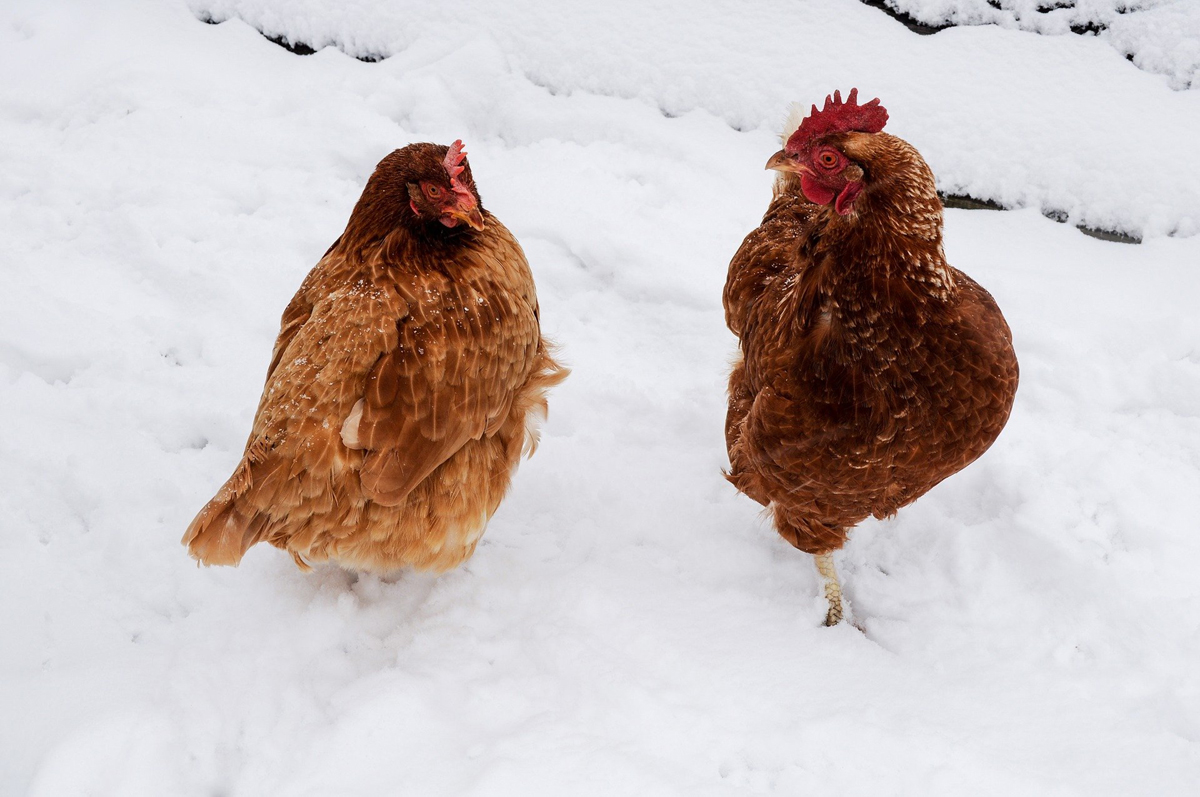
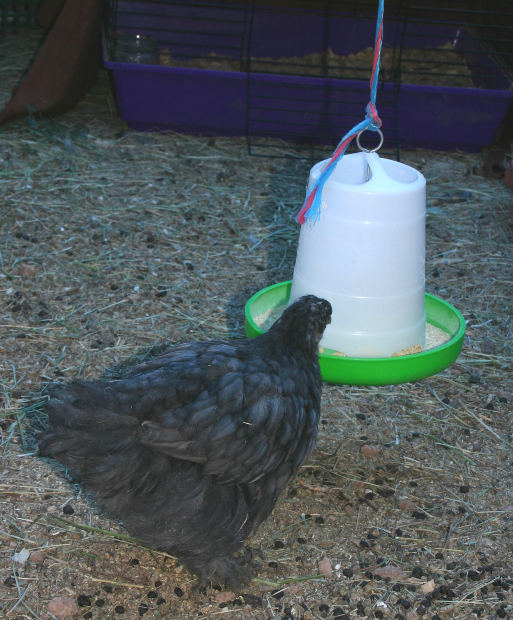
I would recommend at least 3-4 chickens to start, because you want to get the full experience of caring for your chickens. Caring for this number will allow you to make a solid decision based on your trial period experience.
How to assemble the sections:
The sections will be built of
1. 1″x2″ lumber
2. light gauge chicken wire
3. 1/2″ plywood
4. swing hinges
5. lightweight L- brackets for corners
6. Hasp lock for top of coop cage door.
Instructions for the section assembly of the 3-4 chicken coop example. Three of the sections should be 4ft. in length and 2ft. high. Then two more sections should be 2ftx2ft. The top of the cage will be 1 of the 4ft. x2 ft. sections. Place a ½” x 2ft. x 2ft. piece on top of the coop for shade and place another piece of plywood inside the coop with some straw for the chickens to nest and lay eggs. Take the pieces of 1″x 2″ material and cut
1. 10 pieces at 21″
2. 10 pieces at 48″
3. Cut 3 pieces of chicken wire at 4ft x 2ft.
4. Cut 2 pieces of chicken wire at 2ft x 2ft.
5. Layout 2 pieces of the 4ft cut lumber parallel to each other and set a 21″ piece of cut lumber at each end.
6. Make sure not to place the 21″ piece at the outside end of the 4ft. lumber, you want them to set in between your 4ft. parallel pieces of lumber so the total height and width are 4ft. x 2ft.
7. Next screw or nail at each corner the L-brackets.
8. Staple or nail the chicken wire to each section
9. Install your hasp latch. You can now use your temporary chicken runs and coops for your new chickens have fun and I know you will benefit from your experience.
The Author:
Hank Dodson is the owner of The Chicken Coop Plans Site. Hank has been building chicken coops and caring for chicken for decades.
Photo. Elsemargriet

