Grow a Wheatgrass Centerpiece
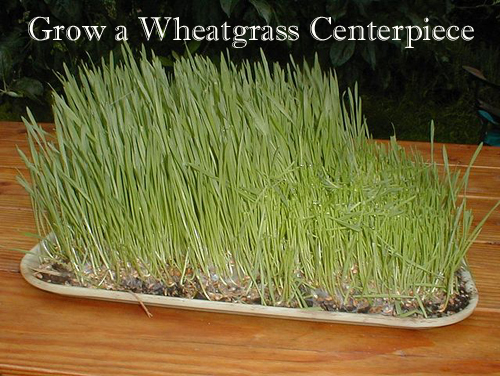
Whether the snow is still blowing outside or your spring bulbs are already making their appearance, garden fever is in the air. One way to quench your need to get your hands dirty is to bring spring indoors by growing your own living decorations. Many gardeners are familiar with forcing cherry, forsythia blossoms & and spring bulbs but you can add to this by sprouting wheat kernels in containers for a beautiful centerpiece. In France, sprouted wheat is a symbol of the abundance of the upcoming season. March 21st, the first day of spring, also coincides with Norooz, Iranian New Year. Part of the celebration requires that green sprouts, normally wheat, decorate the table setting. The wheat sprouts symbolize the re-birth of the nature as spring emerges in the northern hemisphere.
Growing your own wheat sprouts is not only decorative, but also highly nutritional. Wheat-grass is full of vitamins, minerals and amino acids. The juice is reported to have many health benefits due to the high concentration of chlorophyll, Vitamins B-12, B-6, K & C, and beta-carotene. One study from the University of Texas Medical Center found the extract of wheatgrass inhibited the cancer-causing effects of two mutagens.
Choose a Container
Sprouting your own wheatgrass is extremely easy. Any type of container is suitable for sprouting wheatgrass. Pots that have drainage holes are the easiest to use for beginner sprouters but once you get a handle on how much water wheat sprouts require, you can sprout them in any container that is at least 3-4″ deep. I’ve found dollar stores to be a fantastic source of decorative containers that won’t break my pocketbook.
Select a Growing Medium
Once you’ve decided on a container, fill it to about 1″ below the top of the rim with pre-moistened soil, compost or potting mix. Make that sure whatever growing medium you use, it doesn’t contain any artificial fertilizers or chemicals. I like to make my own organic mix using peat and about 20% worm casts. The worm casts provide extra nutrition, allowing you to harvest the wheatgrass more than once.
Plant The Seed
Wheat seed is the last ingredient. Purchase your wheat from a reputable source that sells food-grade organic seed that is meant for sprouting.
Never use agricultural seed, especially any seed that is coated with fungicide. Wheat seeds are sometimes sold as wheat “kernels” or as “Hard Red Wheat”.
Sprinkle the top of your container with wheat seed. I like to leave a little bit of space between the seeds, so that they’re not touching and competing for food. Press the seed into the soil and then cover lightly with more potting mix or soil and water lightly. The soil in the container needs to be kept moist so I like to cover my containers with a clear plastic bag or clear plastic film.
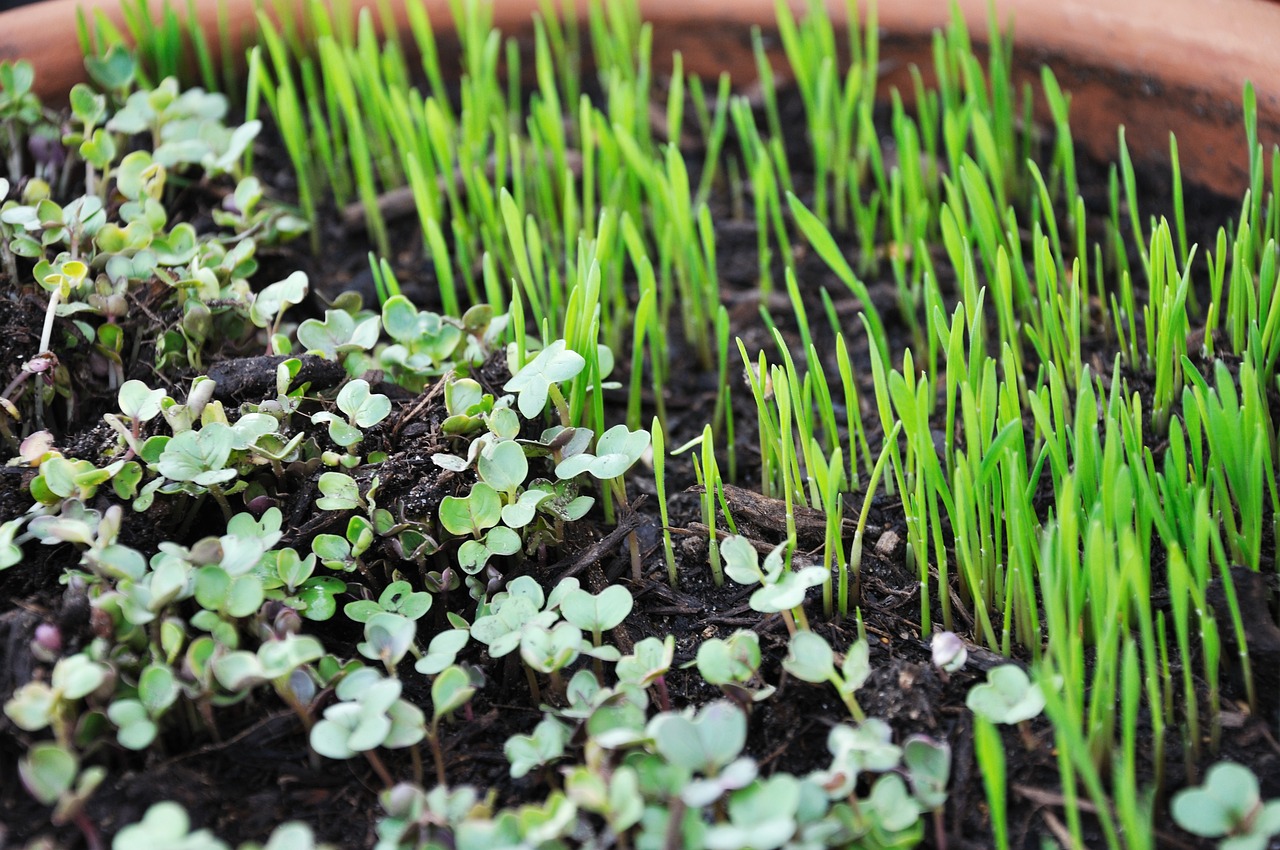
In about 3-4 days, you will begin to see sprouts emerge. It’s now time to move the container to a sunny location. Sunshine not only allows the young sprouts to manufacture more chlorophyll, but it helps to keep them stocky and short. Wheatgrass grown in the dark or in poorly lit areas tends to be quite pale and lanky and in no time at all, the sprouts begin to fall over.
By about day 7-10, the sprouts are the perfect height to use as a centerpiece or to begin harvesting for juice. Wheat-grass grown using this method can be cut more than once for an extended harvest so if you are using it for juice, start a few containers on different days so that you have a continuous supply of the nutritious leaves.
Source:
City Farmer
http://www.cityfarmer.org/sprout86.html
Wheatgrass Nature’s Finest Medicine
by Steve Meyerowitz
The Wheatgrass Book
by Ann Wigmore
The Author:
Arzeena Hamir is an agronomist and garden writer for Organic Living Newsletter.
Terra Viva Organics – – Organic wheat and other sprouting seed http://www.tvorganics.com
© Copyright 2002 Arzeena Hamir.

