Make Your Own Home Compost Bin
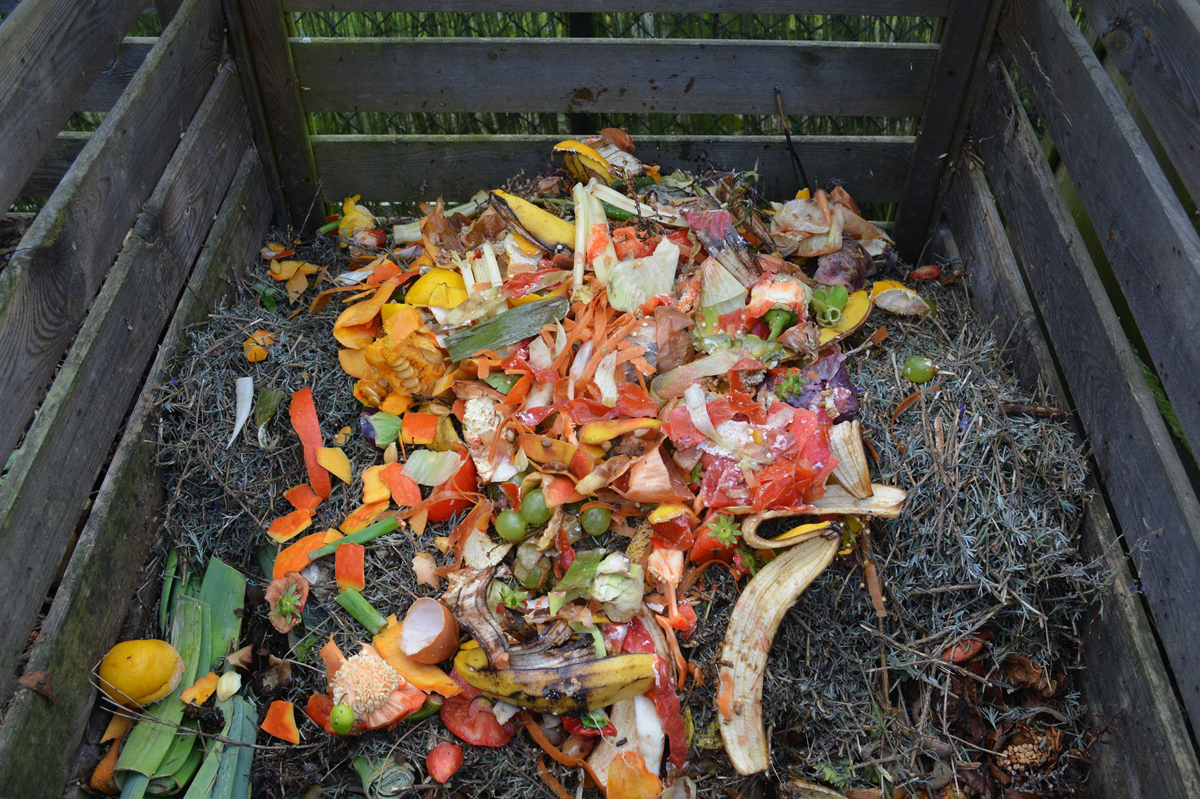
Many people think that the only way to make compost is to use a commercial bin, but nothing could be further from the truth. People in the past have built their own compost bin with much success. So if you want to give it a try, here are five easy cost-effective ways to build them.
Style 1: Extremely Simple and Easy
A circle of chicken wire, or a bottomless barrel with air holes in its sides, although simple, works fine. When you cannot add any more materials in the circle, just lift the wire away from the pile, set it up again nearby, and put the newer layers back in, leaving behind the finished compost.
Anything can be used for a compost bin. For instance, when I first settled in Oshawa, Ontario, I marveled at the way my neighbor, an older Ukrainian lady, would create her compost. In the fall when she was cleaning up her garden for the winter, she would simply pile up all garden debris against a wire fence that had been set up between her land and the public park on the west side of her property. This section of her garden along the wire fence would be her “compost bin” during the winter months.
In the early spring as soon as the ground had thawed, she would spread this half- decomposed material all over her garden and have it plowed under. Then she would add mushroom compost bought from a mushroom grower. When it was time for seeding, everything had pretty well thoroughly decomposed. This lady had the nicest vegetables in the neighborhood.
(Please Note: If you decide to buy mushroom compost from a grower, first find out what the farmer uses to make his mushrooms grow. Things have changed a lot since the 1980’s. Today’s compost may be full of chemicals. So beware!)
Style 2: Pens
One of the simplest structures for a compost bin is a circle of snow fencing or wire mesh supported by posts or stakes. When it is time to aerate the pile, you unwrap and remove the fencing, set it up in a new location nearby, and fork the compost back into the pen.
It’s true that this requires a little more space and some lifting effort, and it leaves the compost in full view. However, it is inexpensive, strong enough, and very easy to construct.
Style 3: Homemade Bin
Now let’s take a look at the third type of compost container for hot composting– the home-made bin. These are sturdier and more discreet than pens. They may require a little more skill to build but are still inexpensive.
The four sides can be made of almost anything: wire screen stretched on wooden frames or old pallets standing on end. Three walls are normally fixed permanently together but may be hinged, hooked or tied.
For example, you can build your compost bin with concrete walls and a movable front panel. Three of the four walls can be made of concrete blocks, stacked without mortar, and a fourth wall of removable boards.
Another idea is to stack up square bales of straw to create the three immovable walls of the bin. For a fourth wall you can always use a simple screen tacked onto a frame the size needed.
To turn the pile, you remove the front of the bin and fork the material out onto the ground. Then the pile is rebuilt in the bin.
The disadvantage is that extra ground space in front of the bin is needed for aerating the pile; however, its biggest advantage is that the compost does not need to be lifted over any wall when you need it or you wish to aerate the pile.
Another idea is to set a bin over a pit so that your compost pile gets the extra insulation. Although this encourages the presence of helpful earthworms, it does mean reaching down below ground level to turn the compost.
Style 4: Composting drum
You can also make your own rotating barrel composter. Simply take a large drum and punch aeration holes in it. If you wish, fins can be added inside the drum to lift and mix the compost materials. To finish it off, add a hinged loading door in the side so that you can add your waste.
One way to make your material inside the drum decompose faster is to roll the barrel on the ground to mix the contents. However, if you have welding skills, you can mount the barrel on a stand and add a crank attachment. Then all you need do is turn that crank every day or second day.
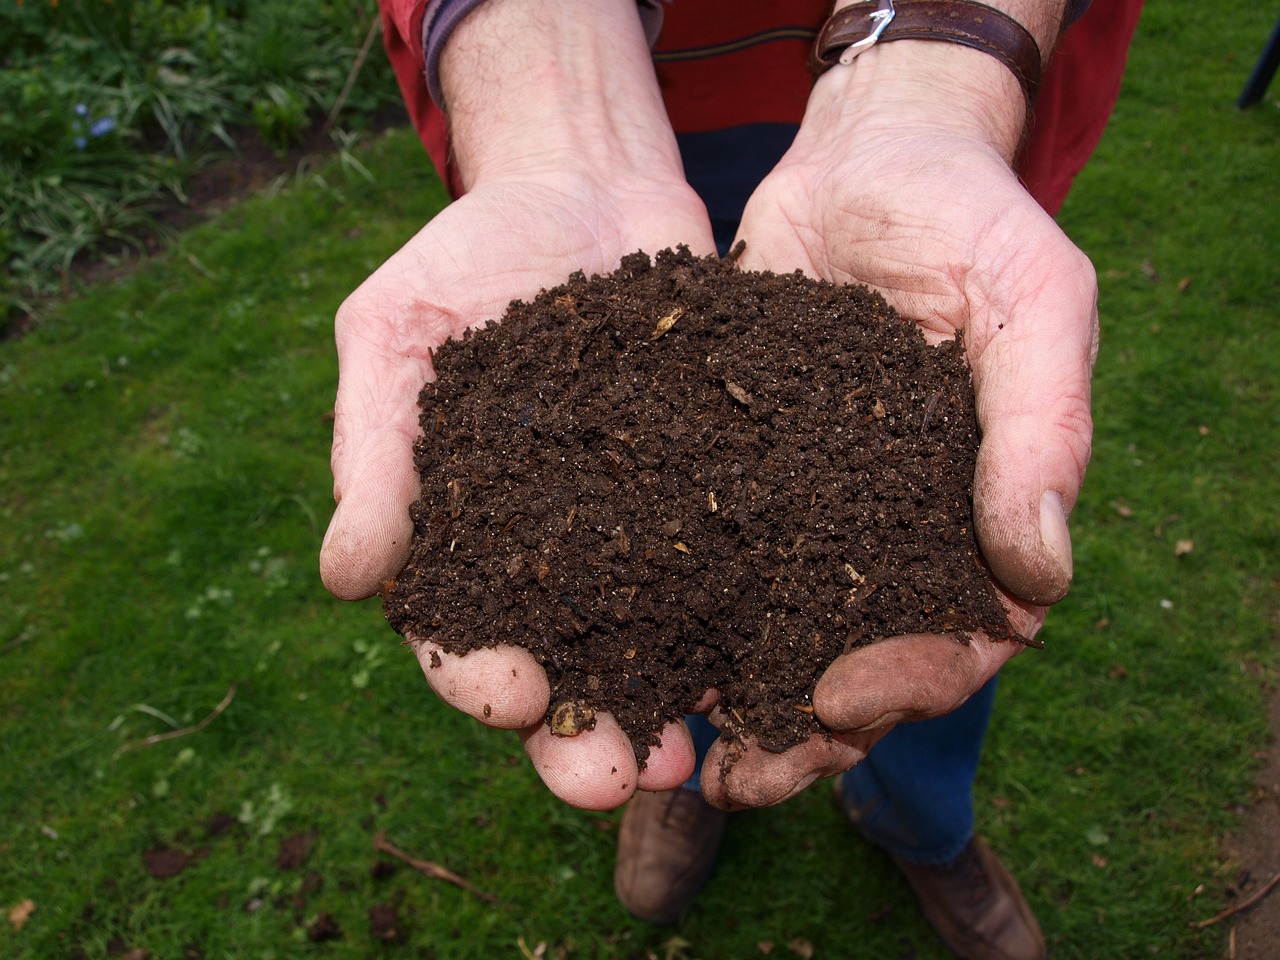
If bacteria is introduced with a good amount of garden soil and the barrel is turned every few days, compost can be made in a few weeks this way with little physical effort.
Style 5: A New Zealand Box
A New Zealand box is a bottomless wooden box with ventilation spaces between the wall boards, and an easily removable face to make it easier to remove the compost or to turn it. Since the compost rests directly on the ground, a lid is normally added to prevent nutrients leaking from the pile during heavy rains.
There are still some people who prefer the wooden type to the plastic ones you can buy at a store or sometimes from the municipality. For example, I know a lady who had three of them scattered around her yard. People love them because they make nice compost, are easy to make, and are light so easy to move.
A New Zealand box, or something similar, can be made at home by people with minimum skill. It can be moved to a new location fairly easily if required, and it keeps the compost neatly out of sight.
Variation of the New Zealand Box
A popular variation has two or three compartments in a row. The compost is turned from one box into another, and the empty box is then used to accumulate the material for a new batch of compost.
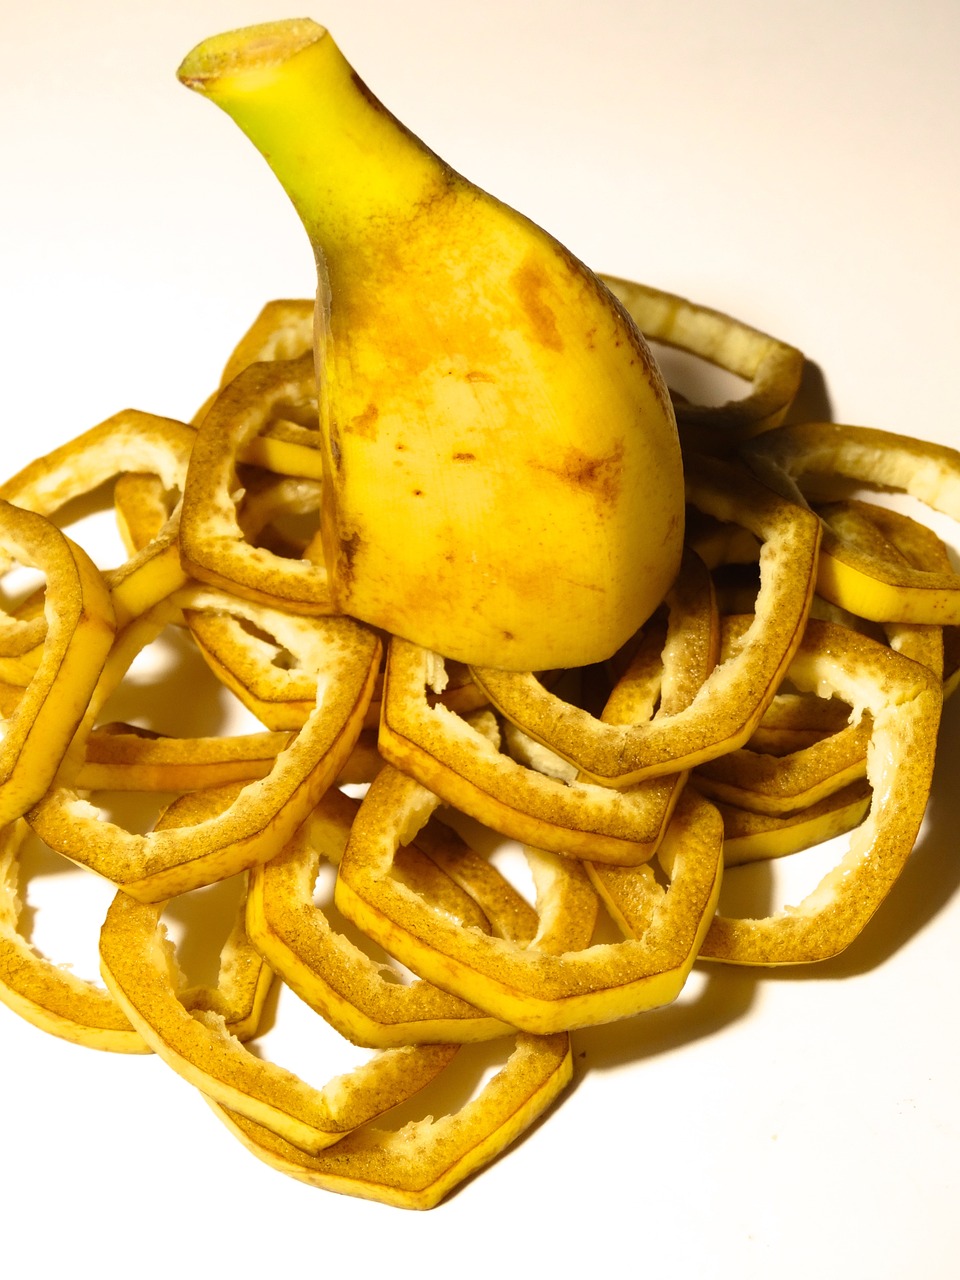
It is ideal for people who use kitchen and yard wastes as they accumulate, so they can’t save up enough materials to make a really big pile.
As you can see, compost bin ideas are limited only by your imagination. So why not give it a try?
The Author:
A gardener for years, Marcie has learned the value of having organic compost to feed her plants. So needless to say, she has used compost bins for years.


