How to Make a Crazy Quilt
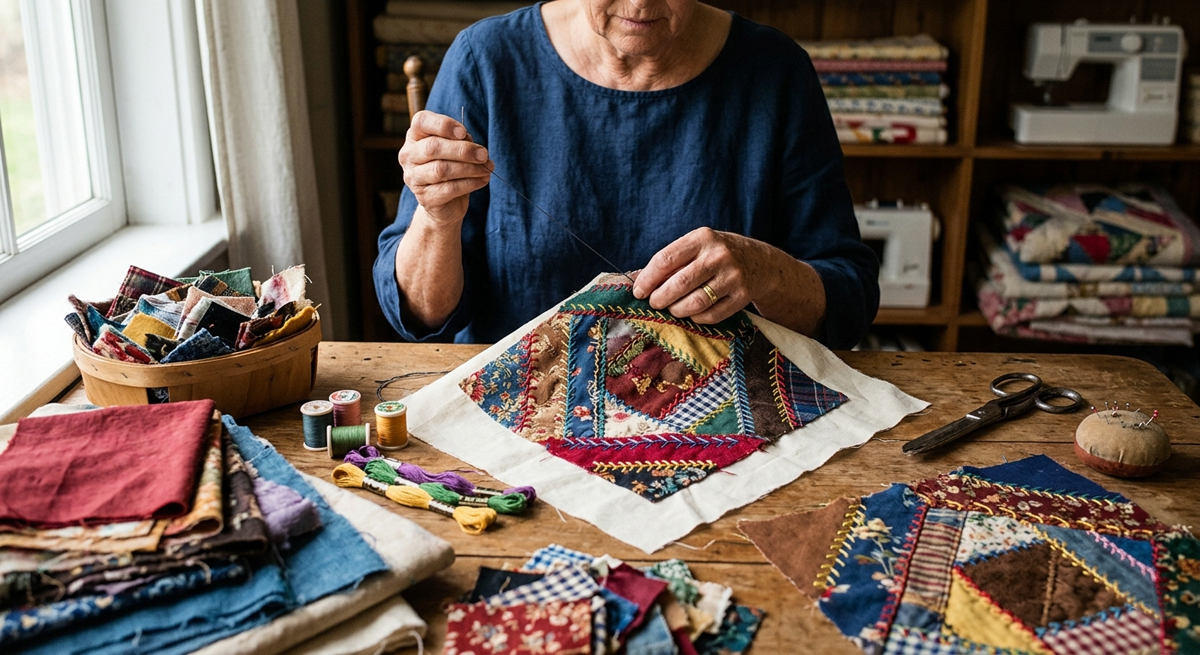
A crazy quilt is a quilt that is made from scraps of fabric. The scraps come from different types and colours of left over fabrics from old clothing or other sewing projects. Usually there is no pattern or design to the quilt, giving it a very abstract look. A wide variety of stitches are used, which also contributes to the abstract look. The scraps are sewn onto a larger single piece of fabric, which will form the backing of the quilt. Unlike most other quilts, crazy quilts usually don’t have any batting in the middle.
To start making your crazy quilt, first select some muslin fabric, which will be used for the backing. The muslin will be cut into blocks of the same size. The blocks can be any size you wish, such as 12 inches by 12 inches, or larger. Complete one block at a time, until you have finished as many blocks as you need to form a quilt that will be the size you desire. Once all the blocks have been completed, you will attach them together to form the finished quilt.
Next, gather all your left over scraps of fabric together. Sort the fabric scraps into three separate piles or containers by size – small, medium and large. Smaller scraps are best suited for smaller pieces, such as pillow cases, or to be used as embellishments. Larger scraps are preferable for large quilts.
Since we are making a large quilt, bring the container with the large scraps close to you. Choose the pieces at random to attach to the muslin fabric, using the “sew and flip” method. Begin by choosing the first scrap and place it right side up anywhere on the muslin. Next, select a second fabric scrap and place it over top of the first scrap, wrong side up, so that at least one edge lines up.
Now either hand or machine sew along the edge and through all three pieces of fabric, so that they will be attached together. Then flip the top piece over, so that it is right side facing up. Select a third piece of scrap fabric. Again, place it wrong side up over one of the other scraps so that the edges line up. Sew it in place and then flip it over. Repeat this process of selecting one scrap of fabric at a time, sewing it in place and flipping the top piece over.
Once the block has been covered with scraps of fabric, it is time to have some fun by adding embroidery to the quilt. Go over each seam in the quilt and place a fancy embroidery stitch over the seam. Each seam can have a different stitch, so this is the time to learn and practice new stitches. Some common stitches that you can use are the chain stitch, the feather stitch, fern, herringbone, the chevron stitch and many more. As well, feel free to change the colour of the thread every time you do a different stitch. Don’t worry about being perfect, that’s part of the charm of a crazy quilt.
Now that you have finished your blocks, it is time to attach them together. Line them up and arrange them in an order that you find pleasing to the eye. Sew the blocks together, one row at a time. Once you have finished two rows, you can sew them together. Once you have sewn all the blocks together, the front of the quilt is finished.
The last step is to sew the front to the back. The back can be a single piece of fabric, or several large pieces sewn together, depending on the size of the finished quilt. You don’t need to add batting to a crazy quilt. To attach the front and back, simply baste the edges together before permanently binding them. Once you have finished binding, simply remove any excess threads and you are done.
Take a step back and admire your work. Show if off with pride and remember to congratulate yourself on a job well done!
The Author:
Joanne Jones, Photo. Julia S.
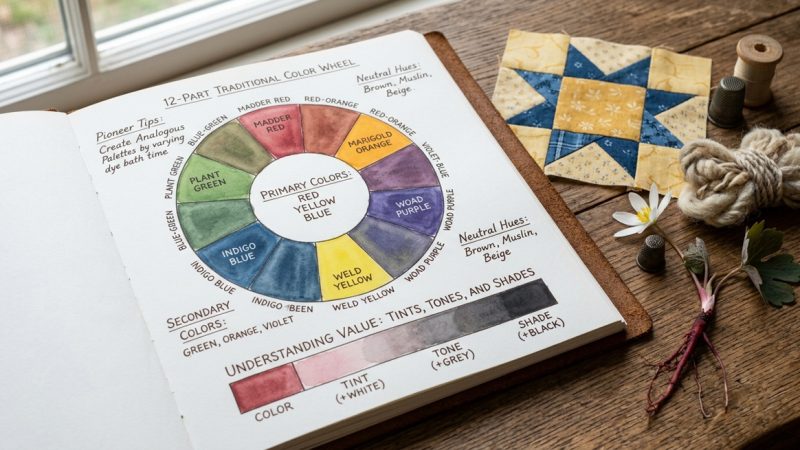
The Pioneer View: A Tradition of Resourcefulness
by pioneerthinking.com
While making a crazy quilt today is a fun, creative way to use up leftover crafting scraps, for the pioneers, it was a masterpiece of pure necessity. On the frontier, absolutely nothing went to waste.
When clothing, blankets, or curtains wore out beyond repair, the usable sections were carefully cut away and saved in a scrap scrap-bag. Because fabric was scarce and expensive, pioneer quilters couldn’t afford to cut perfectly uniform squares; instead, they pieced together whatever shapes they had, overlapping edges to maximize every square inch of warmth.
The “crazy” design wasn’t just an artistic choice—it was a reflection of daily life, blending a piece of a father’s old wool coat with a scrap of a daughter’s outgrown Sunday dress. The next time you piece together your quilt, remember that you are walking in the footsteps of resilient crafters who turned fragments of hardship into beautiful, lasting comfort.
What fancy embroidery stitches are you planning to try on your quilt? Let us know in the comments below! And if you found this guide helpful, don’t forget to share it with your fellow crafting friends.