How to Make Goat Milk and Honey Soap
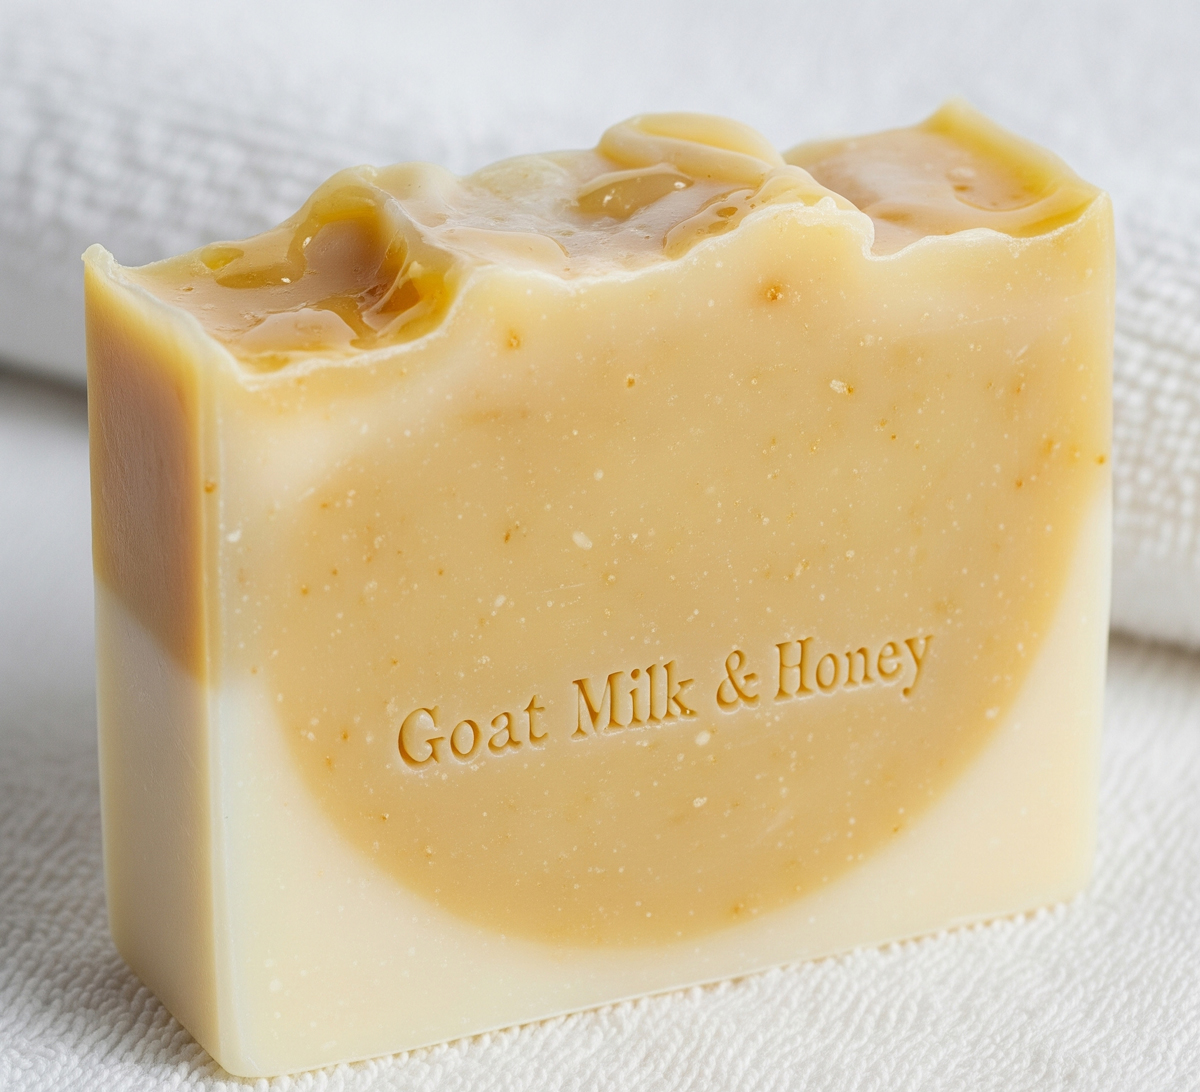
Making handmade soap is a fun and rewarding hobby that allows you to create unique and natural products to use and share with others. Goat’s milk and honey soap is a popular variety of soap that offers many benefits for the skin. Goat’s milk is rich in vitamins and minerals, while honey has natural antibacterial properties and helps to moisturize the skin. In this article, we will provide step-by-step instructions on how to make goat’s milk and honey soap.
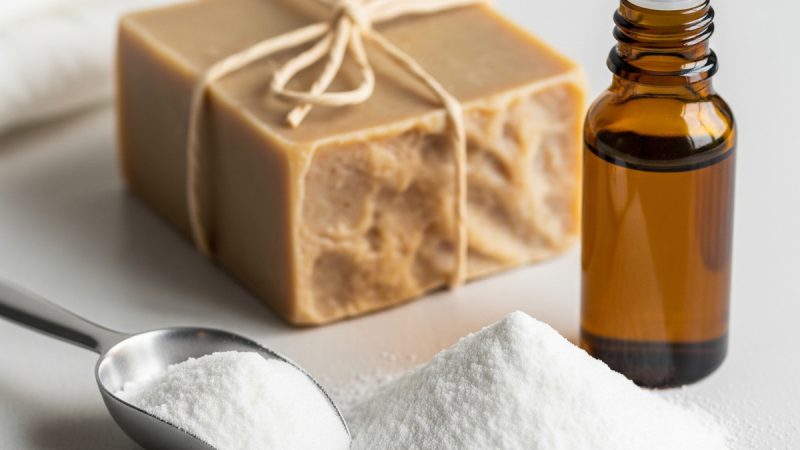
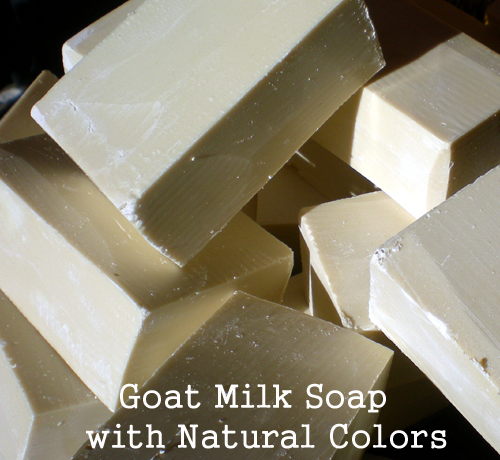
Goat Milk and Honey Soap
Ingredients:
- 16 oz. goat’s milk
- 16 oz. coconut oil
- 16 oz. olive oil
- 6 oz. lye (sodium hydroxide)
- 1 oz. honey
- 1 oz. fragrance oil or essential oil (optional)
- Safety goggles and gloves
- Stainless steel pot
- Glass measuring cups
- Digital scale
- Stick blender
- Soap molds
- Plastic wrap
Step 1: Prepare Your Work Area
Before beginning, make sure you have a clean and organized work area. Put on your safety goggles and gloves before handling any of the ingredients. Make sure you have all your equipment within reach.
Step 2: Weigh Ingredients
Using a digital scale, weigh out 16 oz. each of coconut oil and olive oil into a stainless steel pot. Heat the oils over low heat until they are melted and mixed together. Remove from heat and let cool until the temperature is around 100-110 degrees Fahrenheit.
In a glass measuring cup, weigh out 16 oz. of goat’s milk, making sure it is at room temperature.
In a separate glass measuring cup, carefully weigh out 6 oz. of lye. While wearing your safety equipment, slowly add the lye to the goat’s milk, stirring constantly until it is fully dissolved. Be sure to add lye to the liquid, never the other way around.
Step 3: Mix the Ingredients
Once the oils have cooled down to around 100-110 degrees Fahrenheit, add the lye mixture to the pot of oils. Use a stick blender to mix the ingredients together until the mixture thickens and reaches a light trace.
Add 1 oz. of honey and 1 oz. of fragrance or essential oil of your choice (if desired) to the mixture. Mix well with the stick blender until fully incorporated.
Step 4: Pour into Molds
Pour the soap mixture into soap molds, filling them about three-quarters full. Smooth out the tops with a spatula or spoon.
Cover the molds with plastic wrap and place them in a warm and dry location. Leave the soap to set for 24-48 hours, until it has hardened and no longer feels sticky or squishy.
Step 5: Unmold and Cut Soap
Once the soap has hardened, remove it from the molds and cut it into your desired shape and size using a soap cutter or knife. Place the soap bars on a rack to cure for at least four weeks, allowing any excess moisture to evaporate.
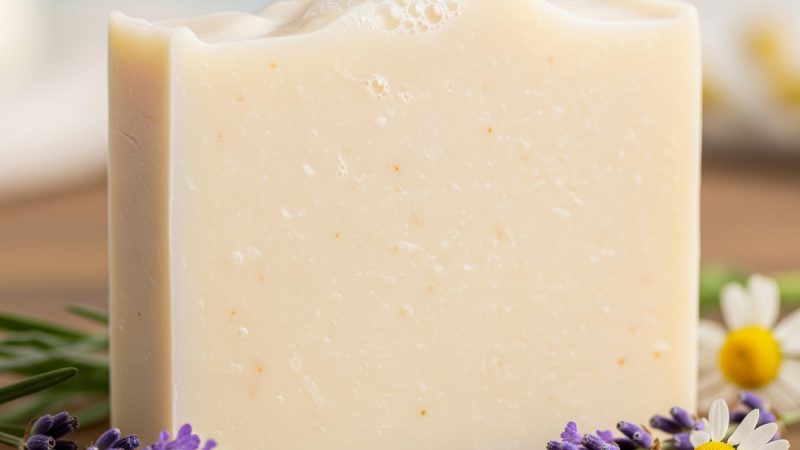
You can now enjoy your handmade goat’s milk and honey soap, or give it away as gifts to friends and family. It is gentle enough to use on all skin types and provides a luxurious lather that will leave your skin feeling soft and moisturized.
Shelf Life
The shelf life of homemade goat milk and honey soap can vary depending on the ingredients used and how it is stored. Generally, properly made and stored soap can last up to one year or more.
Storing Soap
To store your homemade soap, it is best to keep it in a cool, dry place away from direct sunlight and moisture. You can wrap your soap bars in plastic wrap or wax paper to protect them from dust and other contaminants. If you want to be more eco-friendly, you can use reusable cloth wraps or bags.
When wrapping your soap, make sure to leave some breathing room as soap needs air circulation to properly dry and prevent mold growth. It’s also important to label your soap with the date it was made, so you can keep track of its shelf life.
The Author:
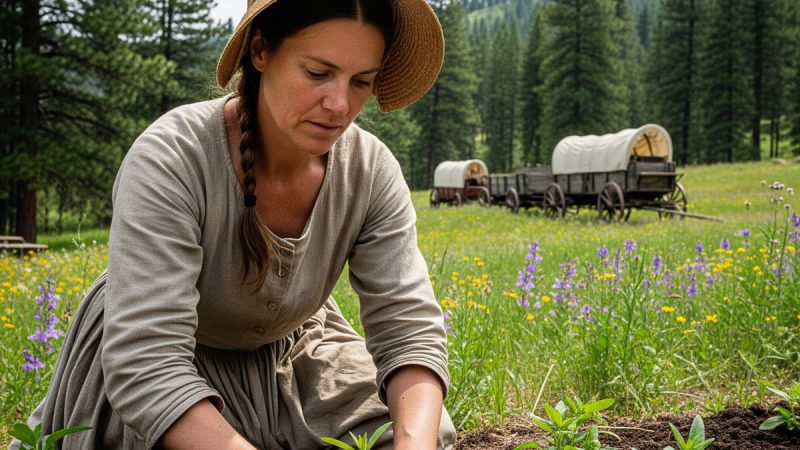
Pioneerthinking.com: Ingredients for a Simple Life. Insights from a seasoned professional rooted in country living, with 28 years of horticulture expertise and over two decades of practical experience in homesteading, natural beauty, natural health, cooking and creative living.
Photo. Gemini

