How to Sew a Hem
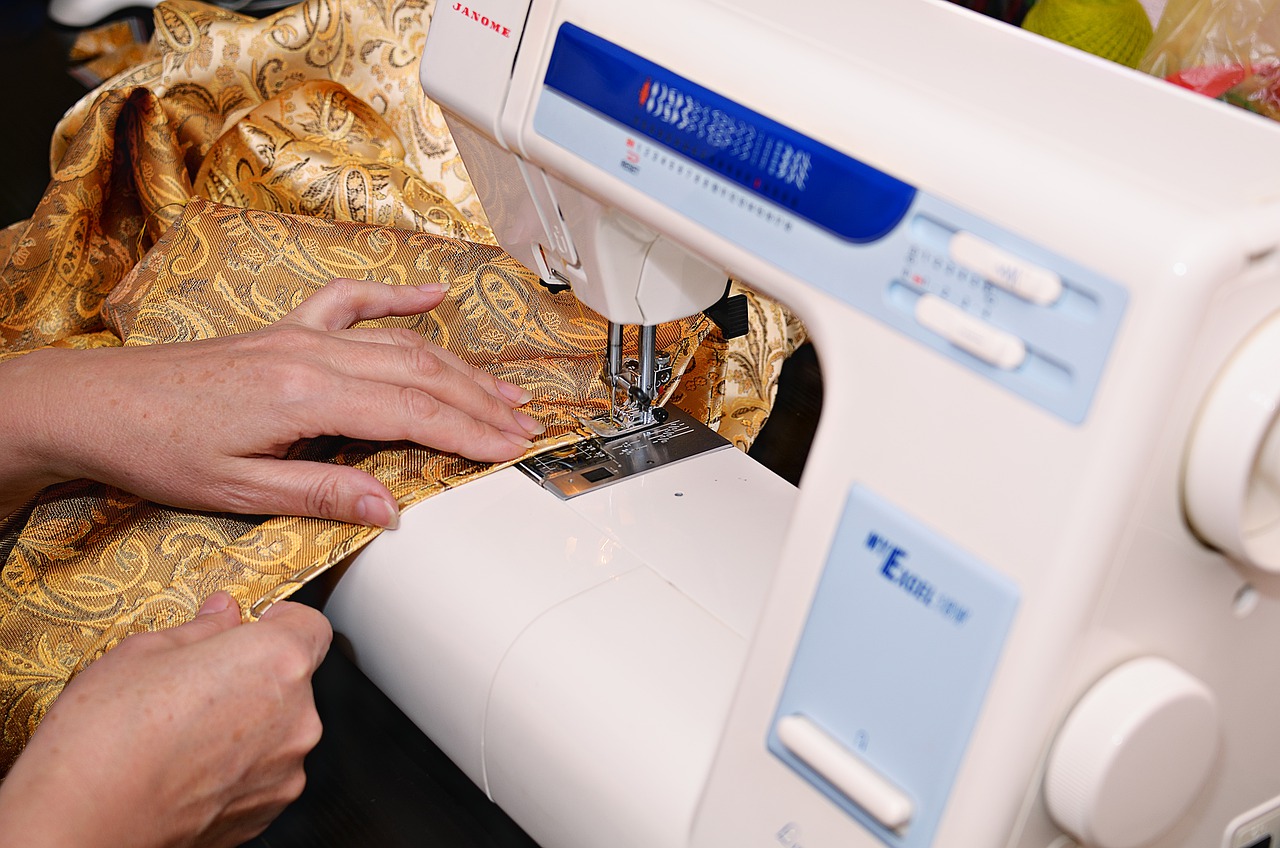
Do you know how to sew a hem? It’s pretty simple, and the following instructions will teach you how to sew a neat, almost invisible, hem every time.
To start with, iron flat that area of the fabric you need to hem. Now we need to turn up and pin the hem. The easiest way to do this is on a flat surface, such as a table. Your fabric should have the wrong side facing you.
I know most patterns allow for 5/8″ for a hem, but I allow a little more to ensure the hem is not too bulky.
Start with a small section of the fabric and turn over about 1/2cm or ¼”. Now fold over again another 1½cm or ½”. Pin this in place. Because I am right handed, I now move to the left about 6cm or 2″ and do the same again (if you’re left handed, move to the right). Continue in this way until you have pinned the entire hem.
Now check and make sure that the hem is straight, with no bulky sections or gathers. If there are, just rework that section of the fabric until it is more even. Unpin, redo your folding and re-pin.
At this point, you can turn the fabric back to the right side and iron it, but this isn’t necessary unless your fabric is particularly slippery (like satin or jersey).
Next, we need to get together our sewing kit.
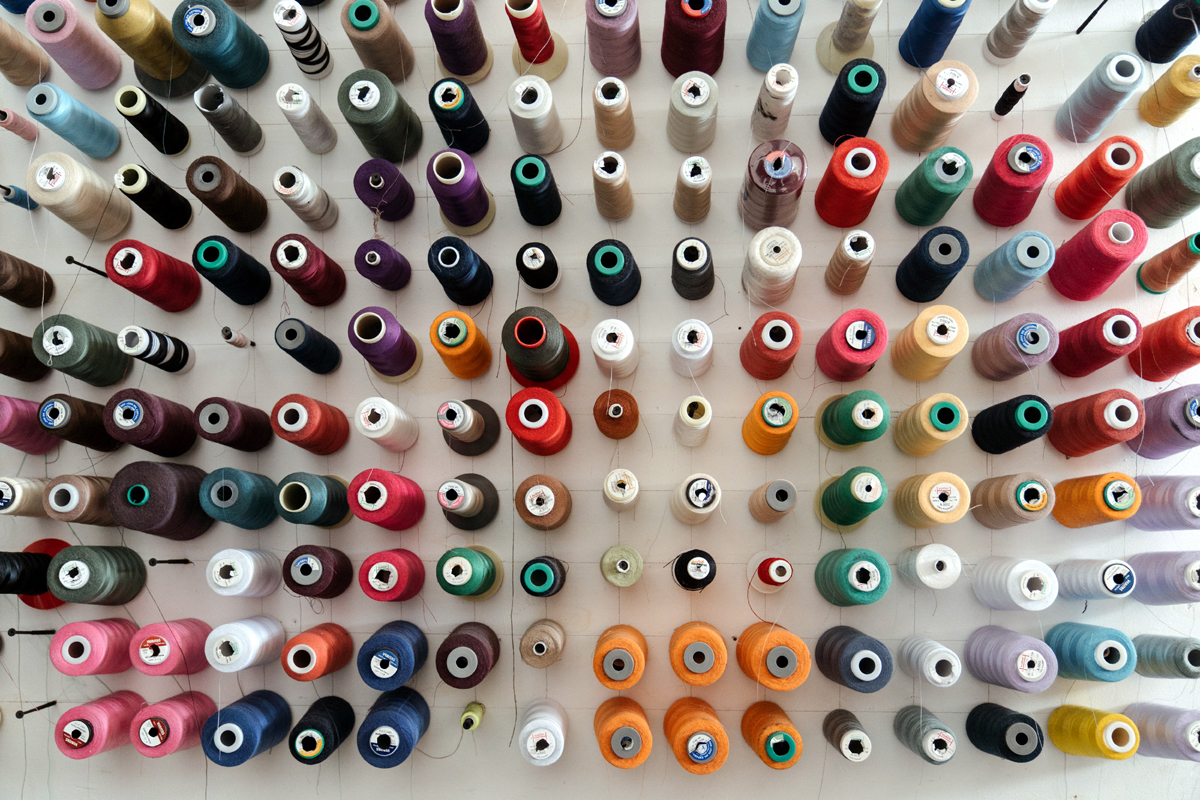
The most critical thing to ensure that your hem is almost invisible is to choose the right thread for your fabric. If your fabric is very light, filmy, or delicate (such as chiffon, satin, jersey, cheesecloth, etc) then choose a very light nylon thread.
If your fabric is a medium weight (such as cotton, linen, polyester, etc) then use a regular nylon thread.
And if your fabric is thick, heavy or bulky (such as denim, canvas, polar fleece, etc) then consider using a heavier cotton thread.
Once you have decided on the best type of thread to use, you must choose the right colour. If you can get a perfect shade match, well and good. If not, go for one slightly lighter than your fabric rather than darker, as this is less likely to show.
Your needle has to match the fabric and thread. So for light filmy fabrics use a very fine needle, a regular sized needle for ordinary fabrics, and a larger more robust needle for heavier fabrics.
To see whether you have the right needle, run it through your material once without any thread in it. If the hole you create with the needle closes up or disappears by itself, you’ve got the right needle. If you can see the hole afterwards, try a smaller needle.
Now – to sew!
Thread your needle, and leave the short end of thread about 20cm long or 8″. (Note: I never sew with the thread doubled unless I am sewing on a button). Tie a knot in the long end of the thread.
I find it easiest to sew with the fabric on my lap (or the part to be sewn on my lap).
The fabric should be wrong side up, with the pinned hem closest to you. Pick a starting point (a side seam is usually good), and insert the needle through the body of the fabric, as close to the top of the hem as you can, and without piercing through to the right side of the fabric (that’s why I usually start on a side seam). Now pierce the needle through the top of the hem by placing the tip of the needle slightly underneath the top of the hem and bringing it up through the outer part of the hem.
Now place the needle about 1cm or ½” to the left (or to the right for left handers) **, as close to the top of the hem as possible, and insert through several fibres of the fabric (try not to go all the way through to the other side of the fabric). Again, place the tip of the needle under the top of the hem and insert through and out to the outer part of the hem. Repeat this until you are back where you started.
** How far apart you do the stitches depends on several factors such as how robust the hem needs to be (the more wear and tear, the closer the stitches need to be), the weight of the fabric (generally lighter fabrics can have stitches farther apart than heavier fabrics) and whereabouts on the garment the hem is (if fingers or toes are likely to get caught in the hem when putting it on, the stitches should be closer together).
To finish off the hem, sew 2 stitches one on top of the other, tie a knot in your thread, and you’re done. Iron your hem (and admire)!
Author:
Diane Ellis has been sewing since she was very young and got her first sewing machine at 6 years old (albeit a miniature one!). She sews purely for friends and family, and enjoys making her own patterns, and using her skills to decorate her home. She is the co-author of the website Sewing4Dummies where, for a limited time, you can sign up for a free 6 part sewing course called Easy Fun Sewing Projects.
Photo. ds_30
Source: Ab
