Log Staining Tips for Log Cabins
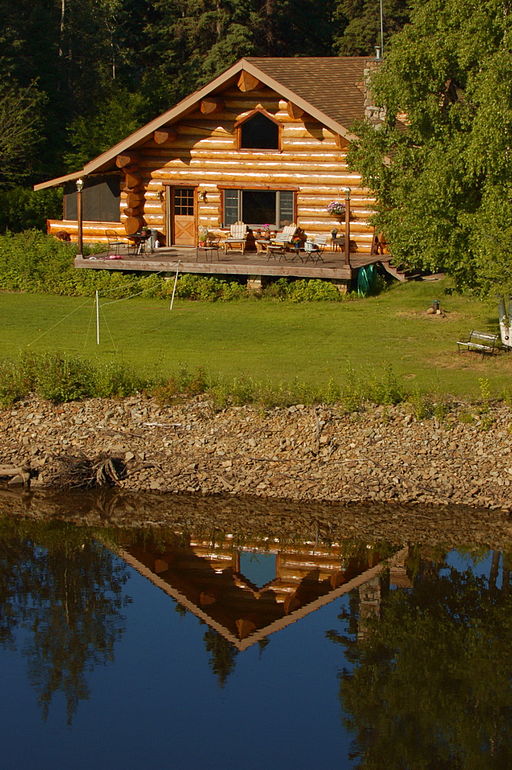
Staining a log cabin is a big job. You want to do it right to justify all your hard work. Follow these tips to give you a job you can be proud of and a cabin that will look beautiful for years to come.
Clean The Logs First
New logs have mill glaze, road dirt and sawdust on them, old logs have spider webs, mildew and dirt splashes. Scrub by hand with TSP and bleach, if needed, and hose off gently. If you use a pressure-washer be very careful with the setting, the nozzle size and how close you hold the nozzle to the logs. It’s very easy to damage your logs badly with an uncontrolled pressure-washing. Let the logs dry for several days before staining.
Brush or Spray on The Stain
First you have to deliver the stain to the log. Spraying is a very efficient way to do this but be sure you follow up with back-brushing. Alternatively you can brush on the stain by hand and smooth it as you go. This is best if there is only one person doing the staining. Use plenty of stain – you don’t want to starve the logs of their protection.
Back-Brush The Stain
If you don’t back-brush it the stain will just sit on top of the logs. Brushing it forces it into the pores and cracks of the wood and gives an even, smooth coat. It’s best to use a wide, universal-bristle brush and straight, long strokes for a consistent finish.
Stay Out of The sun
Stain dries very quickly in direct sunlight and makes it difficult to keep a wet edge. You’ll have better results by staining on the shady side of the log cabin. It also helps to do your staining on cool days or in the morning before the afternoon sun heats the logs up.
Keep a Wet Edge
The worst thing you can do is have the stain dry out and leave a line where you ended. By only working on 3 or 4 logs at a time all the way across the log wall you can keep a wet edge going and catch any drips or runs.
Start at The Bottom
If you start at the top of the log wall, any drips will usually soak in to the lower logs before you can do anything and this will be visible later. By starting at the bottom of the log wall, any drips will blend into the stain already applied lower down.
Always Apply a Minimum of Two Coats
Some people think that because one coat of log stain looks so good it must be enough. One coat is not adequate protection from the damaging sun and weather. Two coats will last much more than twice as long as one coat and three coats of stain is even better protection for your logs.
Wait The Correct Time Between Coats
You can’t go back and immediately begin to re-coat the stain. It’s important to let the first coat of stain dry before doing the next. On the other hand, if you wait too long the first coat can get dirty and the second coat of stain won’t adhere as well. One day between coats is a good time.
Buy Enough Stain
You certainly don’t want to run out of stain in the middle of the job. Although average coverage for log stain may be around 200-250 square feet per gallon, the majority is used on the first coat where the coverage is around 100 square feet per gallon.
The raw wood soaks up the stain and makes this coat take longer to apply. Coverage increases to around 400 square feet per gallon on the next coat. This second coat goes faster than the first because the stain doesn’t soak in as much.
On this coat you have to be very careful about drips and runs. Go back over your work carefully and brush out any drips you see before they dry.
Protect The Logs
Think of stain color like the SPF rating on sun-block: the darker the stain, the better the protection of your log home from the damaging UV-rays of the sun. Remember that the more coats you apply, the darker the stain will be as well.
Continue Maintenance
Do a regular bi-annual check of your log cabin and assess your stain. Water-based log stains seem to last 3-5 years and oil-based log stains last about 5-7 years before re-coating is necessary. If you want to further protect your logs without darkening them, apply a clear finish coat.
You’ll protect your logs for years to come with a proper log stain application. Pick the best log stain, apply it right and keep an eye on your job to ensure many years of enjoyment and minimum cabin maintenance costs with your log home.
The Author:
Brian Gabriel is a licensed contractor, mechanical engineer and log home builder in the mountains of western North Carolina. He is the author and designer of the website Log Cabin Connection, created to offer advice, tips, ideas and resources related to log cabins.


Thanks for the tip about back-brushing the stain. My family is going to get together and stain our log cabin. We share one as a family. We don’t know much about staining, so your advice to back-brush will help!
You’re welcome! I’m glad the tips was helpful. Staining a log cabin can be a big project, but it’s great that you’re doing it together as a family. Don’t hesitate to reach out if you have any other questions about staining.
I find it helpful to know that I should assess the stain of my log home twice a year to check if it needs re-coating. This is a great tip for me since I plan on buying a log home soon. I have always wanted to stay in a log home during my retirement years, so I am extremely excited that it will happen soon.
That’s great to hear that you found the tip helpful! It’s important to properly maintain a log home to ensure its longevity and beauty. A log home can be a wonderful place to retire and enjoy the natural surroundings, so taking good care of it is essential. Best of luck with your future log home and retirement plans!