Make Your Own Wheatgrass and Living Bread
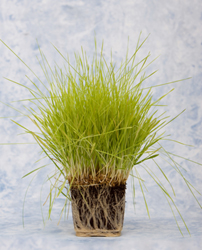
Wheatgrass juice is a rich, green chlorophyll drink, extremely high in enzymes and nutrition. Wheatgrass is easy to grow and ensures a supply of fresh, live vitamins, minerals, antioxidants and amino acids. The juice can be extracted using a specialized juicer, and is great to drink straight or in a smoothie. You can also simply chew the grass, which is extremely beneficial for the teeth and gums.
Sprouted wheat berries can also be used to make living essene breads, which are very helpful if you’re trying to maintain a totally raw diet. See page 4 for some simple essene bread recipes, and don’t miss out on the recipe for ‘raw pizza’ using a sprouted wheat crust!
For those who are not familiar with wheatgrass, consider the following list of benefits experienced by individuals who have adopted a wheatgrass regimen.
- Stronger immune system
- General detoxification
- Better digestion
- More energy and better sleep
- Improved eyesight
- Healthier teeth and gums
- Reduced inflammation in the entire body
- Lessened appetite cravings
- Increased mental clarity
- Steadier nerves
Buying wheatgrass at juice bars or elsewhere can be costly, but with a little time and effort, you can grow your own and enjoy it fresh any time.
You will need:
- Large wide mouth jars
- Screens or other porous cloth; (cheese cloth, screening, clean nylon stockings)
- Strong rubber bands to hold screen in place
- Wheat berries – approximately 1 1/2 cups of dry wheat berries will grow one garden flat of wheatgrass.
- Healthy soil in gardening flats. (To grow grass only. Not necessary to spout berries for bread.)
- Shade cloth
1. Begin by inspecting the seeds and removing anything that looks irregular in color. Rinse them once in a jar.
2. Fill the jar with water two inches above the berries. Soak for 10–12 hours.
3. Drain water and rinse again. Cover the mouth of the jar with a screen and hold in place with a strong rubber band or an open mason jar lid. Place jar on a rack, at a 45° angle, to drain. Cover with a towel or shade cloth.
4. Continue rinsing and draining 2–3 times a day for 2–3 days until the sprout’s tail is at least one eighth of an inch long. Once they have reached this stage, sprouted wheat berries can either be planted to grow wheatgrass or used in this sprouted state to make Essene breads. See pages 4&5 for recipes. To grow grass, continue to next page.
5. To prepare soil, a good mixture is 75% top soil and 25% peat moss or 50% top soil, 25% compost and 25% peat moss. You can also use a prepared potting soil. Mix soil in a bucket or box. Fill trays at least 1 1/2 inches high with soil.
(We have also had great success growing wheatgrass in raised garden beds. Use 15 lbs. dry wheat berries for a 4′ x 10′ raised bed, flipping soil over after harvesting.)
6. Sprinkle berries on top of the soil, keeping them close but not piled on top of each other. Water well, then cover with a shade cloth. Keep them shaded for the first three days and then partially shaded for the remaining days. Water at least once a day. In hot climates, water more often. Keep your crop protected from birds and other small animals – they like the seeds!
7. Harvest in 5–7 days from planting. Wheatgrass harvesting requires a sharp knife, scissors or grass clippers. Cut grass half an inch above the base. Cut only what you need, and let the rest continue growing. It is overgrown at 8–9 days. The second growth does not have the same potency, so it is suggested to harvest the grass only once, and then compost the roots and soil.
8. Any problems can usually be solved by a slight change in the growing process. Mold may grow if the seeds are too damp, planted too closely or have poor ventilation. Use shade cloth to increase aeration, and water less. A sparse crop can happen if the seeds were soaked too long or not watered properly. Pale grass may be caused by insufficient sunlight. Wheatgrass likes filtered sunlight better than direct hot sunlight.
9. It takes approximately seven days from soaking to harvest. One pound of wheatgrass should yield at least 10 oz. of wheatgrass juice.
Sprouted breads have been around for centuries, and are becoming a staple in the raw food diet. You can buy them in health food stores (which is probably a good idea if you want to find out whether they appeal to you at all), but you can also make them yourself with a little patience.
Whole wheat berries have more gluten and make a sweeter, more ‘doughy’ bread. Juicing the wheat berries first (such as through a Champion Juicer) removes some of the gluten and makes a lighter, crispier bread. The following recipes suggest juicing the sprouted berries, but the choice is up to you.
Herb Essene Bread
yields 8–10 loaves
- 4 cups sprouted wheat berries
- 1/2 cup carrots, finely grated
- 1–2 tsp. sea salt (or substitute) to taste
- 3 Tbsp. fresh parsley
- 2 Tbsp. fresh basil
- (or use your favorite herbs)
1. Put sprouted wheat berries through a Champion® juicer, using the juicing screen. This will remove some of the excess gluten. Discard the liquid.
2. Mix in grated carrots, seasonings and herbs to the dough.
3. Flatten or form into thin loaves and put on trays to dehydrate. Dehydrate for four hours; flip over and continue dehydrating until firm. If a dehydrator is not available, dehydrate in the oven below 101°.
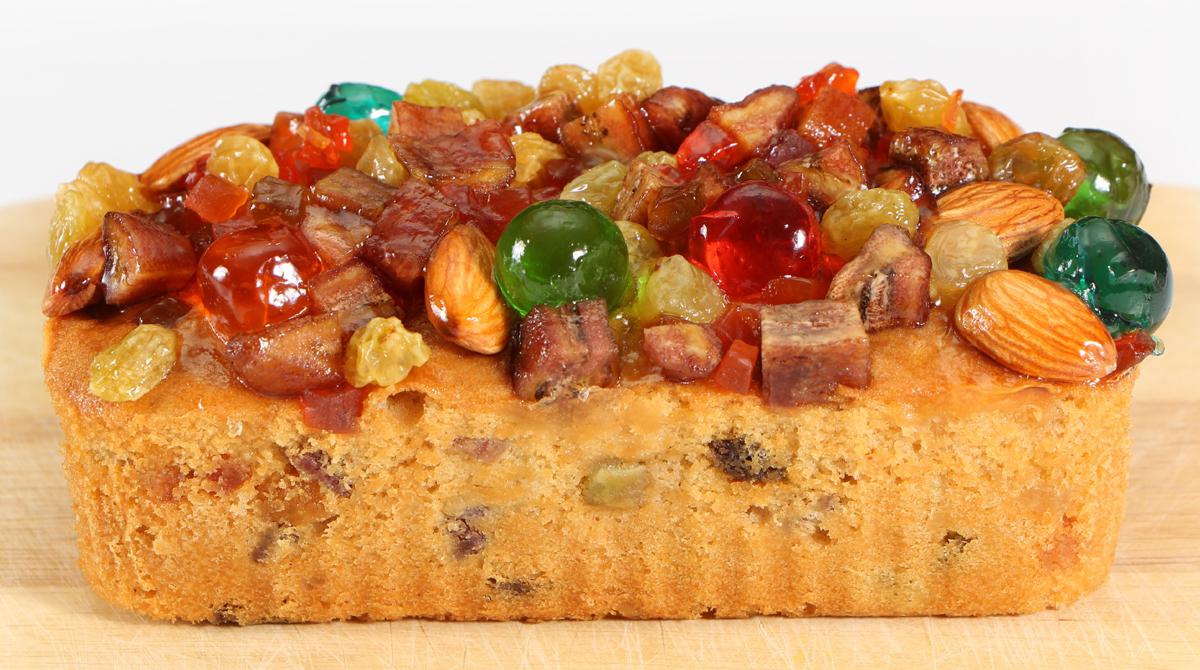
Sweet Wheat Essene Bread
yields 8 loaves
- 4 cups sprouted wheat berries
- 2 small bananas, sliced
- 1/4+ cup raisins
- 1 Tbsp. maple syrup* (optional)
1. Put sprouted wheat berries through a Champion® juicer, using the juicing screen. This will remove some of the excess gluten. Discard the liquid.
2. Mix in raisins, bananas, and maple syrup.
3. Flatten or make small thin loaves on a tray to dehydrate. Dehydrate for five hours. Flip over for another 3–4 hours until bread is firm and not sticking to tray.
* To produce maple syrup, sap has to be collected and boiled down. During the boiling, a drop of lard, shortening or vegetable oil is sometimes added to prevent the sap from foaming up, and this ingredient is not listed on the label. When buying maple syrup, look for the kosher symbol, or call the company to see that they use vegetable-based defoamers.
Pesto Pizza
yields 6 small pizza pies
Raw Pizza Crust
- 4 cups sprouted wheat berries
- 1 tsp. onion powder
- 1 tsp. dried basil
- 1 tsp. dried oregano
- 1/2 tsp. garlic powder
Pesto Sauce
- 1 cup pine nuts
- 1–2 cloves garlic, diced
- 1–2 cups fresh basil, chopped
- 1/8 cup water
- sea salt or substitute, to taste
- 1 Tbsp. nutritional yeast
Toppings
- 1–2 tomatoes, diced
- 1/3 cup sweet onion, diced
- 1/3 cup peppers, diced
- 1/3 cup mushrooms, sliced
1. Put sprouted wheat berries through a Champion® juicer, using the juicing screen. This will remove some of the excess gluten. Discard the liquid.
2. Thoroughly mix the remaining dough ingredients in with the wheat berries.
3. Press dough into small, personal-sized circles on flat dehydrating sheets (4 per sheet). Dehydrate at 100° for three hours; turn over and continue for another three hours until dough is firm but not dried out. (If you don’t have a dehydrator, place the pizza crusts in an oven at 100° for several hours, or use a solar dryer.)
4. Blend all pesto sauce ingredients in a food processor until creamy. Spread on finished rounds of pizza crust. Add toppings and serve
The Author:
wheatgrassjuice


