Raising Meat Chickens – A Step by Step Guide
Before you go out and buy some chickens for meat, you need to do some research. There many things to consider before you take the plunge. This guide will help you so you don’t have any unexpected surprises. These steps helped us raise 44 meat chickens that averaged out to 7.25 pounds in just nine weeks.
Step 1: Should you Raise Meat Chickens?
This is a step every new farmer needs to decide. They are very different to raise than egg laying chickens. Usually you will have quite a few at a time, which means a lot more chicken manure, and feed costs. Also you need to decide on which type of meat chicken you want to raise. Also, if you get easily attached, you have to be able to face the fact that these birds are only going to live about 8-10 weeks before processing. These chickens can’t live comfortably much longer as they grow so fast.
Types of Meat Chickens
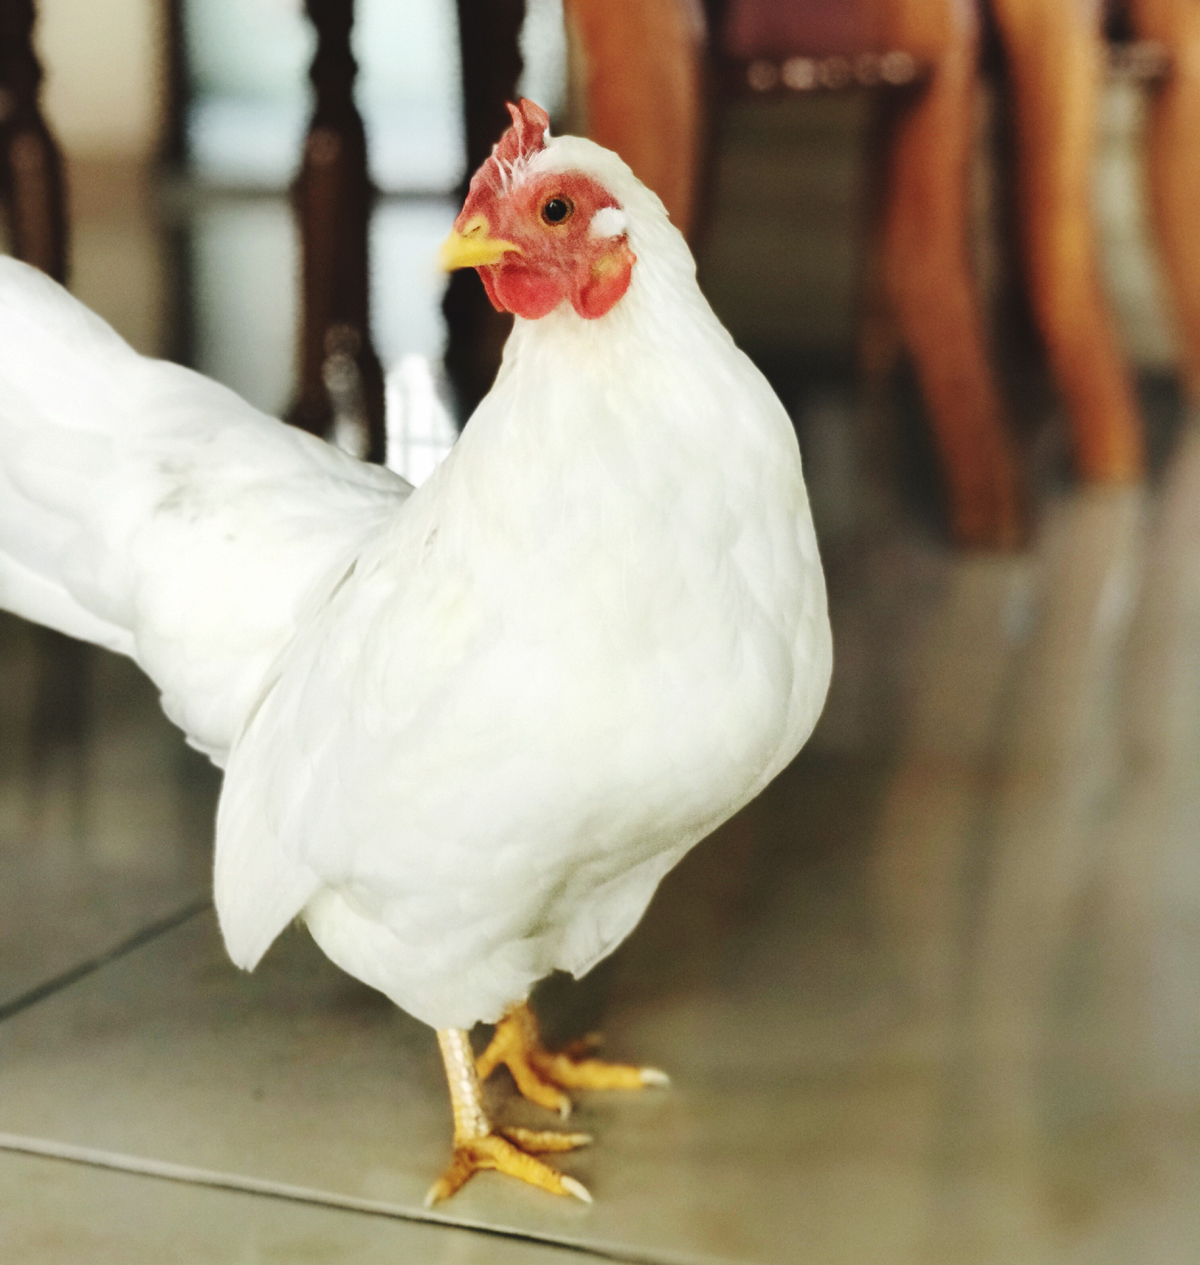
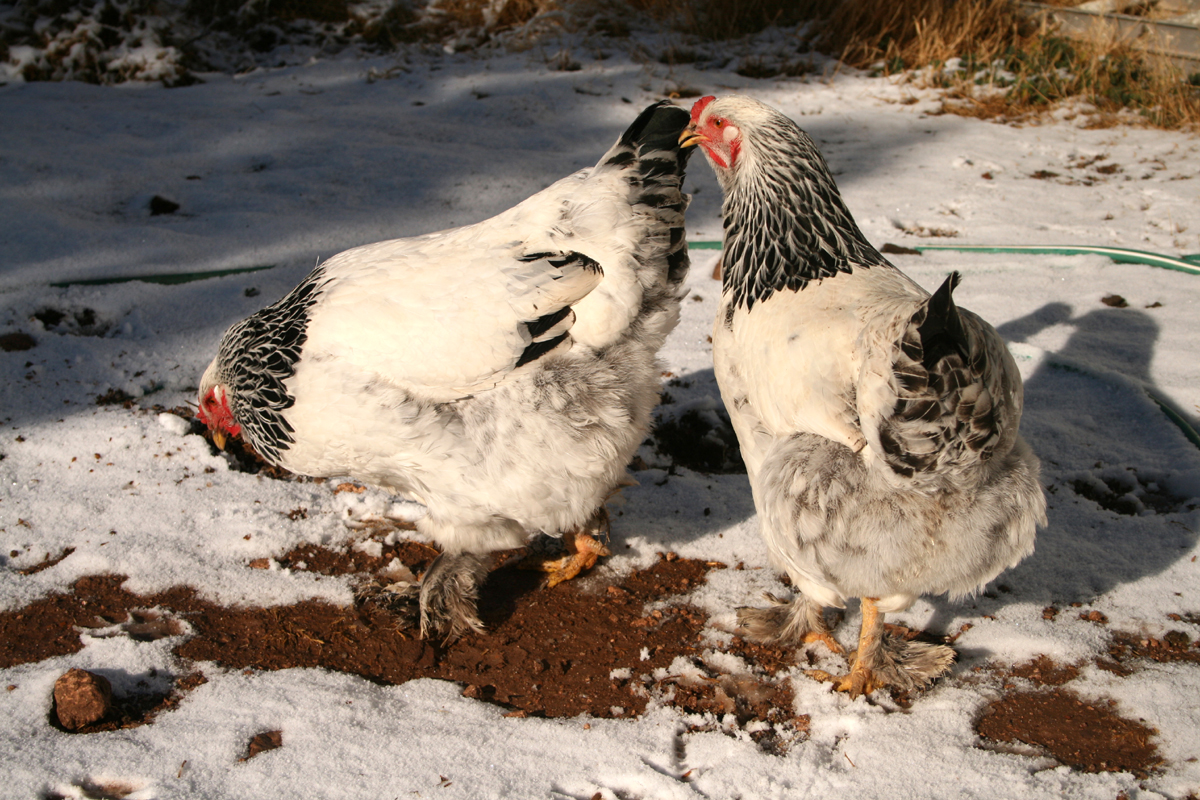
The most popular type of meat chicken is commonly known as a Cornish cross. These chickens are a cross between a Cornish and a White Rock. They are used in factory farms, and small family run operations across the country. They are known for their efficient feed to weight ratio, making them one of the cheapest chickens to raise. They are usually ready to process between 8-10 weeks old, weighing anywhere from 5-8 pounds.
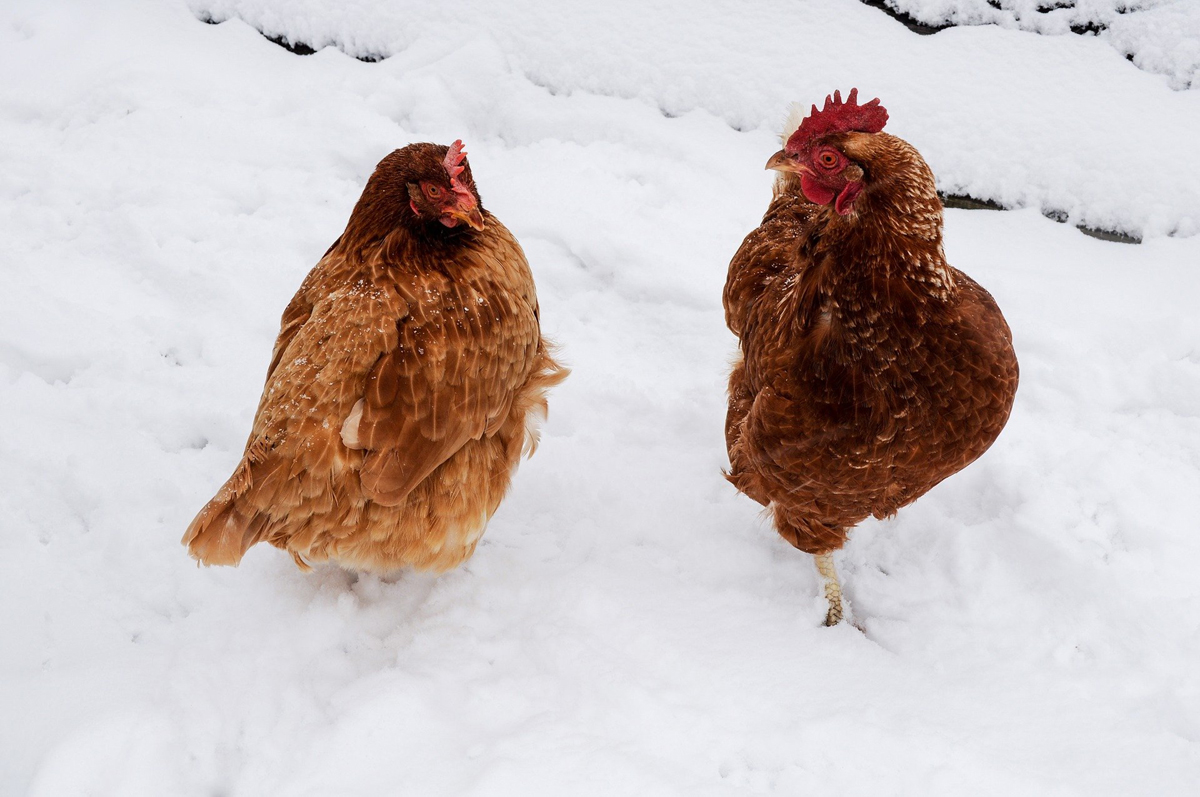
Another option is freedom rangers. They take a bit longer, about 12 weeks, but are much more adaptable to foraging, and free ranging. They are a very hardy bird, and grow to about 6-7 pounds in 12 weeks.
Where Do I Buy Meat Chickens?
If you lucky enough to have a hatchery close by, then you can simply go buy them there. But, if your like most people, the internet is going to be your answer. We ordered ours from Murray McMurray Hatchery. We couldn’t have been happier with the service, and all chickens arrived alive and well. There are many different hatcheries around the country. Read the reviews that people leave, and should give you an idea what kind of service to expect.
Step 2: Raising Baby Chicks
Now that you have chicks coming through the mail in a small box, you need to think about their home for the next few weeks. You will need to set up a brooder, feed and water, and keep them clean in order to keep them healthy.
Setting up Your Brooder
A brooder is a place to keep your birds contained, clean and warm. It is usually a container, with shavings on the bottom, a brooding light up above, and their food and water containers. You can make the brooder yourself, don’t need anything fancy here. Usually a container, more than 12″ high, and you wont need a top.
Brooding Lamp
The brooding light is a 250 watt red light, in a reflective housing that will provide heat for the chicks, since they don’t have feathers to keep them warm. It’s also good to find the lights with a wire guard on the bottom will help protect from fires in case it falls onto the shavings.
You’ll also need to figure out the height of the lamp to adjust for temperature. This can easily be done by attaching the light to a chain with an S hook. Each week you’ll plan on adjusting the temperature down 5 degrees so help the birds adjust.
Start with a temperature of about 95-100 for day old chicks, and back it off slowly over the weeks. Also watch how your birds react. If they huddle around the light, then lower it some. If they run away then pull it up some so it isn’t so hot for them. Also find a comfy area for their food and water so they don’t overheat or get chilled when they eat.
Thermometer
You will want a thermometer to keep an eye on the temperature. I find the best ones to use are those used to watching food temperatures. The type with a probe on a wire attached to a separate base. That way you only have to have a metal probe down in, and the chicks can’t hurt it.
Bedding
For the first few days paper towels work great, because the chicks tend to want to eat the shavings. Then switch to pine shavings, a few inches thick. Avoid cedar as it is toxic to poultry. Make sure there is enough shavings to keep them dry, and to avoid the slippery bottom, because they could slip and hurt their legs.
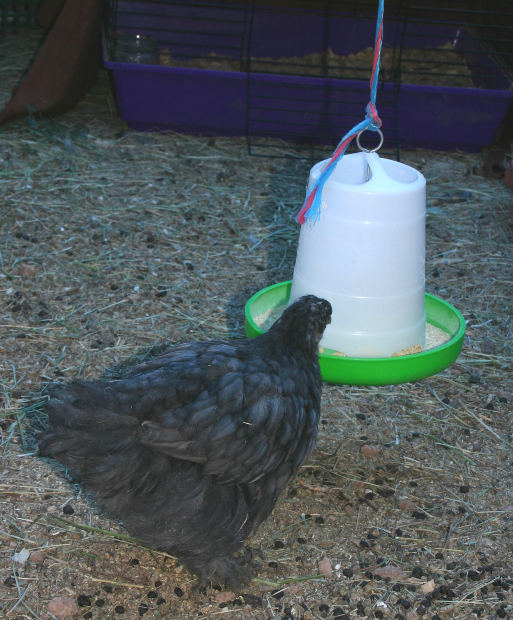
Feeders and Waterers
There are many kinds of feeders out there, or you could use bowls and plates. Choose one that works for you. We use tower types. The base unscrews and allows you to fill with water and feed. These will usually last you through the day pretty easily.
Step 3: Choosing a Coop
While your chicks are growing, you need to decide on a coop. There are a couple different types, and features to consider. Depending on what you have for space, and how you want to raise your chickens should help you decide.
Chicken Coop with Run
This is a more permanent design. You will have to build a chicken coop, and give them a fenced in area outside to run around in. You will need 2-3 square feet inside the coop, and about 4 square foot outside in the run. If they are cooped all the time, give about 5 square foot.
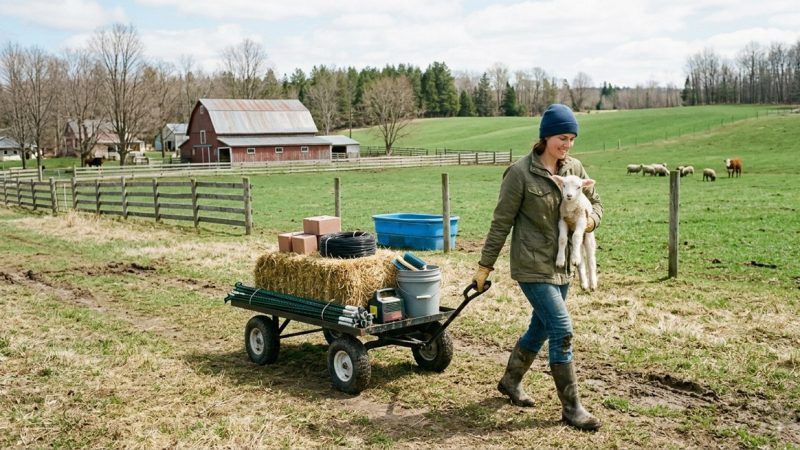
Wagon Type Chicken Tractor
If you are able to completely free range your chickens, this method will be best for you. It involves building a chicken coop on a trailer, or wagon frame. You then can move it with either a small tractor, or even an ATV. The same 2-3 square foot rule applies. Your chickens will go in on their own at night, and you’ll close it up to protect them from predators. Then in the morning you move them to a new spot, open the door and let them range and forage.
Movable Tractor with Run
Most people use this method, including me, to raise their meat chickens. It involves an open style wire pen, with one end closed in to provide some shelter. We gave ours 2 square foot of room throughout. This type can be moved by hand, usually with a hand truck to lift one end, and drag along the other end. Usually you only have to move once per day, but as the birds get larger we moved twice per day so provide more grass, and keep them out of their manure. See out step by step design chicken tractor.
Step 4: Introducing Your Chickens to Chicken Tractor
Now that your chicks have feathered out they are old enough to go outside. Usually late spring is the best time to put birds outside because the temperature isn’t too hot or cold, but that depends on your location too.
Feeding
Now that your birds are outside, and getting larger you need bigger feeders and waterers. These are usually in the 5 gallon pail size, but their are many variations. You need to select a size that works with your schedule so they always have fresh water, and feed won’t run out.
A good rule of thumb is 12 hours with feed, 12 without. We find the birds will forage more in the morning when we first move the tractor, allowing them to take in those nutrients, and fill up some on grass helping to cut feed costs. Your local feed store can help you decide on the right grain mix, usually called broiler grower.
Health and Sickness
Don’t be surprised if you do lose a bird or two, maybe more throughout their lives. It’s just a fact of life for these chickens. But you can keep a close eye on them, and try to isolate the birds from the others. Keep a close eye especially when they first go to a chicken tractor, as this is the most stressful time in their lives. If a chicken seems tired, or looks droopy, bring them back in and keep your eye on them. Vet costs are usually too much to make it worth while for these short life chickens.
Step 5: Processing
Now all your hard work is finally ready to pay off. Your chickens now are about 8-10 weeks old, and much longer their hearts and legs will start to give out, and they begin to suffer. This is where you decide to bring them somewhere else to get processed, or do it yourself.
Butchering Your Own Chickens
Unless you are going to do a lot of birds, the start-up cost can be substantial. It is also not for the faint of heart.You first need to kill them quickly,dunk them in hot water, get their feathers off, gut them and package them. But if this is something you are going to do for a very long time, or like knowing that everything was done on our farm, this would be the way to go. You can cut out the additional cost, and stress on the birds of bringing them to a butcher.
Hiring out for Processing
An easier way to finish your birds is to bring them to a butcher shop. The best way to find local processors is to talk to your neighborhood farmers and get their opinions. You want to make sure they are clean, and professional. You will be eating this food, so do your research. Also talk to them about costs, and packaging. Most will come vacuum sealed, and for chickens the cost is per bird.
The Final Word
All this may seem kind of intense, but if you follow this guide, you will have a good understanding to raise your own chickens. You too can raise good size chickens that will have more flavor, put money in your pocket, and give you the pride of knowing you did it yourself.
So instead of buying that chicken on the shelf, why don’t you think about raising it at home.
The Author:
Photo. Catherine Sheila
Source: EzineArticles.com
