Dramatic Sponging Techniques
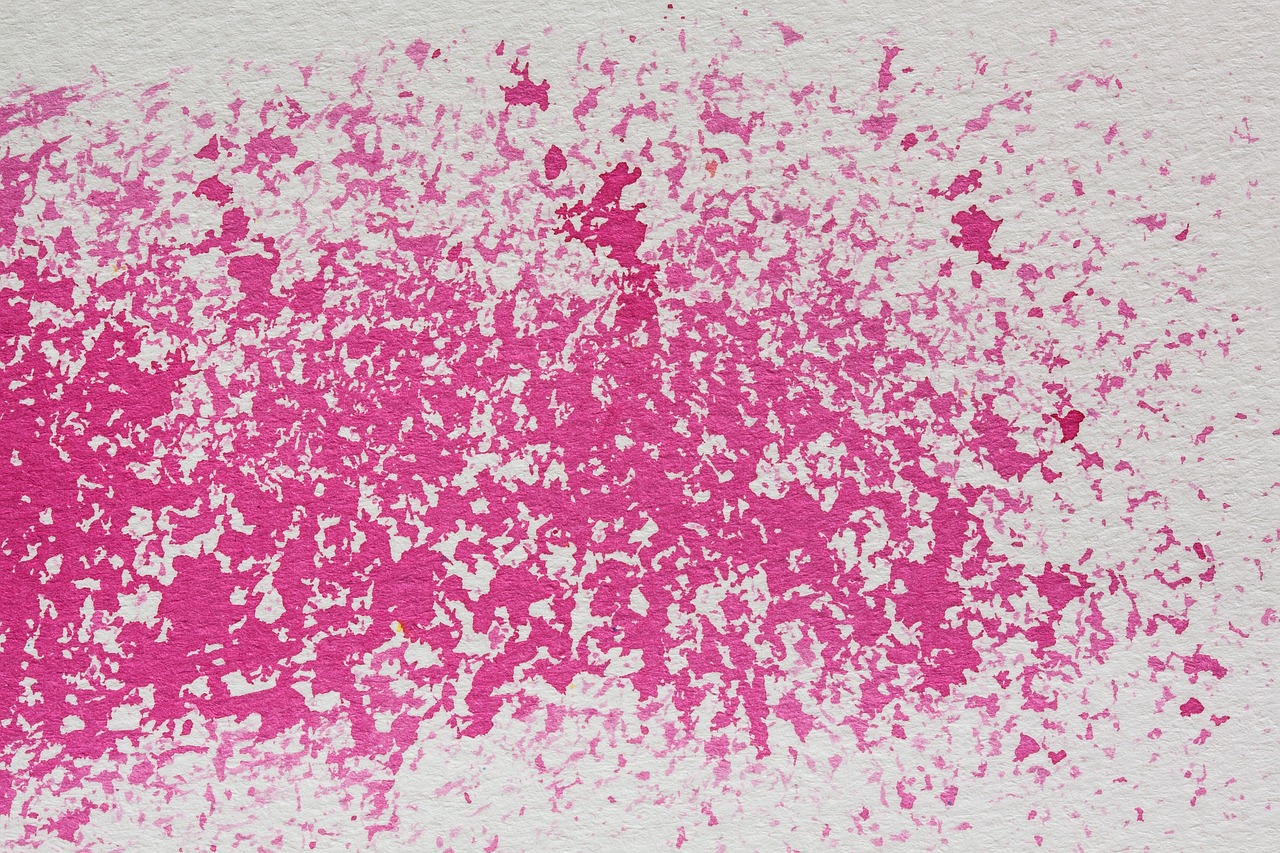
Sponging is a relatively easy and inexpensive way to give your surfaces a finished, decorative look. All you need is a couple of paint roller trays, a pair of sponges, and the paint of your choice. This technique will give your walls a simulated textural appearance, with contrasting colors creating the illusion of dimensionality in a variety of subtle and intricate ways.
Another great thing about sponging is that it creates surfaces which are easy to maintain over time. If a wall gets dented or scratched, or has to be repaired, the paint can be dabbed back on, creating a seamless look in just a few minutes.
Most sponging is based around three colors. You have to have a base background, which is usually a subdued color applied evenly over the wall with a brush. Then you have the two sponge colors. Choosing contrasting tones creates a bold and exciting effect; while using complimentary colors create a more relaxed and consistent feel. Using two different shades of the same color can give the space a very subtle and subdued appearance.
Before you begin painting you should prepare the surface, making sure that it is clean and free of any nails or damage that needs to be repaired. Apply the base coat evenly across the surface of the walls, making sure to avoid drips that can harden into unsightly lumps on your work. Then wait for this first coat to dry thoroughly before proceeding.
In general it’s best to use a natural organic sponge to apply the paint as the irregular jagged form will lend itself to interesting patterns on your surfaces. If you do use a manufactured sponge, rip it into two or three pieces so that you can use the jagged edges that are created for a similar effect.
When you’re ready to start sponging, pour the lighter of the two colored paints into a paint roller tray. Dip the sponge in gently, making sure you only get a tiny amount on the tips of the sponges protrusions. Wipe any excess paint off on a piece of newspaper to avoid drips, and then lightly dab the piece along the wall.
Try to cover the wall evenly, stepping back every once in a while to get an idea of the overall effect you are creating. Don’t over saturate the surface. Remember that it’s a lot easier to put more paint on than it is to take it off.
The second sponge color should be poured in a second paint roller tray to avoid mixing the two hues. Use a fresh sponge, and apply this coat in the same manner, paying extra attention to any areas you may have left bare during the first coat.
One advanced trick is to apply the first color in a pattern such as diagonal stripes, or in twirling swirls. Then apply the second coat normally over it to create a marbleized look that will simulate the veins of color found in natural marble.
If you find that the job is too big to complete in a single day, the sponges should be kept in sealed Ziploc bags so that they don’t dry out. When you do finish, warm soapy water can be used to clean the sponges, as well as anything else that paint might have splattered on. Finally, you have to make certain to dispose of, or store, any leftover materials in a safe and responsible manner. You should also write down the exact number of the two colors used, in case the space ever needs to be touched up.
The Author:
This article provided courtesy of PebbleZ’s line of alabaster chess sets, smooth elegant perfection crafted from real, mountain born stone. The author of the article is artist and designer Joey Pebble.


