Store Garden Produce -More on Root Cellaring-Part 2
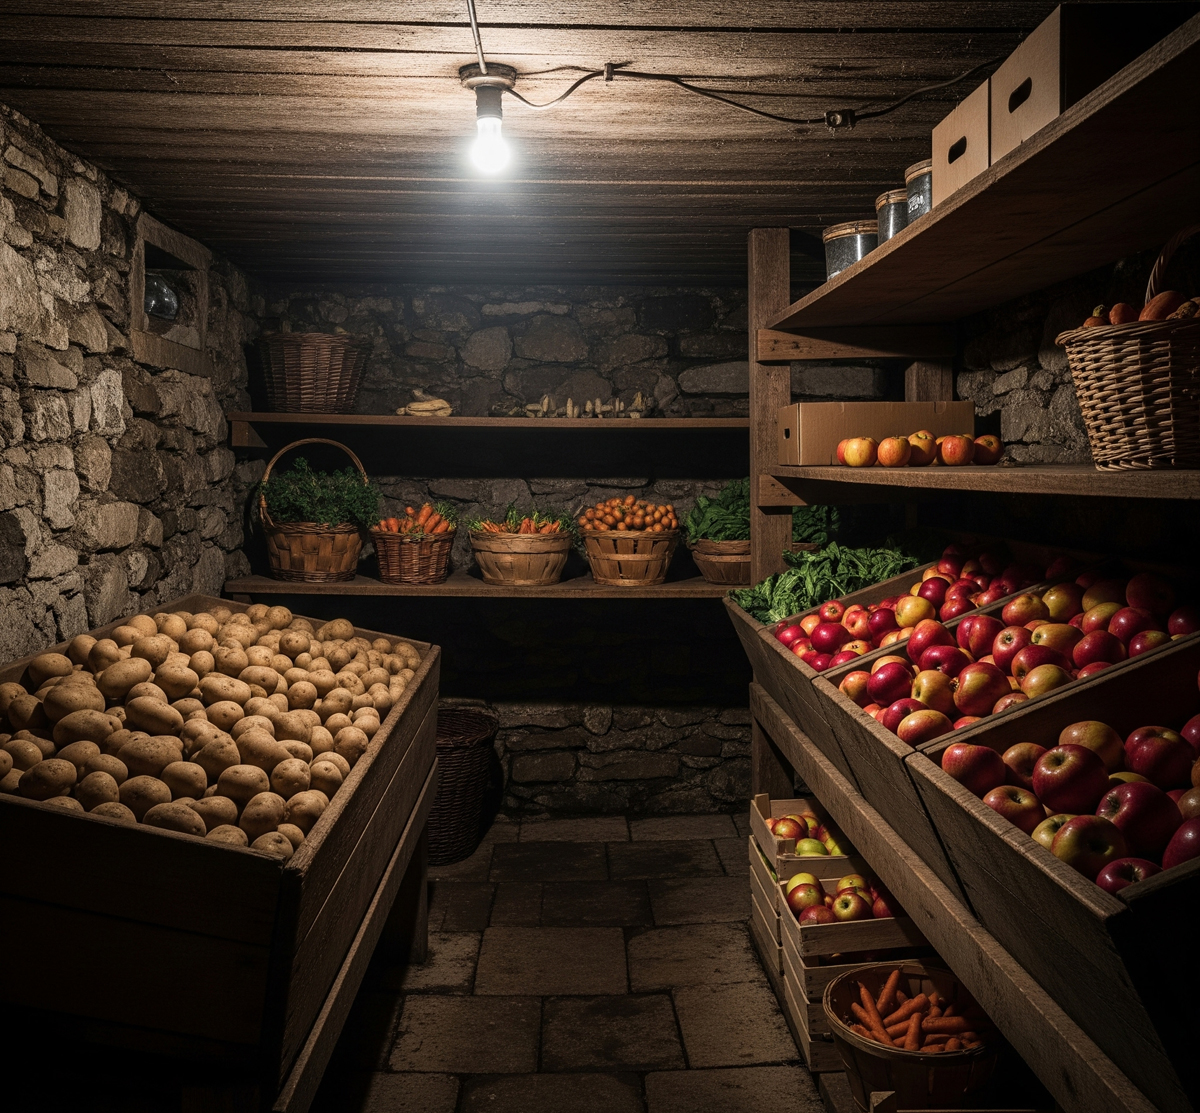
In How to Build a Cellar Part 1, the construction of a root cellar was introduced where anyone could build within the confines of their own basement. Below are several other options available instead of building a full-fledged root cellar. Even though building a cellar may require a bit of an investment, alternatives are available for little or no cost at all.
Any type of root cellar will eventually pay for itself by allowing its owner to store up produce or additional food that might either be homegrown or purchased at their local farmers market during the harvesting season. Fresh, homegrown produce is more economical, provides more nutrients and definitely is tastier than produce purchased at the Supermarket. Furthermore, a cellar of any type is quite inexpensive to maintain, it requires optional electricity and if built correctly, will not require further maintenance or upkeep.
Root Cellaring Concepts:
As mentioned in Store Garden Produce # 9, when considering any form of root cellar you will need to understand the main concepts. Good results in storage depend upon:
1––Ventilation: You will need constant air circulation in any cellar to remove air-borne molds. Use a warm air vent as well as a cold air return as discussed in store garden produce #9 of this series.
2––Regulation of temperature: Temperature is maintained by venting as well as packaging the individual produce in newspaper, moss, or others stated below.
3––Sufficient moisture: The air must not be allowed to become too dry, as this will cause the produce to shrivel. Sprinkle with water when needed.
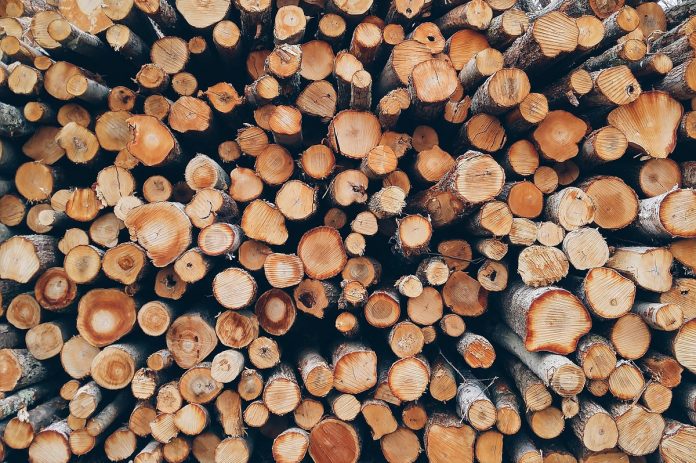
4––Type of insulation: Clean straw, corn stalks, dry leaves, hay, newspaper or sawdust are all common forms of root cellar insulation. Dirt is the most inexpensive and most natural insulation readily available. A slightly more expensive alternative is peat moss. However, it is only recommended for a single storage season due to the contaminating molds and bacteria it might develop within. Straw and dry leaves as well need to be replaced every year. Faced or unfaced insulation with a proper vapor barrier can also be used for longer-term use.
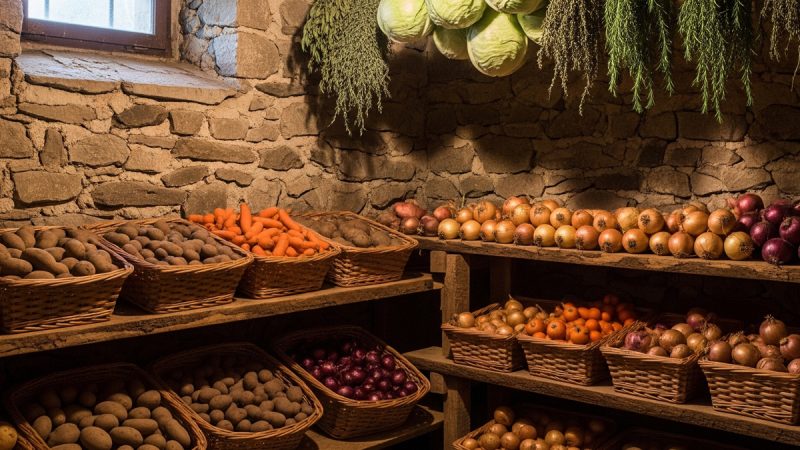
5––Quality of vegetables stored: Always use produce at its prime, without lack of maturity, puncture marks or presence of decay.
6––Darkness: Stored produce is best if kept in total darkness for maximum freshness and longevity, especially potatoes; they are the most susceptible to turning green when exposed to light.
7––Ethylene Ripening: Special care needs to be taken into consideration with ethylene gas ripening. Visit my site for a complete list of Fruit & Vegetables of ethylene ripening criteria as well as a chart on Temperature and Humidity control.
Timing of Storage:
Another aspect to root cellaring is the timing of storing the produce itself. It is not so much as how to store garden produce, but as when to store garden produce for the winter. If you place fruits or vegetables in storage, either in pits or in cellar rooms before the cold weather sets in for the fall, this will become your major cause of early spoilage. The most difficult steps with successful storages is to keep the produce in prime condition after harvest until the temperature of the cellar is able to provide a dormant state. Most root vegetables can be left in the ground after several frosts. Some can even be stored in the ground all winter depending upon how cold your climate gets. Visit my site for available charts on the difference.
How to Make a Root Barrel:
Outdoor pits and root barrels can be used as an alternative in storing produce if the drainage is thorough. Outdoor pits can be either lined or unlined. A lined pit is one that is sealed against ground water and rodents. This typically consists of a 55 gallon barrel or drum that is buried semi-horizontally in the ground. Place 2-3 bushel full of mixed roots in the barrel, using insulating material or wrapped individually, then put the lid loosely in place to allow for airflow. Cover the barrel with about 12 inches of straw held in place by a 3-inch layer of soil. You can add more straw depending upon the amount of cold for your particular climate.
In the unlined pit, the roots are piled on a layer of straw and the pile is then covered with more straw held in place by a layer of soil. The unlined pit must be dug in an area where water will not fill the pit and where rodents are not a problem.
A storage mound is similar to the unlined pit. It is used where groundwater is a problem or where only a short storage period under mild temperatures is anticipated. The produce is piled on a layer of straw on top of the ground. The mound is then covered with a layer of straw that is held in place by a layer of soil. The mound usually contains one or two bushels of mixed roots, so when the mounds are removed, all the produce can be taken into the house. Click Here for Diagrams.
There are many different options available to build your own cellar. I heard of one person using an old bus. To expand upon this further, you would want to dig out a pit with a backhoe that is larger than the bus itself. Make sure to dig down at least 6-12 inches further, depending upon your climate, so that you will be able to cover the roof of the bus with dirt. Seal the front doors shut and close off any other holes to provide an airtight enclosure. Remove all the seats and replace them with shelving. Use the windows as venting by applying the venting system described in Store Garden Produce #9. Drive the bus front first, into the pit. Then use the emergency exit as the main entrance for the cellar. Backfill all around the bus and cover the roof with dirt. You could also build stairs to walk down to the level of the door as well, but then you will want to black out the window and insulate the door against the cold. Another option is build an antechamber as you first walk into the bus as extra storage. Then build a second door which actually enters the cellar itself. Since the bus is quite large, you would be able to patrician off several areas, one for vegetables, one for fruits, one for the smelly items such as cabbage or turnips. Make sure to vent each patrician individually. Instead of using an old bus, shipping containers and freight train boxcars will work just as well. Or how about using a discarded walk in freezer from an old restaurant that perhaps went out of business. Use your imagination. The possibilities are endless.
On a smaller scale, consider using discarded dryer drums or old refrigerators that can be picked up from the local dump or recycling center. I personally prefer the refrigerator due to the two separate compartments and the addition of an ice-maker in the door. Depending upon how the icemaker is constructed, remove the icemaker parts and you will find holes going to the freezer compartment, one for ice and one for water. These holes can be used for the cold and warm air return. Insert plastic tubing in the holes then seal around the tubing. You will probably have to drill two holes within the icemaker unit in the refrigerator door to allow the exchange of air to the refrigerator compartment as well. Add elbows or screening at the top to keep out the snow, rain or insects. Next, dig your pit large enough to place the unit in, making sure to allow the depth slightly below ground level. Place some rocks in the bottom of the hole for drainage. Place the unit into the hole on its back. The door or doors will open like a lid. You can use the discarded bins and shelves to pack the produce with in the unit. Use the insulating material described above when packing your produce. Place a plastic tarp over the door seals of the unit so that water will not ice the doors closed. Surround the outside of the refrigerator with dirt but leave the top uncovered. For the top, several hay or straw bails kept intact are preferred due to the ease of removal when accessing the produce within.
Successful Gardening!
The Author:
Kali S Winters is a gardening enthusiast and author who spends much of her time teaching others how to setup and maintain beautiful amazing gardens.
Photo. Gemini
Source: AB


