Water bath canning is a relatively simple way to prepare many types of food for long term food storage and is great for beginners. Once you have selected the freshest ingredients to can, you will need a water bath canner. A water bath canner is basically just a large pot that has the capacity to hold up to seven quart sized mason jars.
For those who are handy and can create a rack out of wire, a large stock pot can be used to create a water bath canner. The rack is important to keep the jars off the bottom of the pot, and away from each other, and you need to make sure the pot is deep enough to hold enough water to submerge the canning jars by at least one inch. For those who don’t chose to make their own, a water bath canner can easily be purchased.
The basic premise behind water bath canning is to increase the temperature of the canning jar so that it’s hot enough to kill yeast, bacteria and molds that are found in food. Additionally, heat pushes the air out of the container when the contents of the jar expand. Once the jar cools to room temperature, the compression creates a seal, keeping air and organisms from entering the jar and preventing the food from spoiling.
In addition to the water bath canner, there are tools that will make the job easier, and you can get a canning kit, but critical to the process, however, are the jars you will use for canning food. You will need to select the size of the jars based on your recipe and what you decide to preserve, and you will need screw on bands and canning lids to secure the jars. It is crucial to ensure the jars have no nicks or cracks and have a flat rim. You will also need to sterilize the jars before filling them with your food items.
After you have collected your equipment and prepared your food ingredients, you’re ready to begin the canning process. Take your freshly sterilized jar, making sure it is still warm and fill them with the prepared food. Be sure to leave a little head room in each jar according to the recommendation in your recipe, a general rule of thumb is about one inch. Wipe the top of each jar with a clean towel to remove any debris that might keep the jar from making a secure seal. Place the lid on the jar centering it so the rubber is on the entire rim. Screw on band, but do not tighten it so the gasses can escape from the jar.
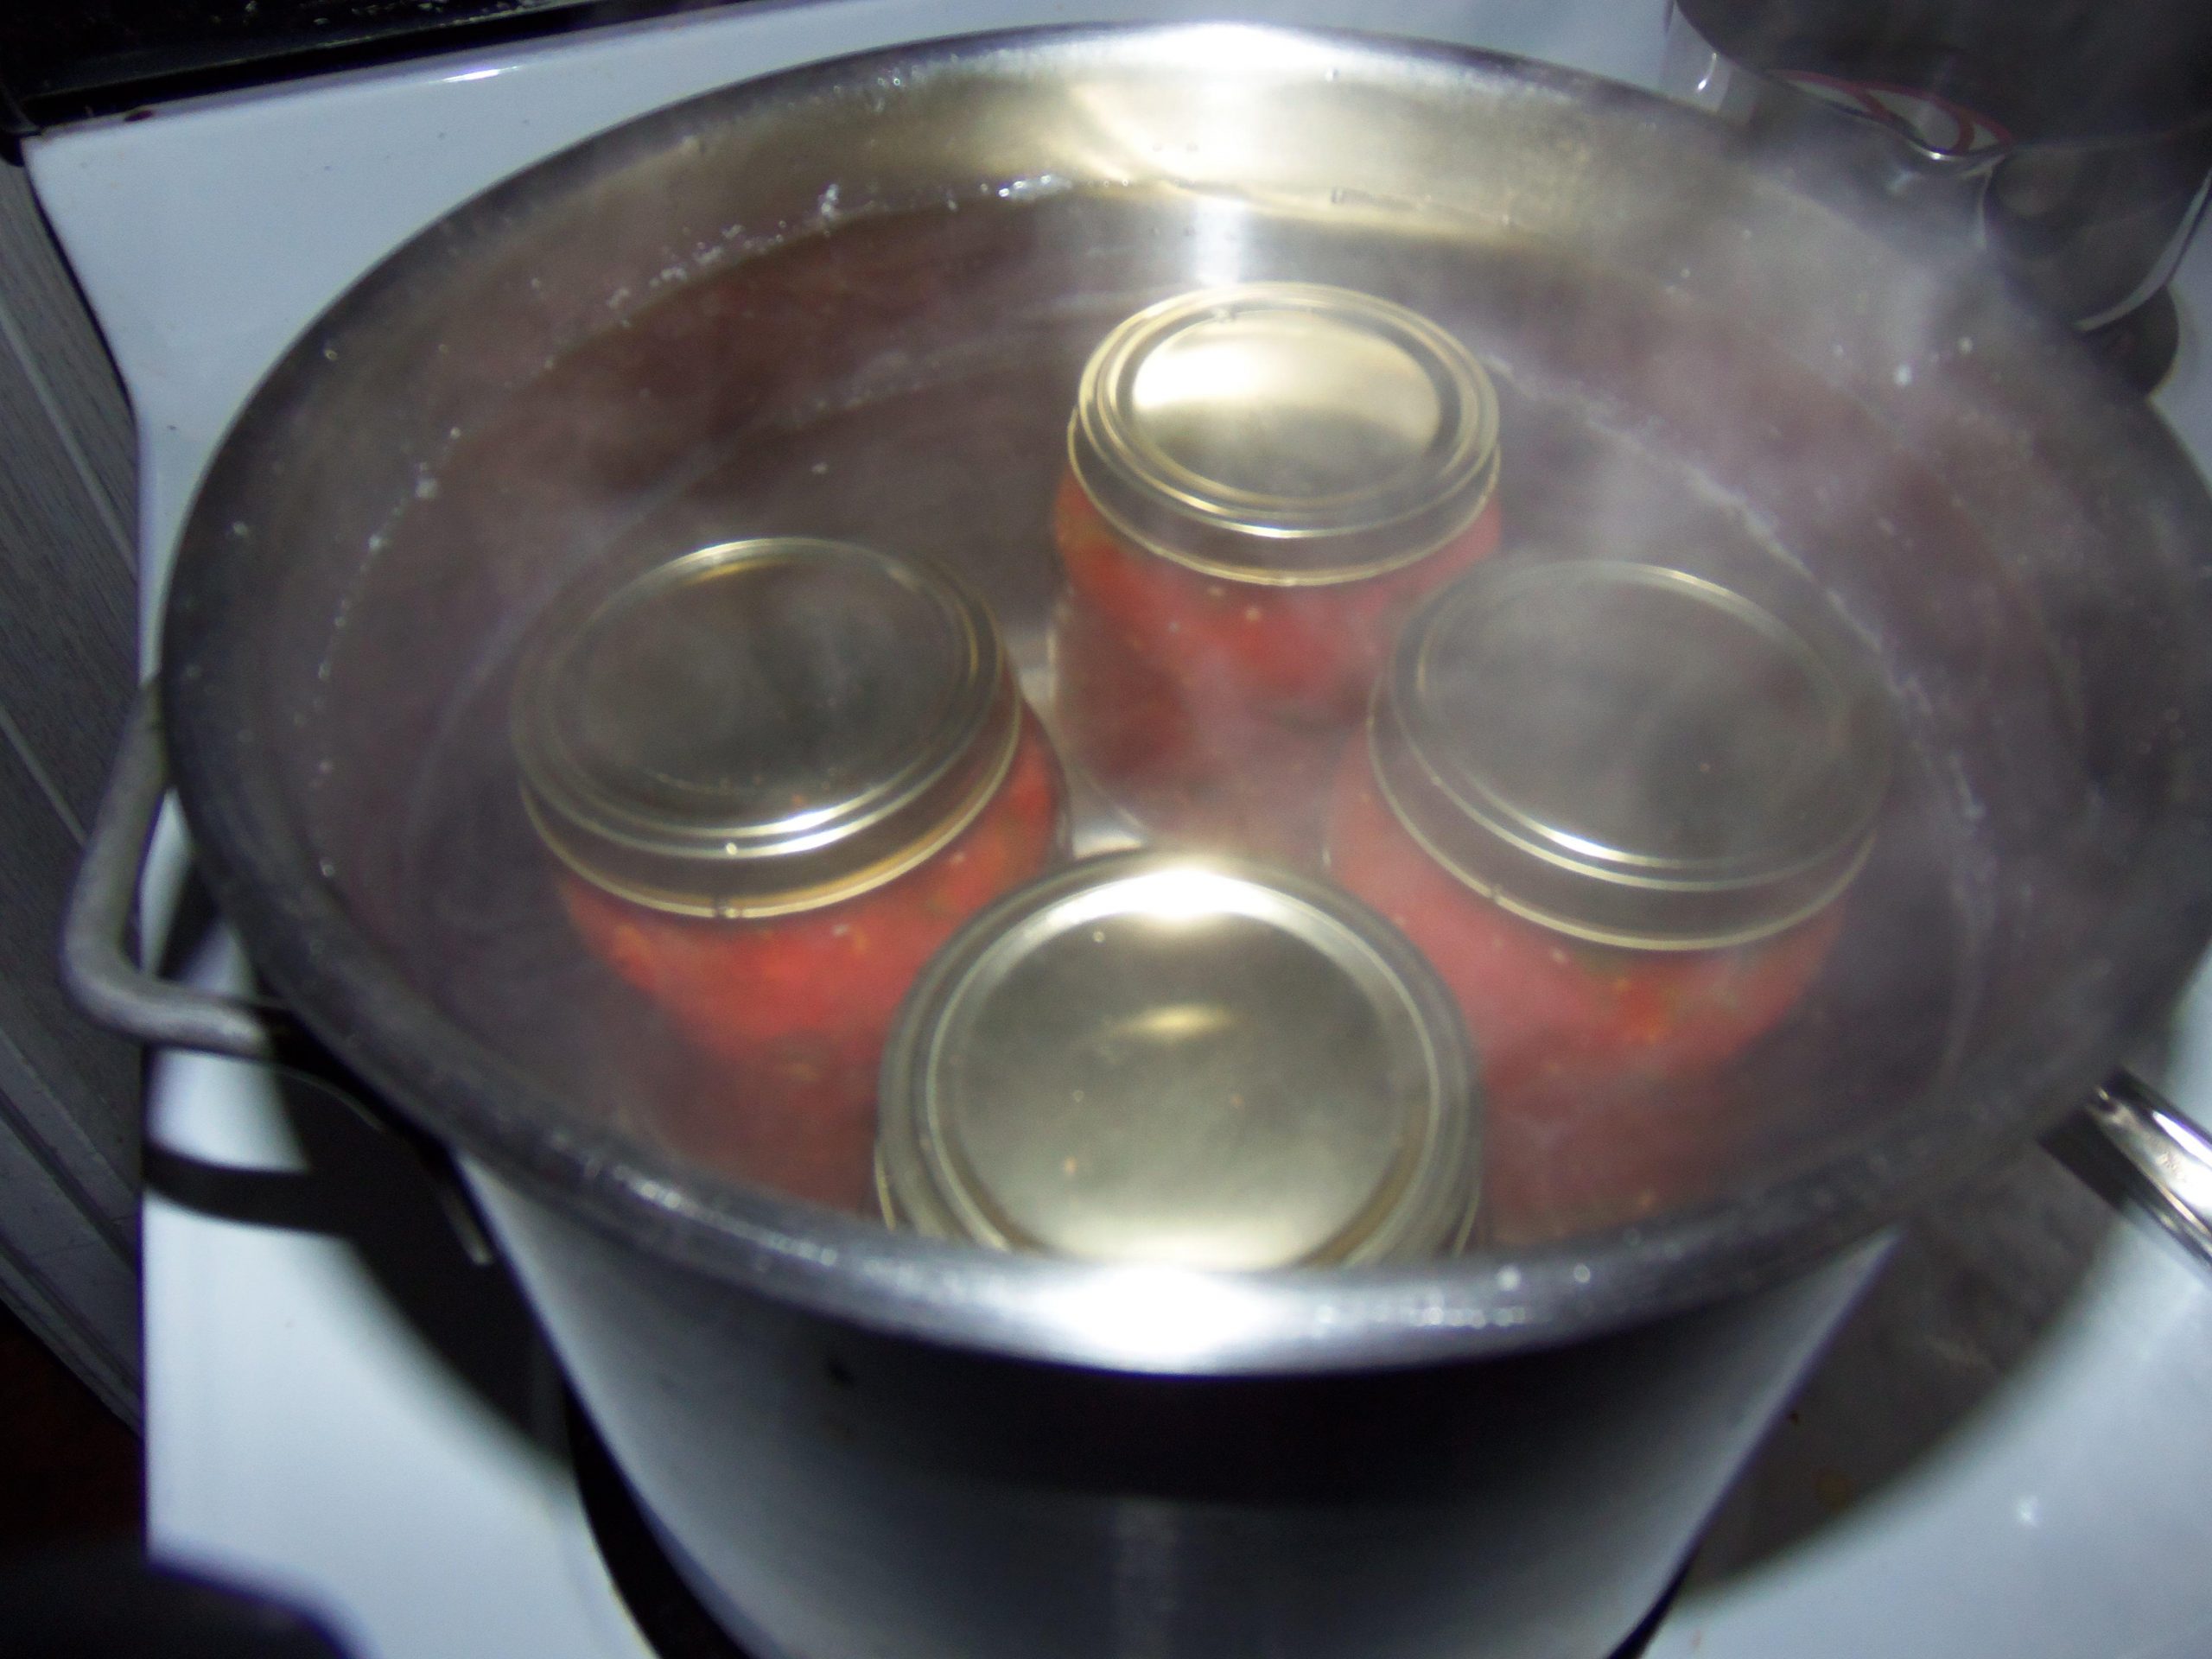
Put the newly filled, still warm jars into the rack in your water bath canner, making sure they don’t touch. Use warm water and make sure that the water covers the tops of the jars by at least one inch. Cover the pot and bring to a boil. Set your timer according to your recipe. Reduce heat to maintain a rapid boil. Add boiling water as needed during the process to keep the water level above the jars.
Once the timer has sounded, turn off the heat and use tongs to remove the jars immediately from the water. Place the jars on a cooling rack or a thick layer of towels and allow to cool completely. As the jars are cooling they will begin to seal and you will be able to hear them pop. To test the seal, push the top of the lid, if it does not move, the jar should be sealed. If the jar is sealed and completely cooled, tighten the band, label and store in a cool dark place.
The contents of any jar that does not seal should be consumed within a week, and the lids discarded as they will not seal in the future either. When you prepare to use one of your jars in the future, make sure to inspect the contents for spoilage before eating. Spoilage would be mold, gas, cloudiness, odors or drainage. If spoilage has occurred in one of your jars, to avoid possibly serious illness, do not eat the contents.
Canning food in a water bath canner for long term food storage is a fun and delicious way to preserve the harvest from your garden, bring back summer freshness during the winter, and is one step to becoming self sufficient on the urban homestead.
The Author: