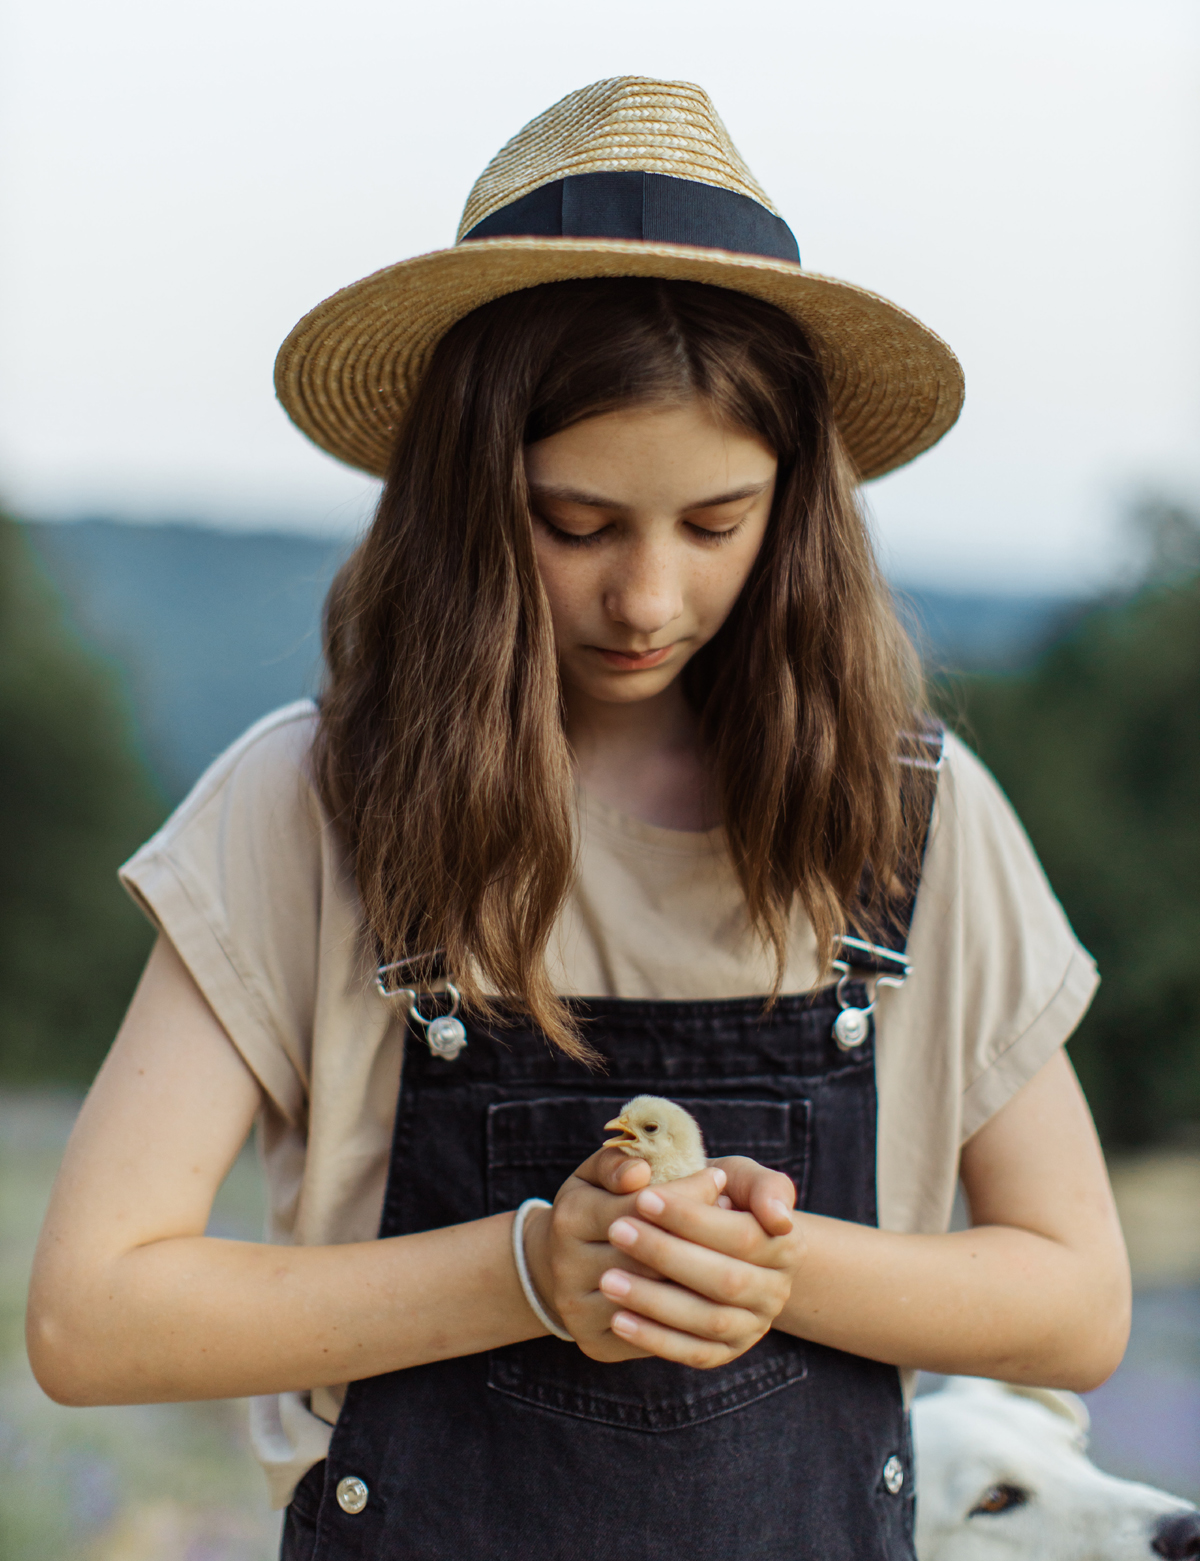
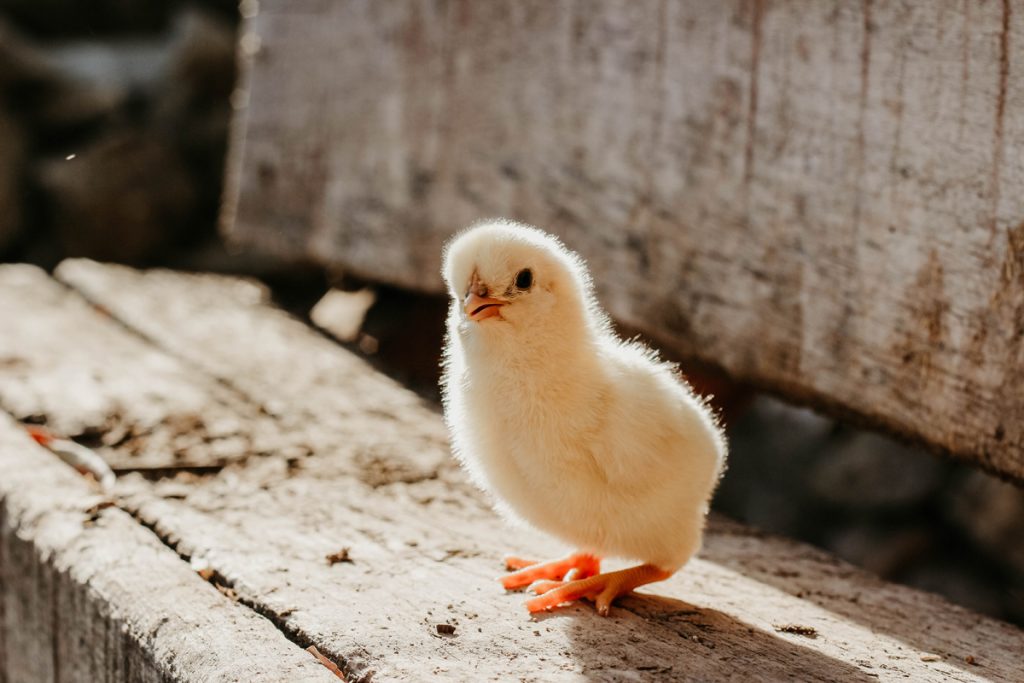
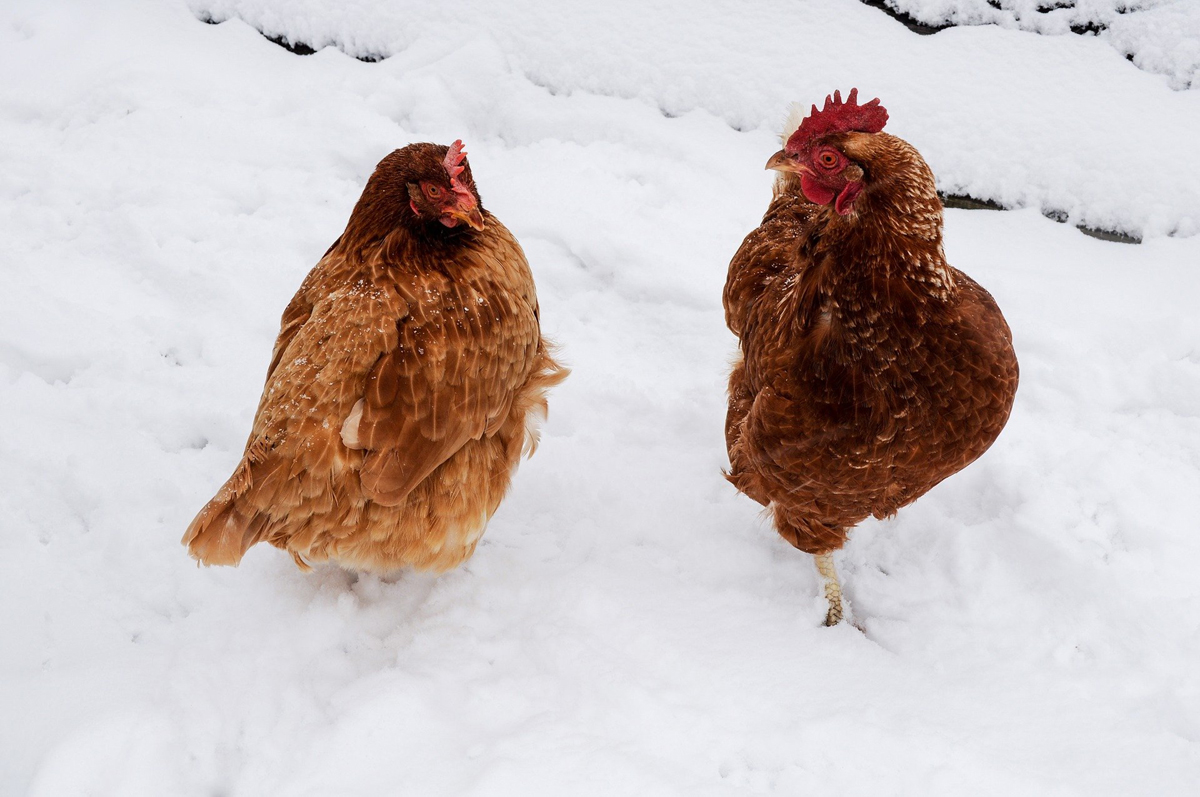
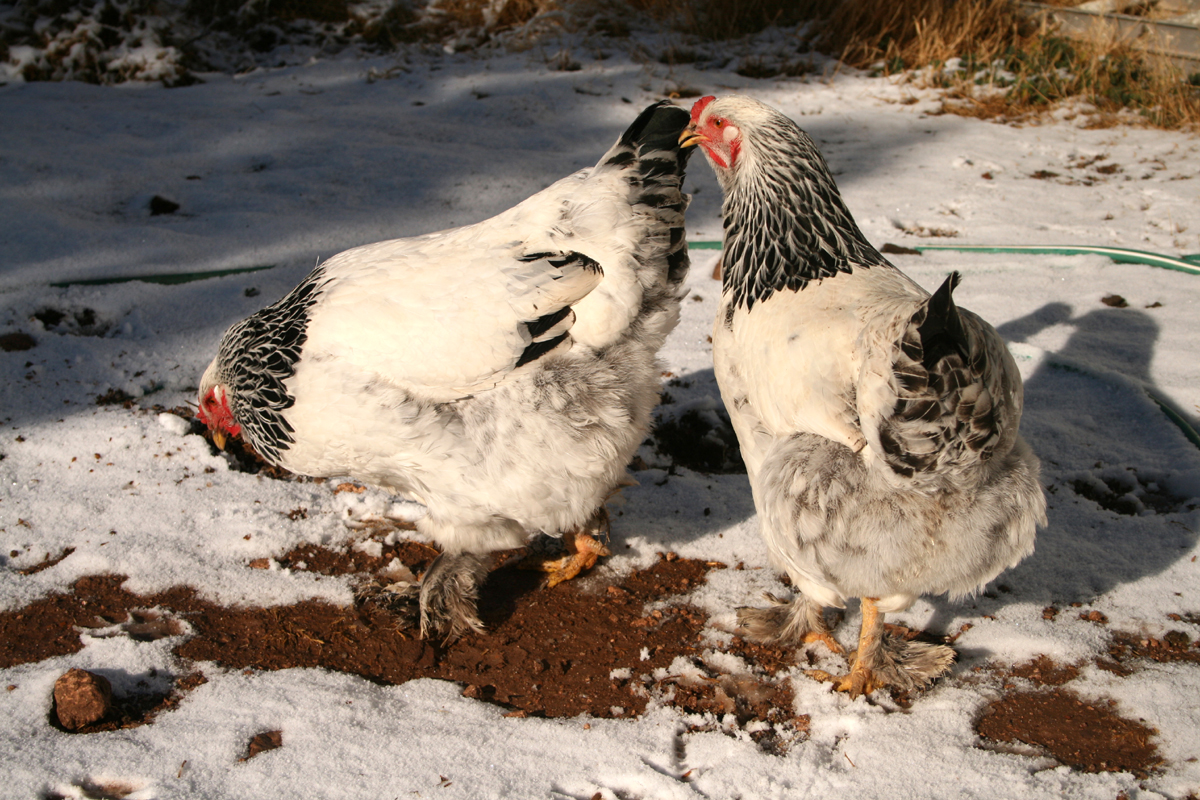
The Care and Handling of Baby Chicks
It’s 7:15 in the morning. You are checking email and drinking coffee in your robe and slippers when the phone rings. It is the US Postal Service telling you that they have a box of baby chicks for you.
Whether you were expecting them or not, they’re here and you need to go get them. The post office is a cold and scary place for a box of baby chicks. Take a pair of scissors, some tape, and a camera with you to the post office. Always open the box of live birds with the postal person witnessing. Many shipping containers for live birds use zip ties, so have scissors handy to cut them or any tape keeping the box closed. Carry extra tape to secure the box again for the ride home. When opening a box of live birds, do so just enough to decide if they are all alive. You don’t want chicks escaping and running through the post office. Some of the containers actually have a window, covered by cardboard that opens for viewing. These are often just for larger birds.
The post office does not guarantee live bird shipments. They do not even honor the $100.00 insurance that comes with Express shipping. They do not guarantee overnight delivery either, and in fact, will only reimburse shipping charges if they go one day over the two days allowed for delivery. Then all they do is reimburse the shipper for the shipping charges.
The reason for opening the box with a postal service employee present is to have proof for the seller if there are problems. Sometimes, but not always, the seller will reimburse the cost of the birds or replace birds that do not survive shipping. Be sure to ask your seller the policy for live shipments and get it in writing if the birds are expensive. Many rare breeds cost several hundred dollars and you will want to know what to do if they do not arrive alive. Many times a seller will include extra chicks for warmth and they will only reimburse for losses over and above the number of extras. Often the large hatcheries will put extra cockerels in the box for warmth and these will not be considered when compensating for losses.
So verify that your birds are alive in front of a witness. Ask them to sign a short note attesting to the fact that some or all arrived dead. Take pictures in case the seller requires additional proof. We like to think that everyone is honest but, anyone who has been in the chicken business long enough knows that isn’t the case. It’s nothing personal; they just need to be sure. Notify the seller as soon as possible if there are losses. Include the name of the postal employee you spoke with and offer to email the pictures. Many shippers put time limits on refunds so act quickly.
Then head home. Don’t stop to get your nails done or pick up a few items at the market. Day old chicks can live up to 3 days on the yolk sac after hatch. Past that point they need water and food to survive. When opening your box of chicks, don’t be surprised to find a pile of green goo in the box. This is a good thing. That green goo is a product called GroGel. It is a powder that turns into a thick gel when water is added. It provides chicks being shipped with nutrients and fluids on their journey. Regulations prohibit water in the shipping box and GroGel is a good option. I routinely offer GroGel to baby chicks the night before shipping so they know what it is and will eat it while in transit.
Once you get home, hopefully you have everything ready for your baby chicks. Here’s what they are going to need from you now.
Housing:
You will need a brooder for your baby chicks. This can range from a simple cardboard box to a Taj Mahal brooder. Many people use plastic storage bins and these work just fine. The most important thing to remember about your brooder is that the flooring cannot be slippery. This means no plastic, no newspaper, and no cardboard type surfaces. Baby chicks are very prone to leg problems in the first days and weeks of life and stable footing is paramount in preventing the types of injuries that cannot be treated. For the first two days, use paper towels on the brooder floor. It is safe for them to walk on and absorbent. After two days replace the paper towels with vinyl shelf liner. It gives them good traction for running, is fairly inexpensive and you can cut it to fit your brooder.
You will find yourself changing the brooder liner many times in the first few days. When the chicks are five to six days old you may want to move them to a larger brooder. Cover the floor with puppy pads, which are readily available in pet stores, although can probably find them cheaper elsewhere. Over the puppy pads place a 2″ thick layer of pine shavings. Use only pine shavings, preferably the triple screened types. Never use cedar shavings, shredded paper, corncob, or many of the other bedding materials available at the pet store. They could be toxic for chicks to breathe. They may taste good so they chicks eat them. They may mold as they degrade. Stick with what’s tried and true. Don’t be in a rush to put your chicks on shavings until they have been eating for a few days and know the difference between food and shavings.
Heat:
Baby chicks need to be at the correct temperature or they can get sick and die. You can accomplish this by the use of a heat lamp. That being said, using a heat lamp carries with it the risk of fire. You can NEVER be too careful when using a heat lamp. Accidents can and will happen. There are horror stories of fires happening when pets and kids have accidentally knocked over the heat lamp. The clamps that come with heat lamps are in no way sufficient to prevent accidents. You need to use zip ties, clips, whatever it takes to keep the heat lamp from being displaced. Chicks get rowdy as they grow and they too can cause a heat lamp fire. Bottom line, make it as secure as you possibly can, then make it more secure!
The temperature should be 90 to 95 degrees for the first week. Reduce the temperature five degrees per week until you get to 70 degrees. You can accomplish this by raising the height of the heat lamp or by using one of the heat lamp units with a dimmer switch (my personal favorite). Chicks should be feathered out shouldn’t need any heat after 70 degrees. Use a thermometer with a probe to check the temperature at the chick’s level. Another important point about heat is to not try to heat the entire brooder. Some chicks may like it cooler than others. If you find your chicks all huddled directly under the heat source, it is probably too cold in the brooder. Ideally they should sleep around the perimeter of the heat source and you will often find them arranged in a circle around the outer edge of the red glow from the heat lamp. Those are happy chicks! Provide areas of the brooder for chicks to get away from the heat entirely. Keep the heat at one end of the brooder and the food and water at the other end after the chicks are about a week old. Another alternative available now is a contact brooder called the EcoGlow made by Brinsea. It eliminates the need for heat lamps altogether. There is a version for 20 chicks and one for 50 chicks.
Water:
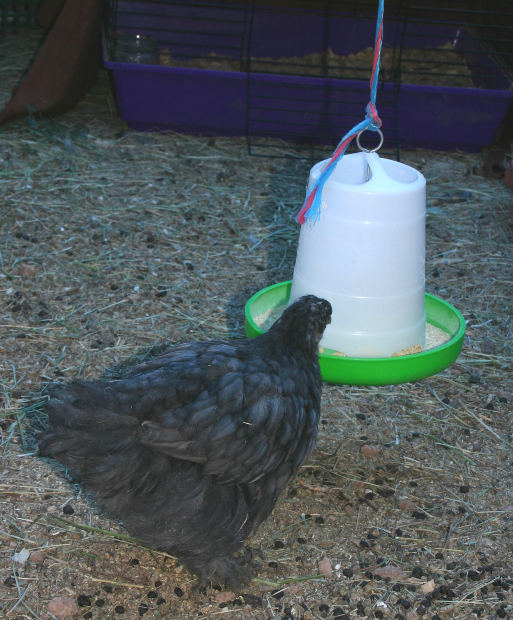
As soon as your chicks are settled in the brooder, whether shipped or hatched at home, they should have access to water. There are many options available for chick waterers but care must be taken to prevent drowning. It sounds silly, but baby chicks can and will drown in a half inch of water. Use a chick waterer designed to be drown proof by only allowing a low water level and not allowing chicks to get in it to drown. Using any shallow dish and just filling to about a half-inch is an acceptable alternative.
Another good method for preventing drowning in a dish waterer is to place small rocks or pebbles in the water so the chicks can drink around them but not get in too far. If you can get some red rocks from the aquarium department at the pet store they work well. Chicks are attracted to the color red. When you first offer water to your chicks, it helps to dip their beaks in the water a couple of times. Make sure you just dip the tip of the beak and not the nostrils or you risk drowning them as well. As soon as one or two chicks start drinking they usually all have to try it. It will take perseverance to keep the water clean and free of shavings. They need clean water to be healthy so check it several times a day to make sure it isn’t empty or messy. Another option is the use of nipple waterers, which work really well in the brooder and stay clean.
Food:
By a day or two of age, chicks are ready to eat. You have probably already observed them checking out poop and other little things in the brooder. For chicks from 1 day to 6 weeks you need to offer a starter feed. Some feeds are medicated with Amprulium for coccidiosis. Coccidiosis is a disease that can kill chicks that have not built up a resistance to it. Chicks pick it up as they come in contact with the droppings from other birds, including wild birds. Give them medicated feed, which controls the coccidiosis while allowing the birds to build up a resistance. Feed only medicated chick starter until they go outside and for a few weeks thereafter. Never use a feed with antibiotics added. Always have feed available for growing chicks. If you have an emergency and run out of feed, an acceptable substitute for a brief period of time is mashed, hard-boiled egg yolk.
Security:
After a few days it is imperative that the brooder be covered. Hardware cloth, readily available at home improvement stores works just fine. Cut a piece about three inches bigger all the way around than the top of the brooder and place it on top. Use something heavy to weigh the covering down. Baby chicks often like to explore the world beyond their brooder before they are ready.
Accessories:
This is referring to extra things that should and shouldn’t be added to the brooder. Even little chicks like to roost, so a dowel or some type of branch for roosting is a good idea. You can buy perches sold in the pet store for birds. They have a bolt and nut at one end so you can drill a hole in the brooder and attach it securely to the wall.
If you ever end up with a single chick you will soon discover they can be a handful. Happy chicks chirp quietly but a single chick will chirp constantly because it is lonely. You have a couple of options. First you can usually buy a companion chick at the feed store unless it’s not chick season. Sometimes you can post on Craigslist and ask if anyone will sell you a single chick. Lastly you can just live with it. Try putting a mirror in the brooder. The chick will see its reflection and think it has company. Put a stuffed animal in the brooder for warmth and comfort. The baby chick will snuggle with it like it would a broody hen. Another trick is to put a feather duster in the brooder, but be very careful when doing this. Hang the feather duster so the chicks can get under it but not get tangled in it.
Don’t put flimsy plastic tubs in the brooder. Baby chicks will try to stand on them, overturning them and suffocating under them. Styrofoam is not a good choice either. Make sure all containers are heavy enough not to turn over and are non-edible.
Raising baby chicks can be fun and rewarding if you follow these few basic rules.
The Author:
Mary Williams O’Brien, a retired registered nurse, traded the bright lights of the city for life on a five acre hobby ranch in her hometown, Auburn, CA. Sharing her time with an A.D.D afflicted spouse, sixty chickens, two donkeys, four fainting goats and two emus provides the fodder for her blog, Everyday Miracles and Mayhem at the Buck ‘n Run Ranch.
Photo. Anastasia Shuraeva, Adil

