Earth’s Ancient Healer: Incorporating Clay into Your Natural Soap
Long before we had complex laboratories and synthetic ingredients, the secret to healthy skin was found directly in the soil beneath our feet. Clay has been a cherished therapeutic agent for thousands of years, prized by ancient civilizations and homesteaders alike for its ability to draw out impurities and soothe the spirit.
In the world of handcrafted soap, clay is a versatile powerhouse. It provides a silky “slip” for shaving, acts as a gentle exfoliant, and offers a palette of beautiful, muted colors that only Mother Nature could provide.
Pioneers Use of Clay in Soap
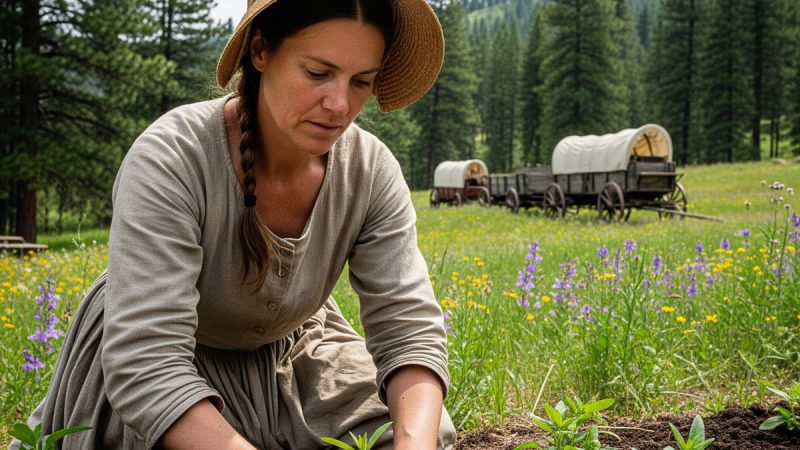
While the early settlers primarily relied on rendered animal fats (tallow or lard) and lye made from wood ashes, they were incredibly resourceful. While basic laundry soap was strictly utilitarian, many pioneer women with a knowledge of traditional “earth medicine” added local clays to their finer toilet soaps.
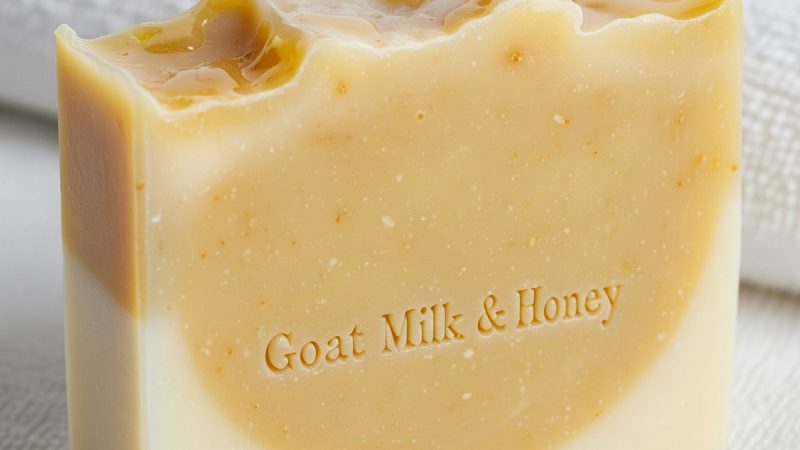
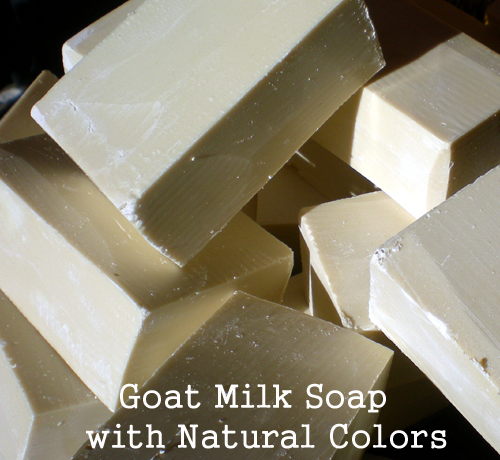
They used it not just for deep cleaning, but to give the soap a more professional feel and a natural tint. When you add clay to your soap today, you are continuing a heritage of resourcefulness—turning a humble, inexpensive mineral into a luxurious personal care item.
Choosing the Right Clay for Your Craft
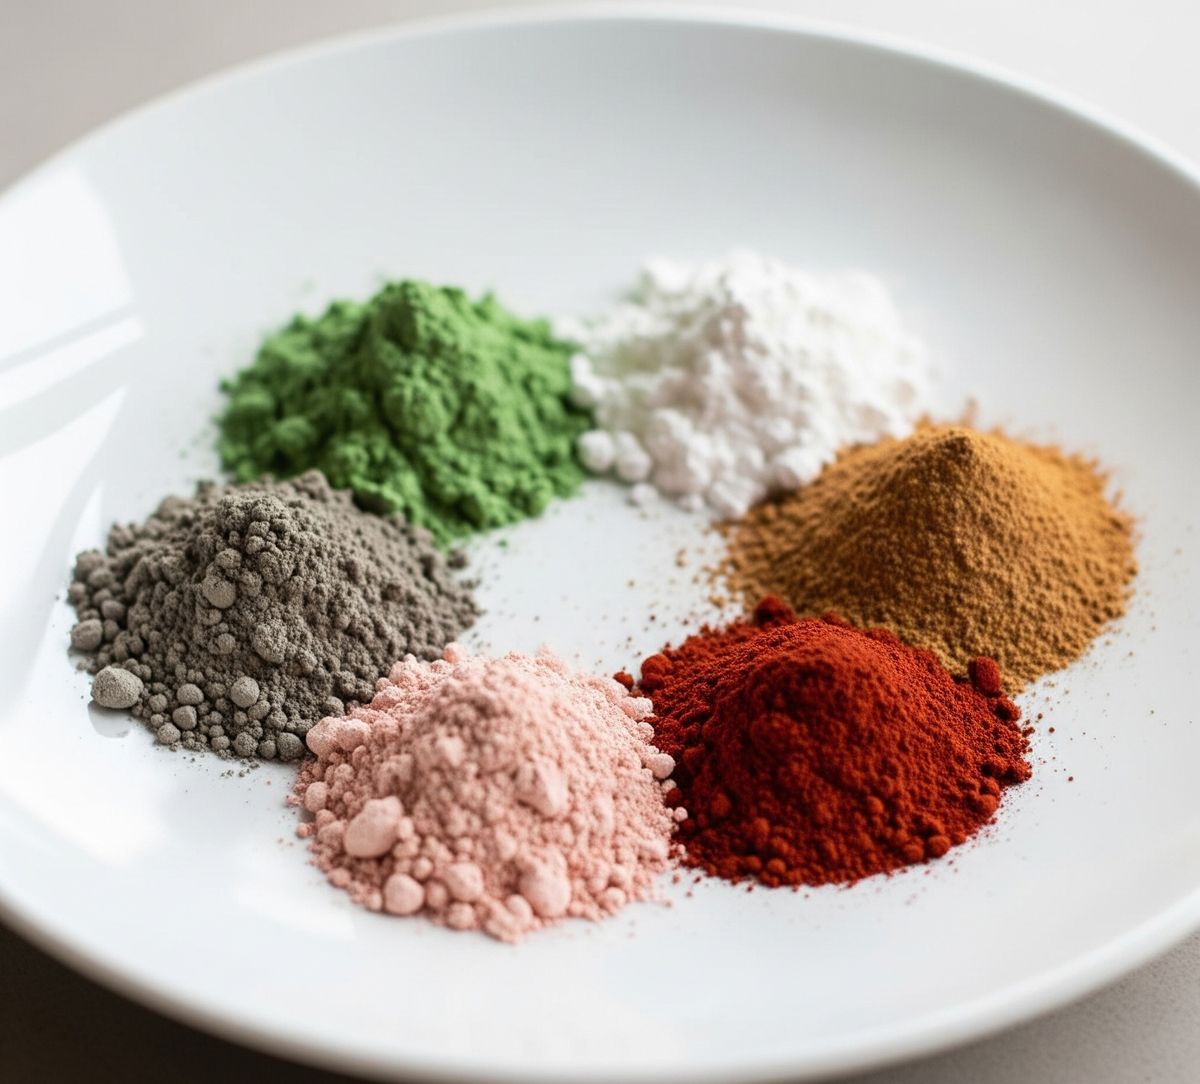
When making your own soaps and cosmetics, clay acts as an invigorating cleaning agent. Here are the varieties you’ll most likely encounter:
-
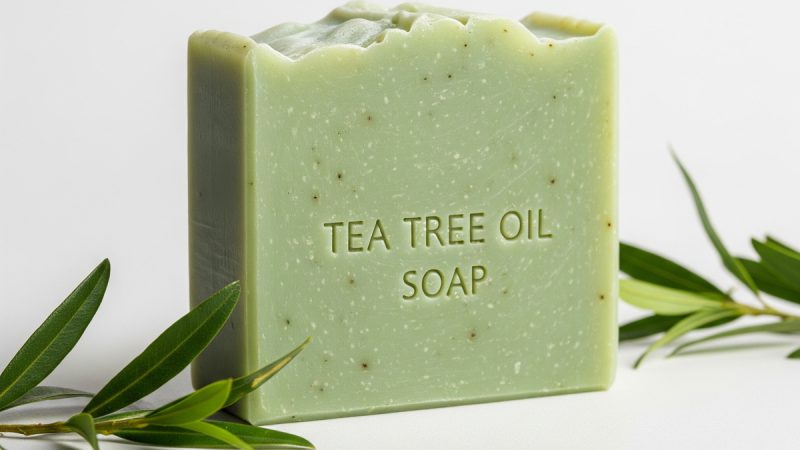
French Green Clay: Sourced from quarries in France, this clay is a powerhouse of absorption. Its unique molecular structure “drinks” up oils and toxins, making it a “must-have” for balancing oily or acne-prone skin. It also provides a stunning, natural mossy-green hue to your bars.
-
Bentonite Clay: Formed from volcanic ash, Bentonite is known for its incredible “slip.” This makes it the premier choice for shaving soaps, allowing the razor to glide smoothly over the skin. It is highly absorbent and leaves the skin feeling invigorated.
-
White Kaolin Clay: This is the gentlest and finest of the bunch. It’s perfect for sensitive or dry skin because it doesn’t strip away natural oils. It is a staple in facial bars, light powders, and even natural deodorants.
-
Rhassul Clay: Coming to us from Morocco, Rhassul is exceptionally rich in minerals. It’s a favorite in high-end spas for its ability to smooth and rejuvenate tired skin, making it a lovely addition to a “spa-themed” batch of soap.
-
Fuller’s Earth: If you’re looking to create a bar that targets oily skin or helps even out skin tone, Fuller’s Earth is a wonderful choice. It has a natural ability to tone and lighten the appearance of the skin.
-
Rose and Red Clays: These clays are fantastic for body soaps. They provide a sturdy exfoliation and a rustic, brick-red color that looks beautiful in a heritage-style kitchen or bath.
Working Clay into Your Soapmaking
Clay is incredibly easy to work with, whether you prefer the Cold Process method or the Melt & Pour technique.
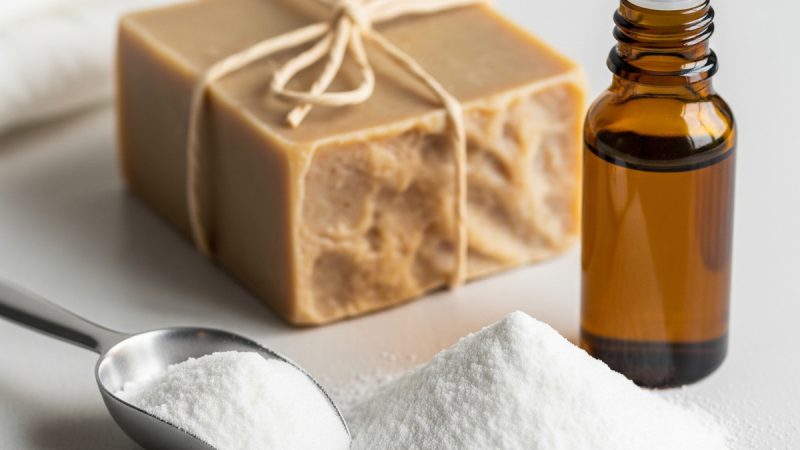
For Melt & Pour: To avoid unsightly clumps, don’t dump the dry clay directly into your large pot. Instead, take a small amount of your melted glycerin base, mix it with the clay until it’s a smooth, lump-free paste, and then stir that “slurry” back into the main batch.
For Cold Process: The best time to add your clay is right before you reach “trace” and pour the soap into the mold. Some makers like to mix their clay with a little bit of the essential oils or a small amount of water first to ensure it incorporates evenly and doesn’t sink to the bottom.
A Natural, Affordable Luxury
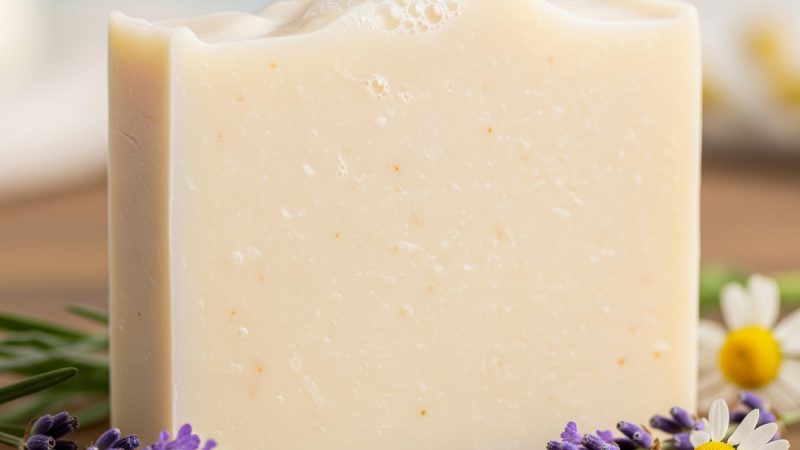
Clay is an inexpensive and versatile substance that brings a touch of ancient wisdom to our modern hygiene. It cleanses deeply, promotes healthy circulation, and allows us to create effective skincare products without relying on harsh chemicals. Whether you’re looking to soak up excess oil or simply want a beautiful, natural colorant for your next batch, the earth provides exactly what we need.
Sourcing and Preparing Your Own Wild Clay
For those of us who find joy in being truly self-sufficient, there is something deeply satisfying about sourcing your own clay directly from the land. Just as the pioneers looked to the creek beds and hillsides for their resources, you can find high-quality clay right in your own backyard or local area.
How to Find and Harvest Wild Clay
You don’t need a commercial mine to find usable clay. Look for areas where water naturally settles or flows, such as creek banks, riverbeds, or even construction sites where the subsoil has been exposed.
-
The Sight Test: Look for soil that is a different color than the surrounding dirt—often gray, red, or yellowish. It will look smooth and dense, especially when wet.
-
The Ribbon Test: Pick up a small handful of the moist soil and rub it between your palms to create a “snake” or ribbon. If you can fold that ribbon over your finger without it breaking or crumbling, you’ve found a high concentration of clay.
-
Harvesting: Dig down past the topsoil (the dark, organic layer) until you hit the cleaner clay subsoil. Collect it in a sturdy bucket. Don’t worry about small pebbles or roots for now; we’ll clean those out later.
Refining and Saving Your Clay
Wild clay needs to be “levigated”—a fancy word for letting water do the cleaning—before it’s ready for your soap.
-
Slurrying: Place your raw clay in a bucket and cover it with plenty of water. Stir it vigorously until it becomes a thin, muddy soup.
-
Straining: Pour the mixture through a fine-mesh sieve or a piece of window screen into a second bucket. This removes the larger rocks, sticks, and roots.
-
Settling: Let the bucket sit undisturbed for 24 to 48 hours. The heavy sand and silt will sink to the bottom, the pure clay will form a middle layer, and clear water will sit on top.
-
Siphoning: Carefully pour or siphon off the clear water. Scoop out the middle “creamy” layer of clay, leaving the gritty sand at the very bottom of the bucket.
Drying and Storing for the Long Haul
Once you have your refined clay “slip,” you need to prepare it for storage.
-
Drying: Spread the wet clay onto a flat board, a plaster bat, or a piece of heavy canvas. Let it air dry in a spot away from direct sunlight until it reaches a “leather-hard” state or dries completely into brittle chunks.
-
Grinding: For soapmaking, the clay needs to be a fine powder. Use a mortar and pestle (or a dedicated old coffee grinder) to crush the dry clay into a silk-like dust.
-
Storing: Store your powdered wild clay in airtight glass jars. Keep it in a cool, dry place. Because it is a mineral, it won’t “expire,” but keeping it sealed prevents it from absorbing odors or moisture from the air.
Using Your Wild Clay in Soap
Wild clay can be stronger or more “active” than store-bought varieties. When using your own harvest in Cold Process soap, it is often best to soak the clay in a little bit of your recipe’s water (taken from the total amount) before adding it to the oils. This ensures the wild minerals are fully hydrated and won’t cause your soap to “seize” or thicken too quickly.
Using earth you’ve gathered yourself adds a layer of heritage and connection to your craft that simply can’t be bought from a catalog. It’s a beautiful way to bring the essence of your local landscape into your daily cleansing ritual.
Safety First: Handling Clays with Care
When we work with the gifts of the earth, we must remember that “natural” doesn’t always mean “carefree.” Whether you are using store-bought minerals or your own wild-harvested clay, a few simple safety measures will ensure your soapmaking remains a healthy and joyful craft.
Breathe Easy: Protecting Your Lungs
Clay, by its very nature, is a fine particulate dust. When you are measuring out your dry powders or grinding your wild-harvested clay, those tiny particles can easily become airborne.
-
Wear a Mask: It is always a good idea to wear a simple dust mask (like an N95) when handling dry clay. Inhaling mineral dust over time can irritate the lungs.
-
Avoid the “Dust Cloud”: To keep the dust down, try adding your clay to a small amount of liquid (like water, oil, or glycerin) to create a “slurry” before mixing it into your larger soap batch. This keeps the particles “wet” and out of the air.
Know Your Source: Purity Matters
If you are harvesting your own clay from the land, be mindful of where you dig. The earth acts as a filter, which means it can sometimes hold onto things we don’t want in our soap.
-
Avoid Contaminated Sites: Never harvest clay from areas near old industrial sites, heavy roadways, or farm fields where chemical pesticides and fertilizers are heavily used.
-
The Lead & Heavy Metal Rule: Some wild clays can naturally contain heavy metals. While these are often fine for a rinse-off product like soap, it is wise to test a small patch of skin first if you have any concerns about a new source.
Handling “Active” Clays
Some clays, particularly Bentonite and French Green, are incredibly thirsty. They can “swell” significantly when they hit water.
-
Don’t Clog the Drains: Never pour large amounts of dry clay or thick clay “slurry” down your sink. It can settle in the P-trap and create a clog that is as hard as a brick. Always wipe out your mixing bowls with a paper towel before washing them in the sink.
-
Skin Sensitivity: Because clay is so efficient at drawing out oils, it can be a bit too effective for those with very dry or thinning skin. If you find your soap is leaving your skin feeling tight or itchy, try reducing the amount of clay in your next batch or switching to a gentler variety like White Kaolin.
A Note on Heritage Wisdom
The pioneers knew that respect for their materials was the key to success. By treating these powerful earth minerals with a bit of caution, you ensure that your handcrafted soaps are as safe as they are beautiful.

