Bee Hive Construction – Assembling Supers and Frames
Constructing your bee hive is like some enjoyment, especially if you are fond to do such things pertaining craftsmanship. If you are not sure about yourself, you can let a skilled carpentry to do it for you. The important thing here is that you’re well informed about how to construct it the right way to get the right bee hive construction.
There are two options on how you are going to do it, assuming you do it yourself. First you can purchase a knocked down bee hive and assemble it as instructed, or second you can start from scratch to make your own equipment and parts of the hive.
Whatever your option is, please bear in mind that you should refer the design, dimension and assembly method to a standard, which is more likely the Langstroth hive design. Doing this provides you with a flexibility in the future to interchange parts and even add other ready made parts where incompatibility will not be a problem.
The Langstroth movable frame bee hive has been thoughtfully designed which include all the practical factors such construction simplicity, easy to use, facilitate swift hive inspection, and interchangeability of frames. There are available Langstroth designs that you can purchase to be used as reference.
The following are an example on how you can assemble tow parts of your hive, the supers and frames.
General Tips
- It is suggested to using flat cedar or pine lumbers for all parts of the hive construction.
- You can make a knot if it is needed but it should not be made at the edge of the lumbers or where you plan to make a handhold.
- Consider the dryness of the lumber. If it is not completely dry you should provide some allowance for shrinkage.
- Exception of materials to be used is for the hive top cover and the bottom board floor, where it should be made of plywood which is less affected by moist and temperature changes.
- Wood pieces must be cut with precision following standard dimensions. The depth of a handhold should be precisely 16 mm or 5/8 inch.
- Bee spaces should be exactly 8 mm or 5/16 inch. A bee space is the exact distance between combs in the hive.
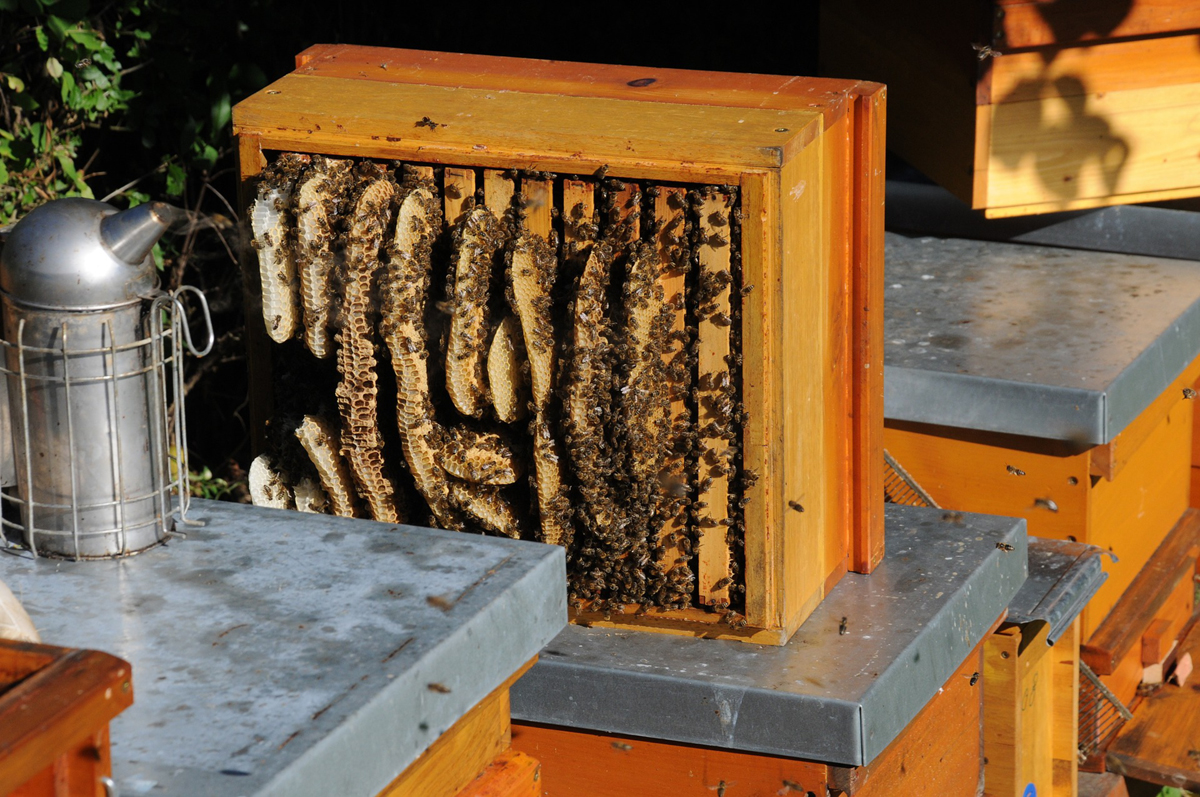
Assembling The Supers
Super is the structure that holds the frames. It has a standard outer length of 50.7 cm (20 inches) and a width of 41.8 cm (16.5 inches) where the depths may vary in three common dimensions:
- Standard: 24 cm (9,5 inches), for brood and supers
- Dadant:16.8 cm (6 5/8 inches), for brood and supers
- Shallow: 14.7 cm (5 13/16 inches), only for supers
Recommended nails to nailing supers, the bottom board and top cover are the 50 mm (1 1/8 inches) long nails. If available you can use an electric staple gun for your ease. Screws are good substitutes for the nails if you wish maximum durability.
Assembly methods may vary, but here is a good recommendation which you might follow:
1. Nail metal rests to end pieces, using 16 mm (5/8 in.) common nails (no tacks please)
2. Assemble with the help of clamps
3. Nail through the top end into the side pieces
4. Take out the clamp, turn around the super, clamp and nail the other end
5. Take out the clamp, check diagonals to assure that the super is square
6. Finish it by nailing through the side pieces into the end pieces
The holding power of nails driven into the end grain can be increased if you drive the nails with an angle. To gain additional strength, the end pieces may be glued prior to nailing. You may have some metal parts to fix which include the frame rests and hive-top covers which can be made of galvanized iron, aluminum or other suitable metal
Assembling and Wiring Frames
It is best if you buy the frames and frame parts at your beekeeping supplier which will be able to provide you with the correct dimension. Some wooden parts of your hive, like the frames and foundation can be substituted with the plastic made ones which is considered more durable than wood. A plastic foundation sheet can also be applied to a wooden frame, where wiring for wax foundation will not be needed.
When assembling the frames remember to use only the special frame nails just to make sure that the frames are rectangle and can be correctly hanged in the supers with the right bee spaces between the hive structures. To gain additional strength and durability of the frames, the end pieces may be glued prior to nailing.
Frame Wiring Tips are as Follows:
1. Use #28 gauge steel wire
2. Use at least two horizontal wires for standard frames. Make sure that the wires are located across the bottom holes and the third holes up from the bottom
3. Use eyelets to avoid cutting into the wood
4. Horizontal wires must be cling tight and secured with 16 mm (5/8 in.) cigar box nails
5. For additional strength, a foundation with vertical wires may be used
The Author:
Uno Birawan is a writer and wrote a lot about beekeeping.
Photo. M. Roth
Source: Ab


