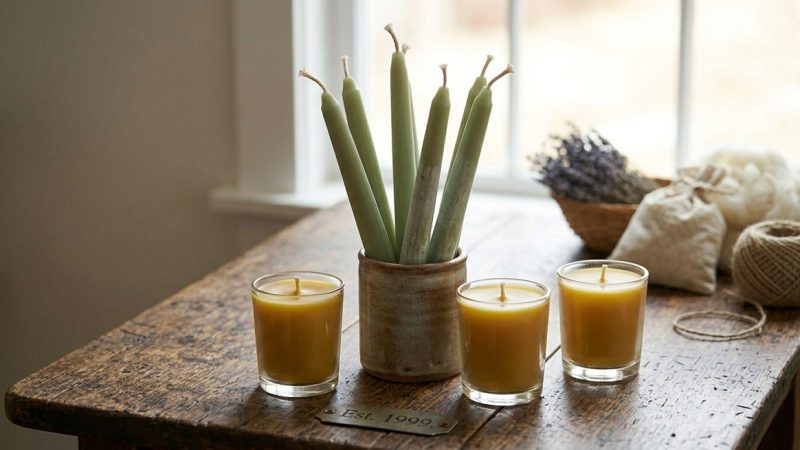
The Candle Scrap Pot

In the pioneer home, nothing was ever truly “spent.” A worn-out wool coat became a braided rug; a glass jar became a vessel for the frontier pharmacy; and every stray scrap of wax or tallow was meticulously saved for the “scrap pot.”
Today, we often find ourselves with beautiful candle jars or half-melted pillars that no longer burn correctly. In the spirit of self-reliance and traditional thrift, these materials should never see the landfill. Here is how to reclaim and repurpose your candle waste with the precision of a seasoned artisan.
The “Scrap Pot” Method: Reclaiming Leftover Wax
The most common reason for candle waste is “tunneling”—where the wick burns a hole down the center, leaving a thick ring of unburnt wax. Rather than discarding these remnants, you can melt them down to create new, high-utility candles.
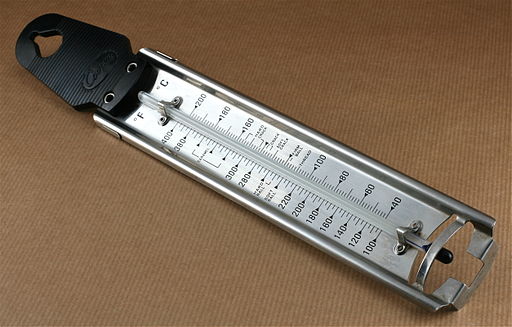
1. The Safety-First Melt
Never melt wax over direct heat. Following traditional candle-making mechanics, always use a double boiler. If you don’t have one, place a heat-safe glass or metal container inside a pot of simmering water. This ensures the wax never reaches its “flash point,” the dangerous temperature at which it can ignite.
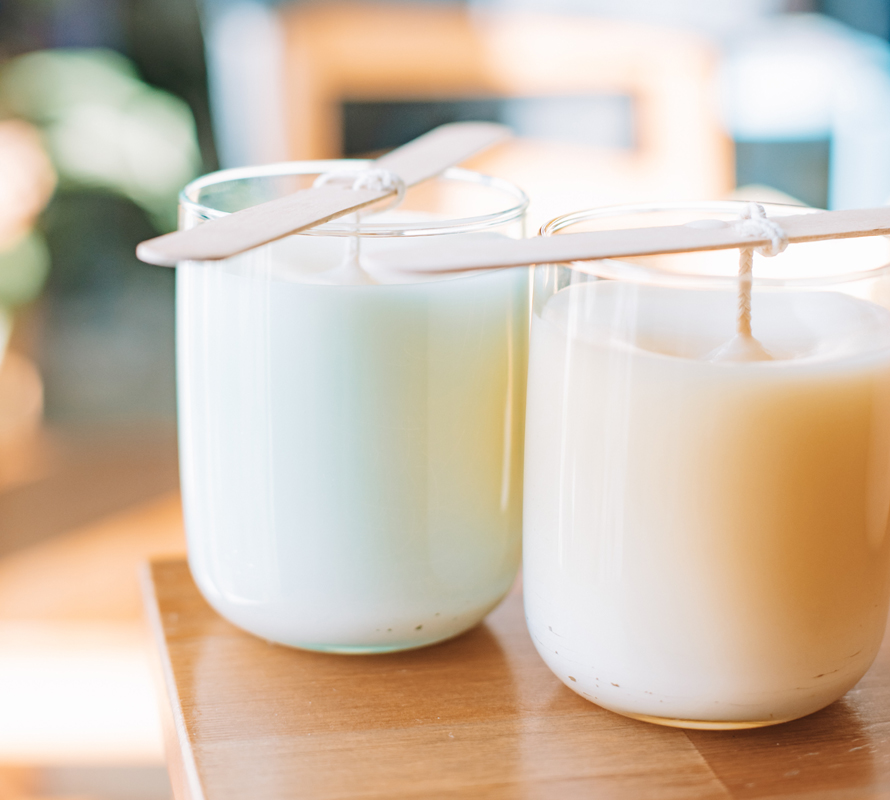
2. Preparing The New Vessel
While your scraps are melting, prepare your new container—a Mason jar or a cleaned-out glass candle jar works perfectly.
-
The Wick: Use a tabbed cotton wick. Secure the tab to the bottom with a tiny drop of melted wax.
-
The Tension: Tie the top of the wick to a pencil or a stick resting across the jar’s opening to keep it perfectly centered and taut while the wax sets.
3. The Pour
Carefully pour the liquid wax into your prepared jar. Expert Tip: To prevent the wax from shrinking or “dipping” in the center as it cools, keep a small amount of wax in the pot and perform a “second pour” once the first layer has skimmed over.
Restoring The Glass: A Natural Cleaning Protocol
Once the wax is reclaimed, you are left with a glass jar often coated in soot and oily residue. Instead of using harsh chemicals, apply the principles of natural cleaning to restore the glass to its apothecary-grade clarity.
-
The Heat Release: Pour boiling water into the jar (ensure the glass is at room temperature first to avoid cracking). The remaining wax will melt and float to the surface. Once the water cools, you can pop the wax disk off the top.
-
The Scouring Paste: For stubborn soot and oil, mix a simple paste of baking soda and a splash of white vinegar. Scrub the interior with a natural fiber cloth. The mild abrasion of the soda and the acidity of the vinegar will cut through the carbon buildup effortlessly.
Beyond The Wick: Repurposing Your Reclaimed Jars
Once cleaned, these jars become invaluable tools for the self-sufficient home. In a “content hub” model of living, every object should serve multiple purposes:
-
The Frontier Pharmacy: Use small jars to store dried herbs from your medicinal garden—such as dried calendula or peppermint—keeping them airtight and dry.
-
Natural Beauty Storage: These jars are the ideal size for holding DIY personal care products, like handmade salves, natural hair conditioners, or homemade sugar scrubs.
-
Garden Organization: Use them in the potting shed to organize heirloom seeds or copper plant labels.
A Note on Traditional Wisdom
Our ancestors understood that self-sufficiency wasn’t just about making things from scratch; it was about the stewardship of resources. By reclaiming wax and glass, we aren’t just “recycling”—we are practicing the same mindful economy that sustained families for generations.
Whether you are saving paraffin scraps for a utility candle or cleaning a jar to hold a new herbal remedy, you are participating in a long lineage of traditional thrift.
The Author:
Pioneerthinking.com: Ingredients for a Simple Life. Insights from a seasoned professional rooted in country living, with 28 years of horticulture expertise and over two decades of practical experience in homesteading, natural beauty and cosmetic creations, natural health, cooking and creative living.
Photo. Gemini

