Freezer Meal Containers
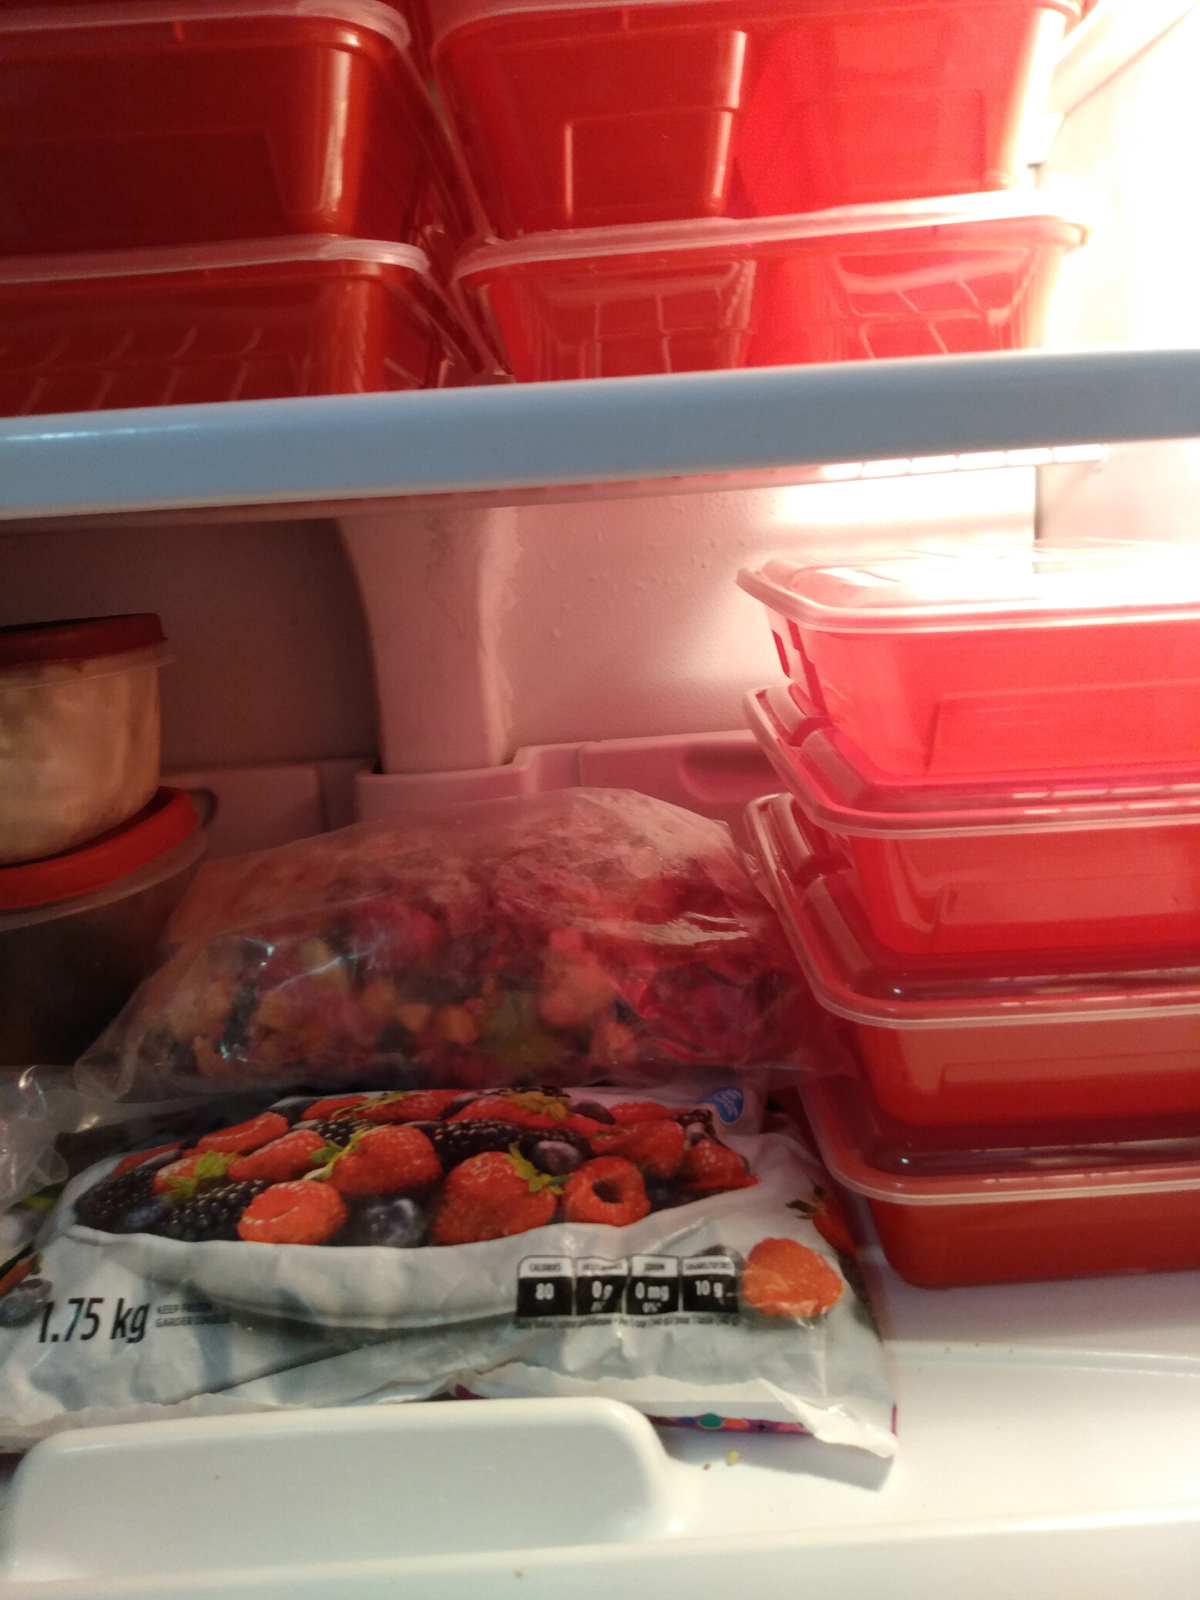
You’ve heard about cooking ahead for the freezer before. You’re convinced the technique will save you money. So, now you’re ready to give cooking for the freezer a try. That’s great! But what on earth do you store all this good food in so your hard earned money doesn’t go to waste? You certainly don’t want to have your food suffer from a bad case of freezer burn… and you also don’t want to break your budget stocking up on expensive freezer boxes. Oh, what’s a Freezer Mama to do?
I want to assure you that you don’t need to hold a party and buy expensive plastic boxes. Any food grade plastic will work. The inexpensive plastic boxes at the grocery store function just fine, but make sure you have storage items with tight fitting, air-tight lids.
If you want to invest money in the higher quality plastic boxes, by all means feel free. You definitely get what you pay for and the fancy expensive home party boxes usually last for many years and come with replacement guarantees. I just want to assure people that you don’t have to stock your freezer shelves with designer containers. The only plastic freezer containers I owned for many years were just the inexpensive ones from the grocery store, and they served me well for many years.
You can even freeze food items in clean, plastic margarine tubs if that’s all you have, but the seal isn’t really air-tight so don’t freeze these items for longer than two weeks or the quality of the food will suffer.
It’s important to remember that margarine containers are safe to freeze food in (they’re made of food grade plastic), but don’t reheat your meal in them. They’re not microwave-able, and they can seep harmful chemicals into your family’s food. Be sure that a plastic container is labeled “microwave safe” before using it to reheat food.
If you have a choice between round or rectangular freezer containers, choose rectangular. These use space more efficiently and take up less room in the freezer.
You can also use disposable aluminum foil pans purchased at the grocery store. These can often be reused several times before needing to be recycled or disposed. Disposable pans are ideal if you’re making meals to use to give to others; the recipient doesn’t need to worry about returning your pan or casserole dish. If clean up is a huge time-consumer, these pans be easily thrown away to make cleanup painless.
I’ve built up a good supply of freezer containers by stocking up on bakeware and other freeze-able containers at garage sales and thrift stores. Glass bakeware works fine. When wrapping pans for the freezer, be sure to use good quality, heavy-duty freezer foil.
I personally use zip-top freezer bags for most of my freezer-meal storage needs. Not only do freezer bags take up less space than boxes, the bags are inexpensive and easy to use. It’s important to buy top quality freezer bags – this isn’t the place to cut back, money-wise. There’s nothing worse for a freezer-meal cook than to have your entire batch of frozen meals ruined by poor wrapping or freezer bags breaking.
I recommend double bagging anything with a soupy consistency so you don’t end up with a watery mess at the bottom of your refrigerator after the meal thaws. Sometimes bags can develop small holes, or the zip-top can open slightly.
You can also make your own freezer pans by lining a casserole dish with foil. Put the food in on top of the foil, freeze the meal until it’s solid, and then remove the foil and food from the pan. Finish wrapping the meal and put it back in the freezer. When it’s time to serve the meal, simply place the foil wrapped meal back into the original pan that was used to mold the frozen meal.
Thaw and reheat in the original pan. This method keeps your pans available for other uses during the month.
The Author:
Deborah Taylor-Hough (free-lance writer and mother of three) is the author of several popular books including Frozen Assets: Cook for a Day and Eat for a Month, A Simple Choice: A Practical Guide for Saving Your Time, Money and Sanity and her newest book, The Simple Mom’s Idea Book.

