After years of working with paraffin wax, I was ready to start branching out and experiencing a bit more of what the craft has to offer. While paraffin wax is great, there are many more options of wax now, from soybean wax, to beeswax, to palm oil wax to gel. I had seen a number of gel wax candles in stores, and I was drawn to the transparency of the candle in the end result. This transparency allows for some really incredible decorative effects through the use of embeds such as sea shells and glitter to pressed flowers. It was the pressed flower candle I wanted to begin with, as my flower garden was in full bloom so my “embed” were located just out the front door in the flower bed.
Gel candle making differs from other forms of candle making, as there is no way that the gel wax can stand on its own. You can use the dip method, nor can you use gel wax in molds. You must pour it into a container. This was also a joy as I frequent thrift stores, wherein you can find a number of interesting glass jars, bowls and vases to use. I even found an old gold fish bowl that was perfect for what I was planning to create. I wanted to create gel candles with the flowers from my garden suspended in the gel. This was going to be fun, I just knew it!
So, I arranged my supplies which were as follows. My glass containers, the gel wax, my wicks, some glue and tape, and some essential oil for fragrance. I choose Lavender and Chamomile to add to the wax. Earlier in the week I had picked some of my flowers, and pressed them between the pages of a couple of books and I washed out my glass containers, let them dry fully and I was ready to go.
The wicks I had purchased had metal dowels or discs on one end. These I secured onto the bottom of my glass containers with the glue. I then taped the top of the wicks to pencils. The pencils I placed across the mouths of the containers so that the wicks would be held straight and upright. I warmed the gel wax to 225 degrees Fahrenheit. Note that this is a bit higher of a temperature than that which is used on the other types of wax. Each wax has a burning point, where it will actually catch on fire, so be certain you are aware of the correct temperature for the specific kind of wax you are working with. This is where the candy thermometer comes in handy, be sure to keep a constant watch on the heat.
Now is when I added the lavender essential oil. I added just a little bit at a time, as I have made the mistake of adding too much, and have had some pretty potent smelling candles as a result. I added too, just a little bit of dye to each of the candles. When working with gel wax it is important to get the dye that is made specifically for working with gel. Other kinds of candle dye will make gel candles turn out cloudy.
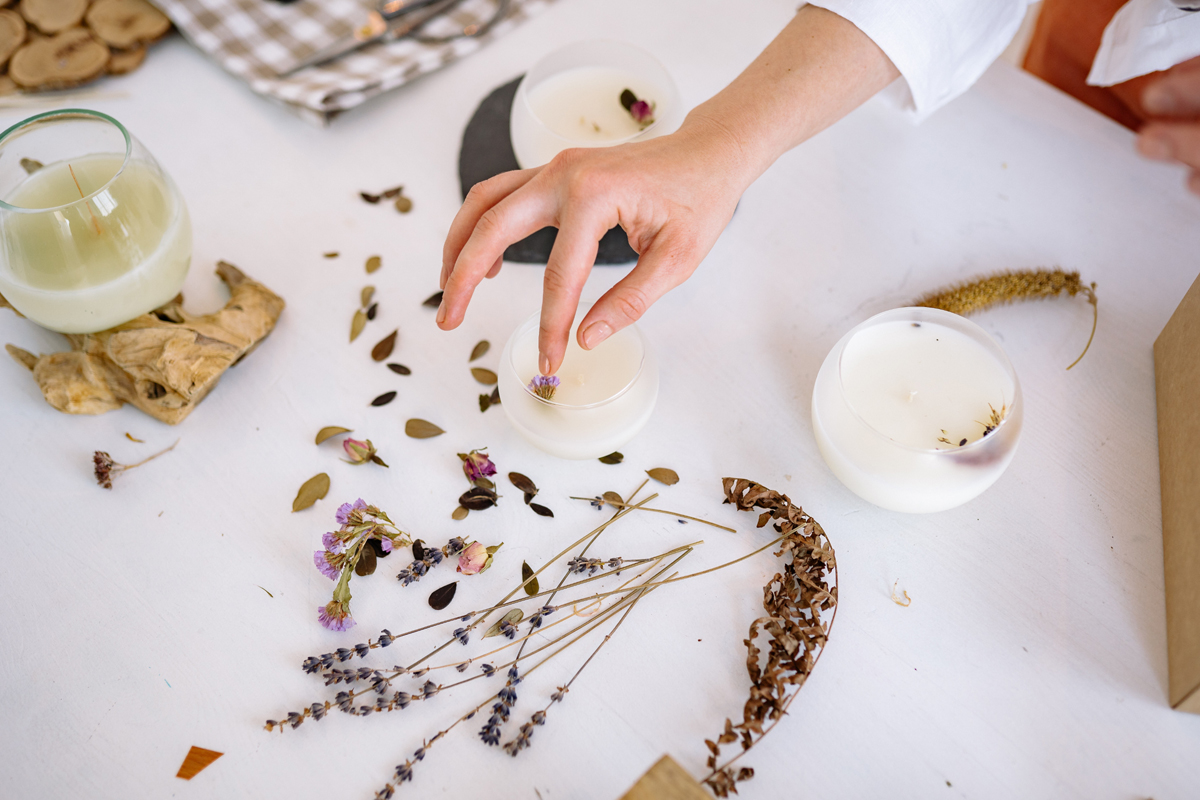
For the addition of the dried flowers, there are a couple different ways you can do this. One is by dipping the flowers carefully into the wax, and then securing them onto the inside of the containers before you pour the wax. The other way, is to pour the wax first, and then working quickly but carefully, lay a flower on top of the wax, and gently push the flower down into the wax using a wooden dowel or skewer. In this way the flowers will be suspended in the wax creating in the end, a very beautiful candle.
Once the wax had set up, I trimmed the wicks to about an inch in length, and my candles were completed. Working with any kind of wax is wonderful, and of course there is nothing like homemade decorations, candles in particular, to make a house warm and inviting. My first experience with gel candle making was a success, and I highly recommend working with gel to anyone out there who has taken up the hobby, or the career, of handmade and homemade candles.
The Author:
Sally Stow
Photo. Yan Krukov
Source: Ab