How to Grow Herbs in Pots Using Herb Plant Cuttings
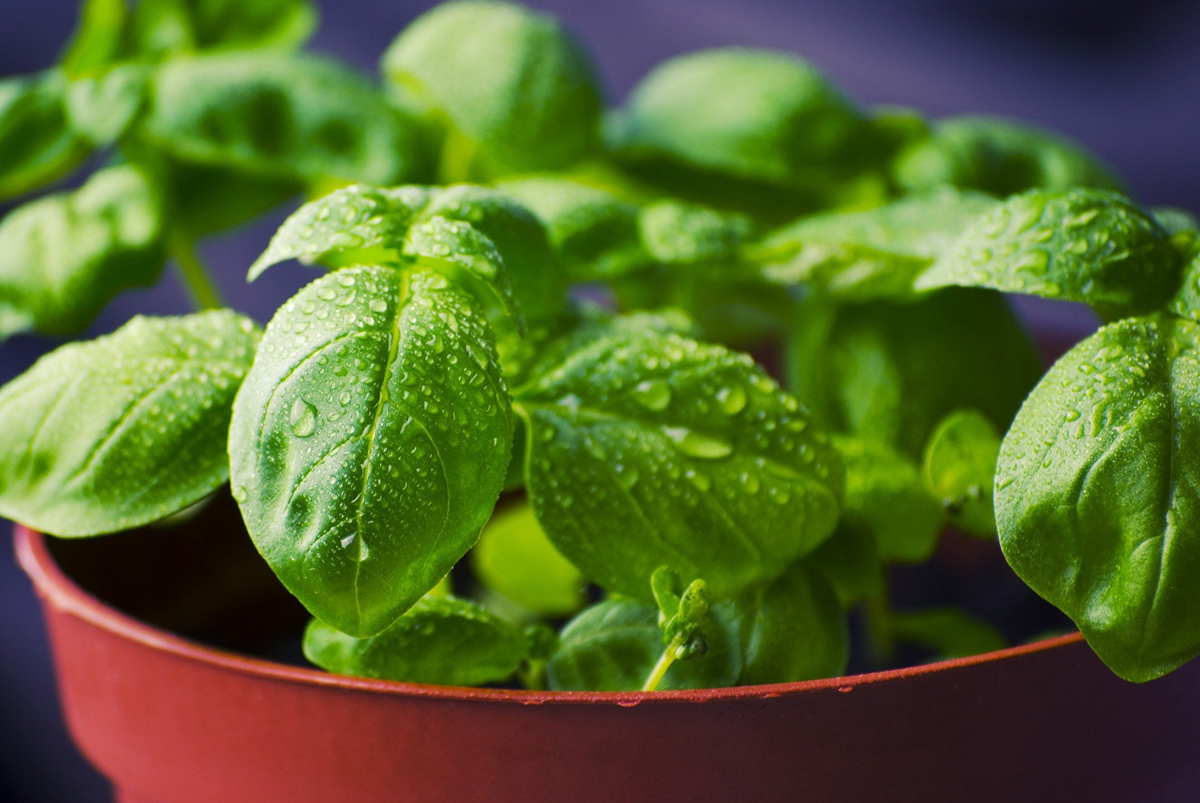
If you have herbs in your own garden that can be grown from cuttings (a process usually called propagation), or if you can persuade a neighbor to let you make cuttings from his or her herb plants, you can set about growing herbs in pots using herb cuttings instead of seeds.
Propagation timescales can be very quick. In five or six weeks in the spring and early summer you can easily turn a large single herb plant into a batch of smaller herb plants. You can use the herbs you produce in this way to extend your herb garden or to plant single herb garden boarders (e.g. of lavender or rosemary). Or you can do what I frequently do – sell my potted herbs at country markets and town events or give them as presents to appreciative friends.
Propagating Using Herb Cuttings Isn’t Difficult
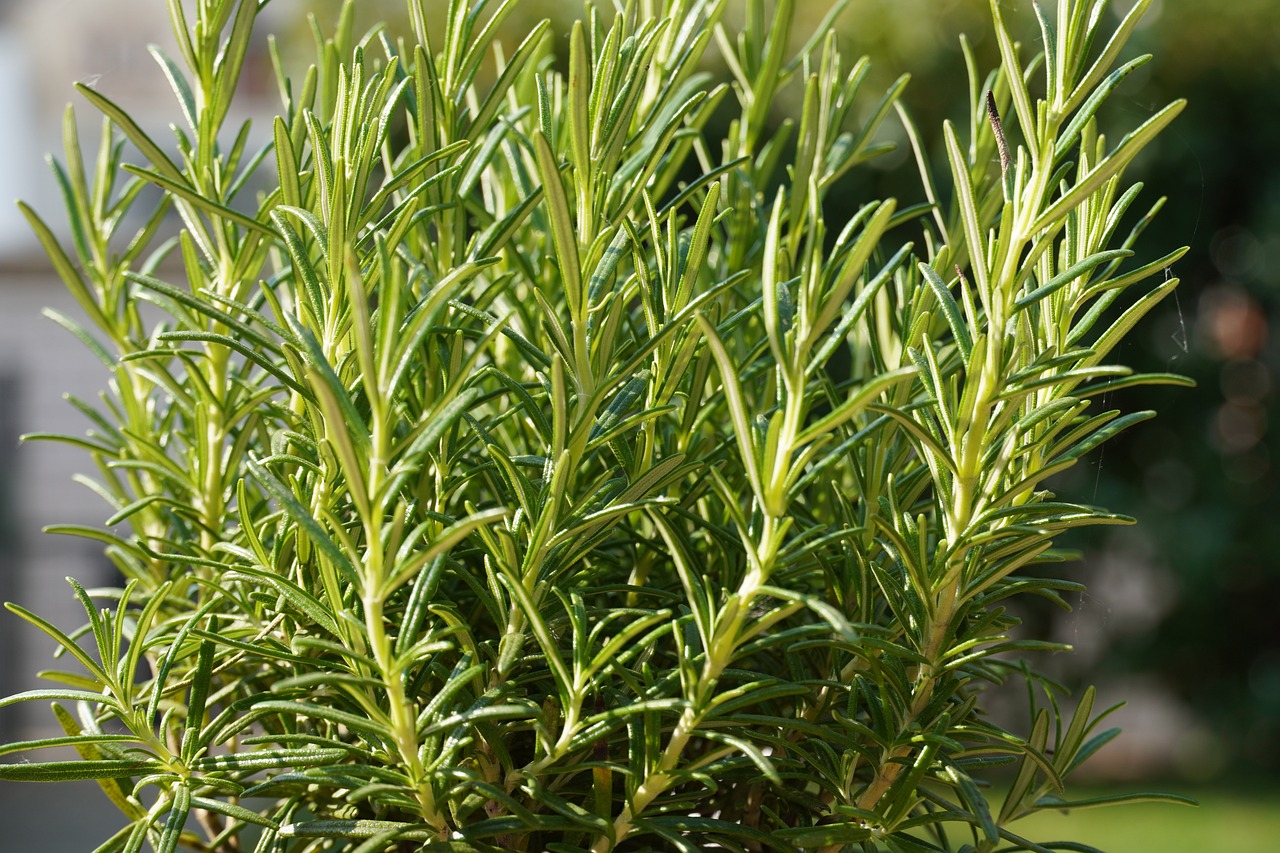
If you want to grow herbs in pots by taking cuttings don’t go thinking that it’s a difficult thing to do. It’s not difficult. In this article I’ll go through “Four Simple Steps” to follow for propagating herbs in this way. However, it’s important for you to know that not this process doesn’t work for all herbs. The ones that can be propagated include lavender, hyssop, lemon verbena, marjoram, rosemary, sage, tarragon, thyme, winter savory, wormwood or the curry plant.
Materials You’ll Need
You need very little in the way of equipment and materials, namely:
– Mixture of potting compost and sand (two thirds compost to one third sand)
– Some 3 or 5 inch pots (plastic ones are fine)
– Secateurs or a sharp knife
Choosing Your Cuttings
If you are going to grow your herbs in pots by propagating them with cuttings you have quite a lot of flexibility on when and how you do it. The three main ways in which you can take your cuttings are:
– By using the young tender stems of herbs (i.e. softwood cuttings). You’ll see lots of these on your established herb plants in the spring. These new stems have no hardness because they are so young. You can take softwood cuttings in the spring and in the summer after flowering.
– By using herb stems that have Just started to harden (i.e. semi-hardwood). Young tender herb plant stems start to turn green-brown as they grow and then harden from Spring to Summer. They can be used as cuttings from mid-summer until the Fall.
– By using established herb plant stems that have become woody (i.e. hardwood). You can easily tell these stems. They really look woody and don’t bend easily. These stems can be used for cuttings in the Fall.
Four Easy Steps to Propagating Herbs with Cuttings
Step 1 – Take Your Cuttings
Use secateurs or your sharp knife to remove the stem from the plant.
– If you are propagating from a softwood cutting choose stems that are 2 to 4 inches long. Avoid the ones that have flower buds on.
– If you are propagating from a semi-hardwood stem choose one which is 4 to 6 inches long. Here again, avoid stems with flower buds if possible (not as easy as for softwood cuttings).
– If you are propagating with hardwood cuttings choose stems that are 6 to 15 inches long.
In each case make a nice clean cut with your secateurs or knife just below the leaf nodes (the point where the leaves join the stem). There are more plant cells in this part of the stem, and they will encourage root growth when the cutting is planted.
Step 2 – Trim Your Cuttings
Trim your cuttings by removing the leaves which are joined to the stem just above the cut. While you are doing this check to make sure that you made a nice clean cut during the first step (if you need to trim it, don’t trim above the leaf node).
If you are working with hardwood stems also remove the growing tip of the stem at this point.
Step 3 – Plant Your Cuttings in Pots
Now fill your pots three quarters full with moist compost and sand mix and push your stem cuttings firmly into the soil around the edge of the pot. Make sure they are firmly planted, but don’t compress the compost mix and make it hard (the growing roots will need air).
With a 3 inch pot you should be able to plant three cuttings around the edge. You’ll be able to plant five or six cuttings around the edge of the 5 inch pot. The stems should be buried by about a quarter to a third of their length depending on the size of the cutting.
Once your cuttings have been planted put three tall sticks (i.e. taller than the cuttings) in each pot and cover the pot with a plastic bag. The sticks keep the bag away from the cuttings and the bag will help to retain moisture.
Step 4 – Store Your Pots
Store your pots out of direct sunlight in a warm area. Warmth will encourage the roots to grow. You will need to keep the pots watered (but not too wet). Remove the plastic bag from time to time because excess moisture can cause mold to form.
When your herb stems show signs of growth remove the bags and sticks and water them with a little plant nutrient. Your softwood and semi-hardwood cuttings will have roots within five to six weeks. Your hardwood cuttings will take a little longer.
Once your newly propagated herbs are established, you can replant each of them in its own pot or in your herb garden.
Grow More Herbs in Pots and Multiply Your Success
It’s not difficult to achieve a high degree of success (i.e. greater than 75%) growing your herbs in pots in this way. Once you have grown your first batch of herbs in pots you will be well on the way to becoming a herb propagation expert. Make sure you build on your new skills by embarking on some bigger garden projects with herbs such as planning and planting hedges of lavender and rosemary. Or you could do what I do and grow your herbs in pots to sell and give as gifts.
The Author:
Adam Gilpin
(c) Copyright – Adam Gilpin. All Rights Reserved Worldwide

