Home Baked Bread & Rolls – Made Simple!
My Mother, upon watching me mix up a batch of home made Orange Rolls, made the comment that I was the last of a dying breed. In a way she was right! It seems that in our society of simple to prepare foods, we have lost the art of bread baking. My generation, commonly called “Generation-X” has never been called upon to bake bread for necessity, we can just go to the store and buy it! I believe, however, that we should not let this tradition fade away! Baking bread and rolls at home is not as difficult as you think-with today’s modern tools we have in our kitchens, plus a really good recipe, baking bread at home is a lot easier than you think!
Here are a few tips:
The first tool you need for baking bread at home is a good quality mixer. KitchenAid makes a high quality stand mixer that is powerful enough to easily mix your dough and pastries. The mixers are available in 3 different models- Classic, Heavy Duty and Professional. I prefer the Heavy Duty model as it has a larger bowl capacity and a bit more power than the classic model.
The recipe you choose to use will greatly influence the type and texture of your bread. Yesterday’s bread recipes required rising for several hours- not so today! There are many great recipes that are quick and easy, and produce a wonderful quality of bread. My personal favorite follows:
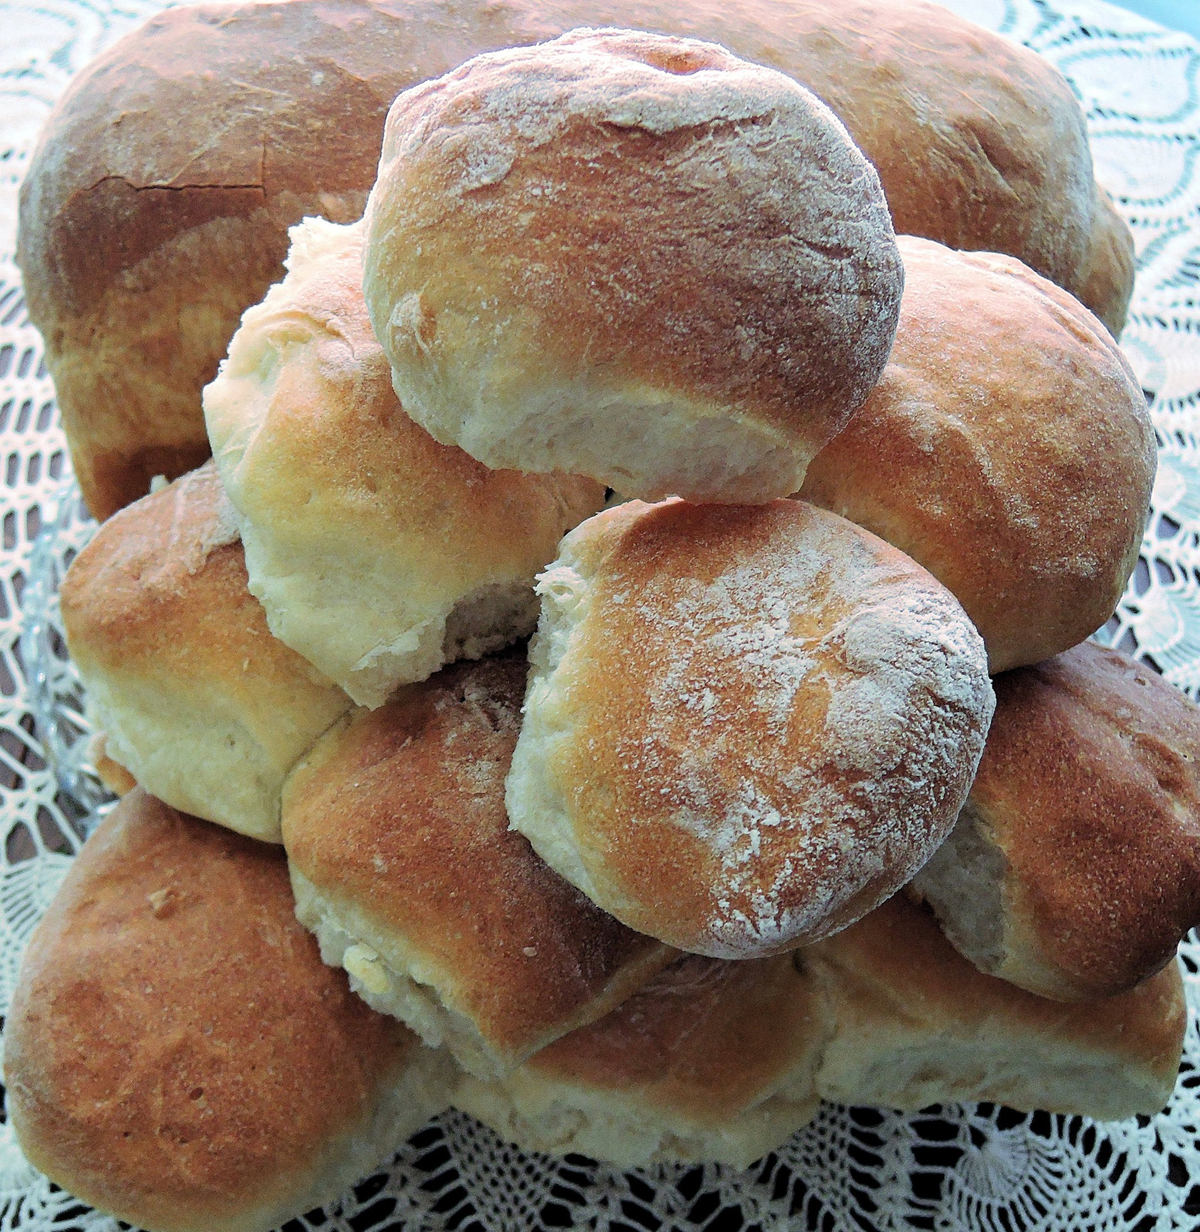
60 Minute Rolls **
Ingredients:
- 1 cup milk
- 1 cup water
- 1/4 cup margarine
- 4-5 cups all purpose flour
- 3 tablespoons sugar
- 1 teaspoon salt
- 2 pkgs active dry yeast
Directions:
Combine milk, water and butter in a small saucepan. Heat over low heat until liquids are very warm to the touch, about 120 degrees, butter does not need to melt completely. In mixer bowl, place 3 cups of the flour, along with the remaining dry ingredients. Mix on low speed until well blended. Gradually add the warm milk mixture. Mix until well blended.
Gradually begin adding the remaining 1 to 2 cups of flour, 1/2 cup at a time, until the dough is firm, clings to the hook, and cleans the sides of the bowl. Turn out onto counter top and knead a few times.
Place in a large greased bowl and allow to rise in a warm place for 20 minutes. Turn out, and divide into rolls or loaves, whichever you choose. Place bread in a warm place and allow to rise for another 20-30 minutes. Bake in a 425 degree oven for 10-12 minutes or until golden brown. Brush with butter while still warm to produce a nice soft crust.
Here are some hints for successful bread baking:
Do not use liquids that are too warm, using liquids that are above 130 degrees will kill the yeast in your dough. Liquid should feel very warm to the touch – not burning hot!
Yeast that is old will not rise, but yeast can be stored indefinitely in the freezer! When you buy it at the store, simply pop it in your freezer until you need it!
If you want a shiny, brown crust simply brush the crust of your dough with beaten egg whites before baking. Coating the crust with butter after baking produces a nice, soft, buttery flavored crust.
Not sure if your bread is done? Tap the crust-if it sounds hollow, it’s done!
And last but not least, be sure that your pans are well greased to avoid sticking to the sides. Using a cooking spray such as Pam or Crisco spray works just fine!
There you go! Following the tips given, you should have a wonderful tray of home baked bread in less than 2 hours! I baked this bread recipe into rolls and entered them in our local county fair- won a blue ribbon! And if this member of the “X-Generation” can bake bread, you can too!
The Author:
Pam Severance is the publisher of the online home cooking magazine and cookbook, Cooking with The Country Sunshine. She is a full time farm wife, webmaster, and an editor for the Open Directory Project’s Personal Recipe Collections site.
Photo. Pixel1


