How to Make Your Own Natural Beeswax Polish
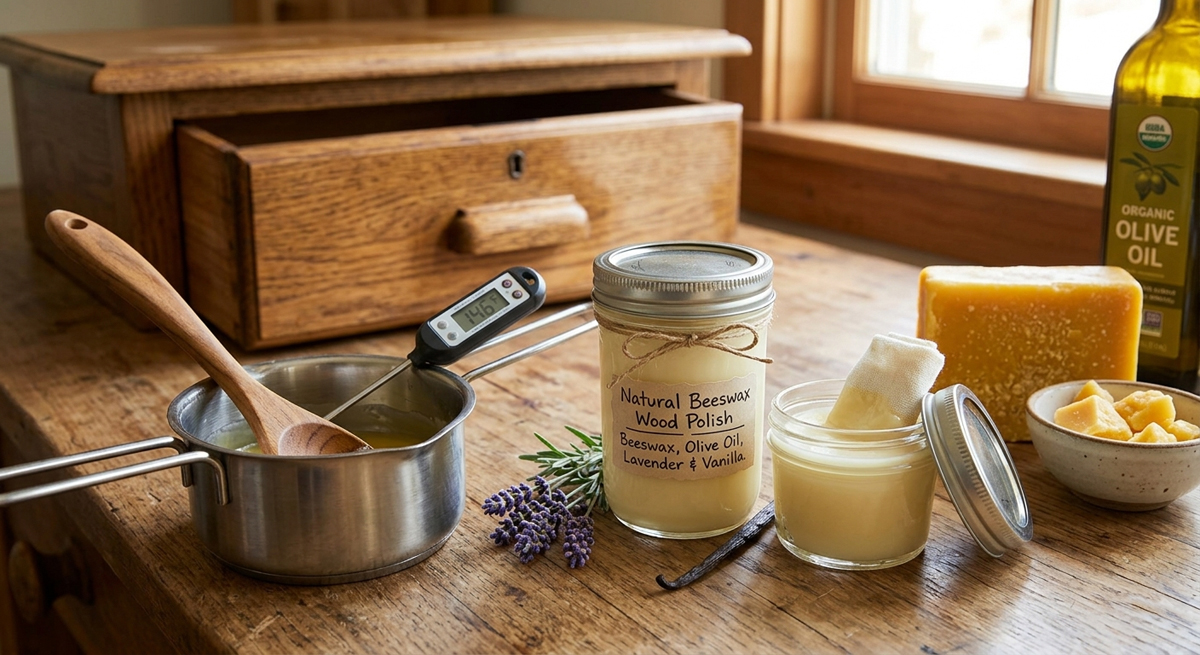
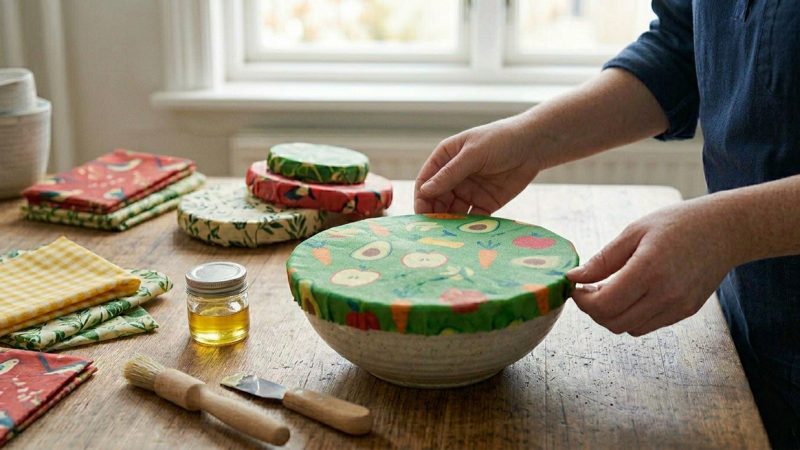
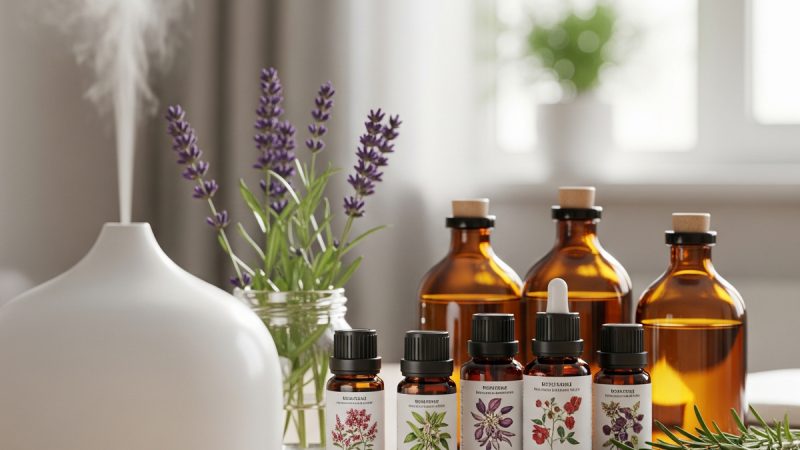
Did you know you can easily make your own natural beeswax wood polish? It’s as easy as making your own soap or candles. Add essential oils of your choice for different scents or just enjoy the sweet smelling beeswax as is. Experiment with different scents and different oils to create your own perfect blend. I love lavender and vanilla used with jojoba but I imagine orange oil mixed with sweet beeswax and coconut oil would be wonderfully intoxicating – like a day at the beach… You do want to make sure the oil used for scenting is food grade however and you don’t want to use so much that it actually harms the wood you’re trying to protect.
Beeswax not only smells great but it’s all natural so you don’t have to worry about little ones or pets that like to chew on furniture. Beeswax brings out the warmth in wood plus it will repel water and dust to keep your wood looking beautiful for years to come. Beeswax polish is especially good on wood finishes where you want a soft satin like protective sheen such as a natural driftwood. You can find beeswax at most craft stores, online or checkout local beekeepers and you’ll probably get a great price on unfiltered beeswax.
Most people think of beeswax polish as just being for polishing wood furniture but it has many uses. A clever user might pour the melted blend into a candy mold for use as a lip balm or hand moisturizer. How cute is that and what a great gift idea. You can also use beeswax to make hard leathers waterproof or at least water repellent. Got a sticky drawer or door? Use a bit of beeswax to make drawers glide easier and doors open and close better.
The recipe below will produce approx. 8 oz. of your own natural beeswax wood polish. The ratio is 1 part beeswax to 3 parts oil; however, if you prefer a softer wax, use more oil or a ratio of 1-4 instead of 1-3 and if you prefer a harder wax, use more beeswax.
Natural beeswax polish will last approximately 1-2 years depending on the oil you’ve chosen. Keeping it refrigerated will prolong its shelf life.
Natural Beeswax Polish
Supplies:
- 2 oz. natural beeswax
- 6 oz. oil such as olive oil, coconut oil, jojoba oil, walnut oil, etc.
- Pot – preferably a double boiler
- Wooden spoon
- Food grade essential oil(s) such as lavender, vanilla, sandalwood, etc. (optional)
- Glass jar or tin with cover
- Candle Thermometer
Directions:
1. Melt beeswax in double boiler over medium heat until it reaches 144-148 degrees.
2. Carefully add in your oil of choice and stir until well blended.
3. Remove from heat and add any scenting oils.
4. Pour melted beeswax slowly into your container and set aside for several hours to let it harden. I like to fill the containers halfway with wax – let it sit until it solidifies and then come back and top it off. This way I know I’m not going to have a puddle of oil in the center that will not solidify.
Now enjoy your sweet smelling beeswax that you made yourself.
The Author:
For more information on making your own beeswax polish and other DIY Driftwood projects, visit DIYDriftwood.com
Photo. Gemini
Source EA
