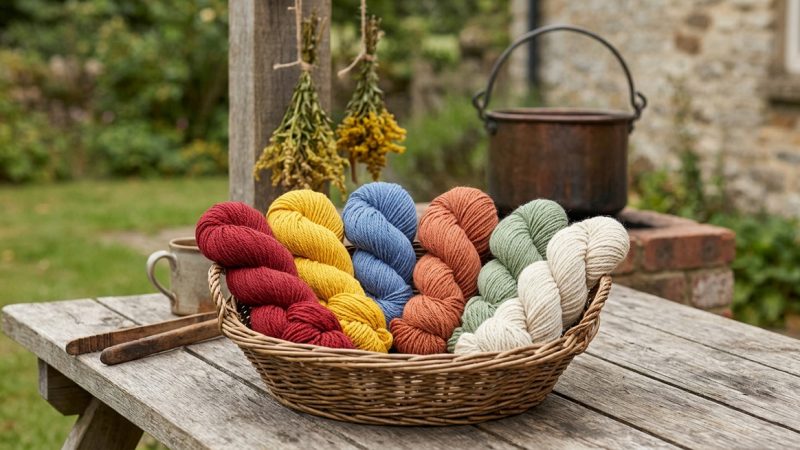
Natural Dyes for Baskets: A Step-by-Step Guide to Achieving Beautiful Hues
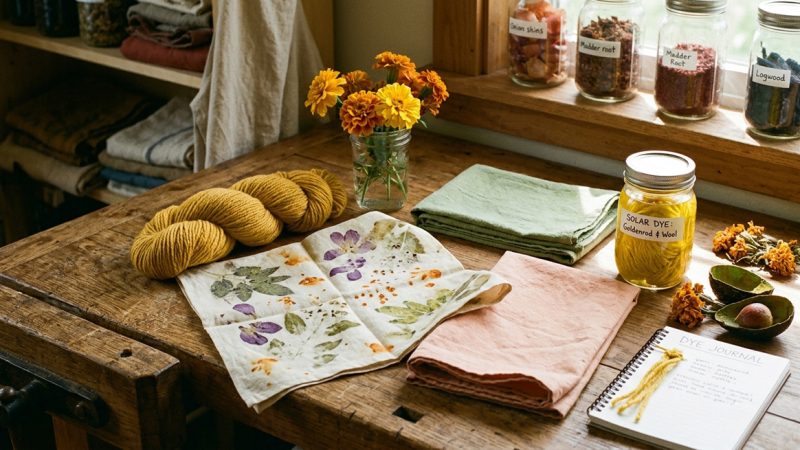
Baskets made from rattan or raffia are beautiful, functional, and environmentally friendly. But have you ever wondered how the vibrant colors of these baskets are achieved? Rather than relying on artificial dyes, many basket weavers opt for natural dyes made from plants, fruits, and other natural sources. Not only do these dyes create stunning colors, but they are also safer for the environment and the weavers themselves. In this article, we will explore the world of natural dyes for rattan and raffia baskets, including some of the most popular sources and techniques for achieving stunning colors in your own basket making projects.
Follow This Easy Guide to Create Your Own Organic Dyes:
Materials needed:
– Natural plant materials (listed below)
– White vinegar or Aluminum potassium sulfate as a mordant
– Pot, spoon, thermometer, and strainer
– Gloves, apron (optional but highly recommended)
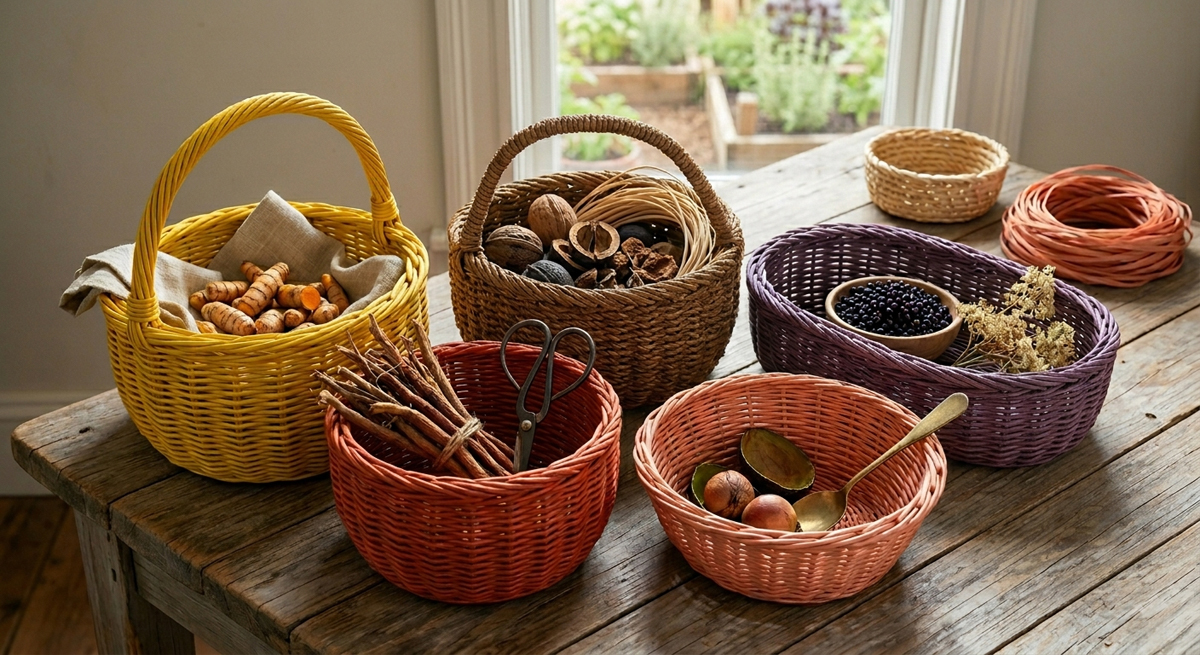
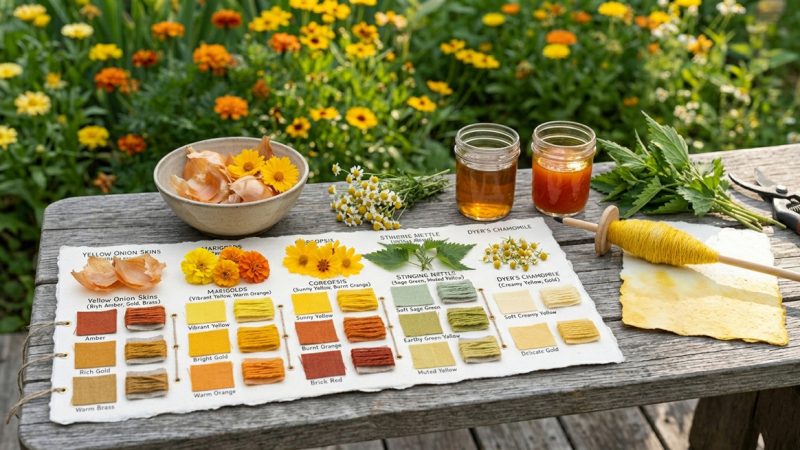
Plant-based Materials and Their Respective Colors:
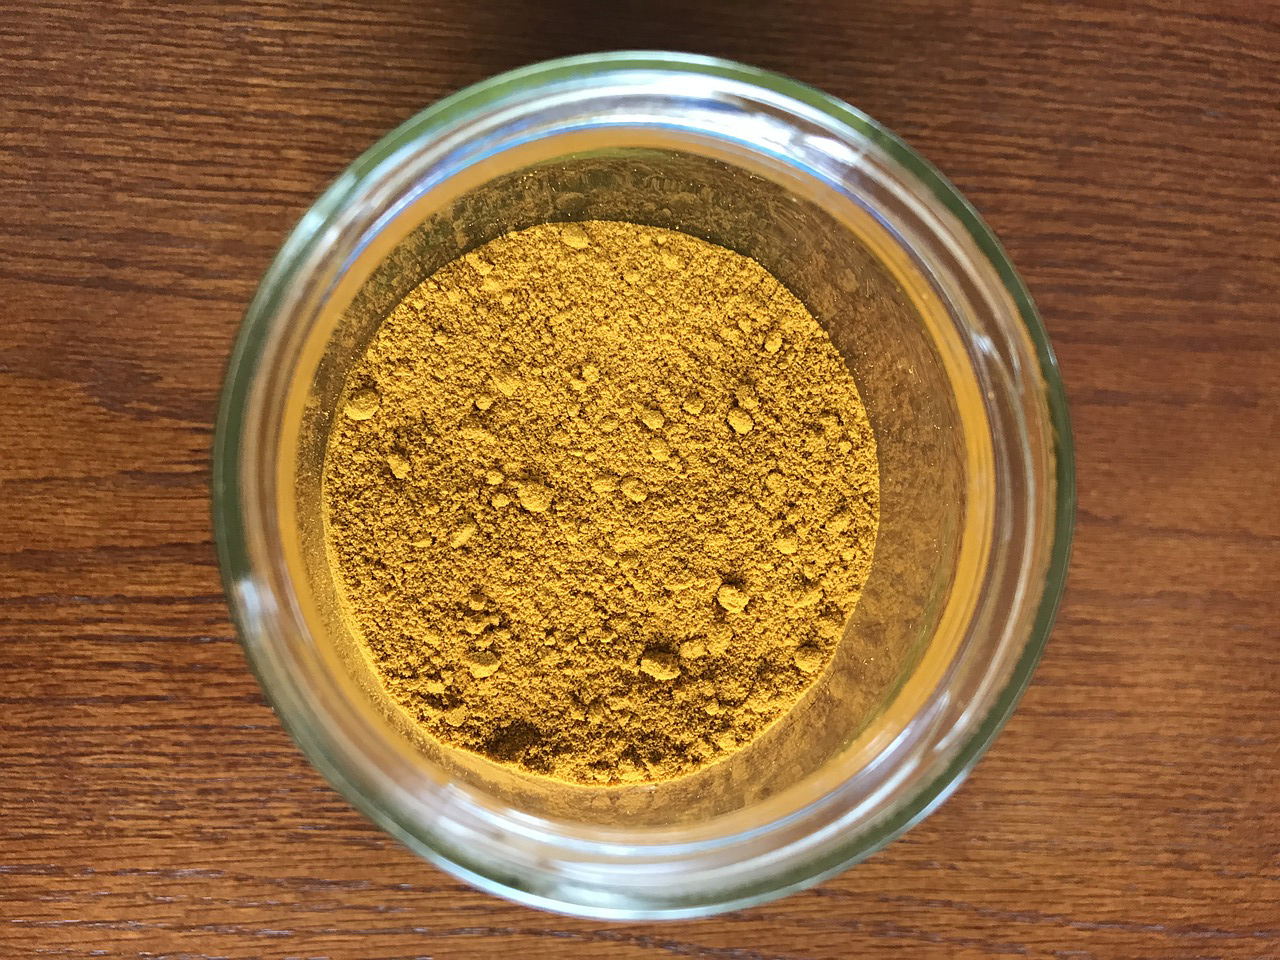
- Turmeric – Yellow
- Chamomile Flowers – Yellow
- Madder Root – Red-Pink
- Black Walnut Hulls – Brown
- Elderberries – Purple
- Onion Skins – Orange
- Avocado Pits/Skins – Pink-Peachy
- Spinach – Green
Mordant:
When using natural dyes, it’s important to remember that the color may fade over time, especially if the basket is exposed to sunlight or moisture. To help preserve the color, you can add a mordant to the dye bath. Mordants are substances that help the dye adhere to the fibers of the basket, making the color more vibrant and longer-lasting.
There are two commonly used mordants, white vinegar and alum (Aluminum potassium sulfate).
For white vinegar, mix 1 part vinegar with 4 parts water and soak the rattan/ raffia for 1 hour.
For alum, mix 3 tablespoons of alum powder with 1 gallon of water and soak the rattan/ raffia for 1 hour.
Rinse the materials thoroughly after soaking and let them dry.
Turmeric – Yellow
Prepare the materials: turmeric root, a pot, water, alum, salt, basket.
Make the mordant solution: Add 1 tablespoon of alum and 1 tablespoon of salt to 1 gallon of water. Mix well and heat until the salt and alum are dissolved. Keep the solution on heat.
Boil the turmeric root: In a separate pot, boil 1-2 cups of water. Add 1 cup chopped or grated turmeric root and let it boil for 20-30 minutes. Strain the mixture, and discard the root. Now you have turmeric dye.
Prepare the basket: Soak the rattan or raffia basket in water for at least 30 minutes before dyeing.
Dye the basket: Add the basket to the mordant solution and keep it on heat for around 30 minutes. Remove the basket and rinse with water. Then, add the basket to the turmeric dye and simmer for 30 minutes.
Rinse and dry the basket: Remove the basket from the dye and rinse it with cool water until the water runs clear. Hang it to dry in a well-ventilated place.
Tips:
You can experiment with the amount of turmeric root you use to achieve different shades of yellow. If the color is not intense enough, you can simmer the basket for longer or repeat the dyeing process.
Be careful when using the turmeric dye as it can stain your skin, clothes, and kitchen utensils. Always wear gloves and an apron when handling the dye and mordant.
Chamomile Flowers – Yellow
Prepare the materials: Chamomile flowers, baskets, stainless steel pot, alum mordant, water
Prepare the mordant: Combine 3% of the weight of the material being dyed with alum (for example, if you have 100g of basket, use 3g of alum). Mix the mordant with water in a stainless steel pot and heat it until it dissolves completely. Add the baskets to the mordant solution and let it simmer for about an hour. Ensure that the baskets are completely covered by the solution. Remove the baskets from the solution and rinse thoroughly in cold water. This step helps to remove any excess mordant and prepares the baskets for dyeing.
Prepare the chamomile dye: Add 3 cups of dried chamomile flowers to a stainless steel pot filled with water. Let the mixture simmer for an hour or two until a strong yellow color is achieved. Add the baskets to the chamomile dye solution, ensuring that the baskets are completely submerged. Let the basket sit in the solution for an hour or two or until the desired color is achieved. Remove the baskets from the chamomile dye solution and wash in cold water until there is no more color coming out.
Dry the baskets naturally, away from direct sunlight and heat.
Note: While the use of a mordant is not strictly necessary for chamomile, it helps to fix the color onto the basket and make it more vibrant and long-lasting.
Madder Root – Red/ Pink
Prepare the madder root: Madder root is available in powder or dried root form. (50-75 g madder root per pound of rattan or raffia) In a large pot, add the madder root to water and heat it slowly for about an hour. The water should not boil, but should be kept at a temperature of around 180-200F. Stir occasionally. The longer you heat the madder root, the deeper the color will be. Strain the liquid and discard the solids.
Mordant the baskets: Aluminum potassium sulfate. Dissolve a teaspoon of the mordant in water and add it to a pot of boiling water. Immerse the baskets in the pot for about an hour. Remove and rinse with cool water.
Dye the baskets: Immerse the baskets in the madder root dye. Keep the temperature at around 180-200F and stir occasionally for about an hour. The longer you keep the baskets in the dye, the deeper the color will be. After an hour, remove the baskets and rinse in cool water.
Let the baskets dry: After rinsing, let the baskets dry completely. The color may appear lighter when the baskets are wet, but it will deepen as they dry.
Note: The color of the madder root can vary depending on the fiber you use and the mordant you choose. Experiment with different mordants and fibers to get the desired color.
Black Walnut Hulls – Brown
Prepare the materials: 2 cups crushed dried black walnut hulls per gallon of water ( you can adjust the amount of hulls and water based on the results you desire and the size of your project. Its always a good idea to do a test run on a small piece of material before dyeing a large batch.), basket, alum, large pot, thermometer, strainer or cheesecloth, gloves, spoon.
Prep the mordant: Dissolve 10-15% alum in hot water. You can use 10-15% of the weight of the fiber you’re dyeing. Add this to a cup of hot water and stir until the alum is fully dissolved. Let it cool.
Prep the dye: Crush the dried black walnut hulls so that they’re in small pieces.
Start dyeing: Fill a large pot with enough water to cover the basket completely. Heat the pot to around 180-200°F (80-93°C). Add the crushed black walnut hulls to the pot. Stir occasionally. Let it simmer for about an hour, making sure that the water temperature doesn’t go over 200°F (93°C).
Add the mordant: After about an hour, turn off the heat and strain the dye through a strainer or cheesecloth. Let the dye cool for a bit until it’s warm to the touch. Then, add the alum solution to the dye bath.
Soak the baskets: Add the baskets to the dye bath. Allow them to soak for 24-48 hours, making sure they’re fully submerged.
Rinse well: After soaking, remove the baskets from the dye bath and rinse them well with cool water. You may also wash them with a mild detergent to remove excess dye.
Dry the baskets: Let the baskets air dry in a shaded area.
Elderberries – Purple
Gather elderberries: You’ll need 2 cups of elderberries to create the dye. Harvest the ripest, darkest berries you can find.
Prepare the basket material: Soak the basket in warm water for at least an hour to open the fibers and make them more receptive to the dye.
Make the dye: In a large pot, combine the elderberries with enough water to cover the basket. Bring the mixture to a simmer and let it cook for at least an hour, stirring occasionally. Add more water if necessary.
Strain the dye: Use a fine mesh sieve or cheesecloth to strain the elderberries out of the liquid. Return the liquid to the pot.
Mordant: Use Alum. Dissolve 20% of the weight of the substrate in alum and add it to the pot. For example, if you have 100g of rattan, dissolve 20g of alum.
Dye the basket: Add the wet basket to the pot with the dye and heat it up slowly until it reaches a low simmer. Keep the basket in the dye for at least an hour, stirring occasionally to ensure it’s evenly coated.
Rinse and dry: Rinse the basket thoroughly in cool water and let it air dry.
Tips: Elderberries can create a range of colors depending on the mordant used. For example, adding iron to the dye will result in a darker grey color. Experiment with different mordants and dye times to achieve different shades. Remember to wear gloves and an apron when handling dyes to protect your skin and clothes.
Safety: When using elderberries as a dye, it is important to take certain safety precautions to prevent any harm. Here are some tips:
1. Wear gloves, goggles, and protective clothing to avoid direct contact with the elderberry juice, which can cause skin irritation.
2. Use a well ventilated area to minimize inhalation of fumes that may be released during the dyeing process.
3. Avoid ingesting or drinking the elder berry juice, which can be toxic in large quantities.
4. Dispose of any leftover elderberry juice properly to prevent accidental ingestion by humans or animals.
5. Keep children and pets away from the dyeing area to ensure their safety.
By following these safety precautions, you can safely and effectively use elderberries as a dye.
Onion Skins – Orange
Prepare the materials: Onion skins, baskets, water, alum
Prep the dye: Collect 1 cup of onion skins per ounce of material you want to dye. A small – medium basket would require 4-8 cups of onion skins.
Prepare the mordant: Dissolve 10-15% of alum powder in water. The amount of alum will depend on the weight of your basket. Bring the mixture to a simmer and stir until the powder is fully dissolved. Soak the basket in the mordant solution for a few hours or overnight. Rinse the basket with water to remove any excess mordant.
Start the dye: Place the onion skins in a pot and add enough water to cover the basket. Bring the water to a boil and let it simmer for at least an hour. Strain the onion skin dye into a container large enough to hold the basket. Make sure the dye is still hot. Dip the basket into the dye and let it soak until you achieve your desired color. The longer you leave it in the dye, the darker the color will be. Once the basket has soaked in the dye, remove it from the dye and rinse it with water. Be careful not to wash the color out.
Hang or lay the basket out to dry.
Note: Natural dyes tend to fade faster than synthetic dyes. To preserve the color, avoid exposing the basket to direct sunlight and use a mild detergent when cleaning.
Avocado Pits/Skins – Pink – Peachy
Prepare the materials: basket, avocado pits and skin, alum mordant, water, large pot, strainer, measuring spoons, gloves
Preparing the mordant: Mix two teaspoons of alum mordant with two cups of water in a pot. Heat the mixture to dissolve the mordant. Make sure to follow the instructions on the package of alum mordant for the correct quantity to use. Add the basket to the pot of mordant mixture. Make sure there is enough water to cover the basket. Also, stir the basket gently to ensure that the mordant penetrates all parts of the basket. Boil the basket in the mordant mixture for about an hour. Then, remove the basket from the pot and rinse it thoroughly with water. Set the basket aside, and make sure it is dry before dyeing.
Prepare the avocado dye: Cut the avocado pits and skin into small pieces using a knife.(5-10 avocado seeds, 3 avocado skins) Put the pieces into a pot and add enough water to cover them. Boil the avocado dye for two hours. Then, strain the mixture through a strainer and discard the pits and skin.
Reheat the avocado dye in a pot and add the prepared basket. Make sure there is enough water to cover the basket. Simmer the basket in the dye for an hour, or until the color is adequately saturated. Remove the basket from the pot and rinse it with water until the water runs clear. Let the basket dry completely before using it.
Tips:
Using gloves is recommended while handling the avocado dye as it can stain your skin.
Make sure to keep the basket moving while coloring to ensure even saturation.
Dyeing may take longer to achieve the desired color, so experiment with different timings and quantities of material to find what works best for your project.
Spinach – Green
Prepare the materials: Fresh spinach leaves, basket, large pot, water, white vinegar (mordant), strainer, spoon, gloves
Dye: Collect 4 cups of fresh spinach leaves and rinse them thoroughly in cold water to remove any dirt or debris. Fill a large pot with water and bring it to a boil. Add the spinach leaves to the boiling water and let it simmer for an hour. Keep stirring occasionally to ensure the dye is evenly distributed. After an hour, turn off the heat and let the dye cool down to room temperature. Strain the spinach leaves from the dye using a strainer.
Mordant: In a separate pot, heat water and add white vinegar in a ratio of 4:1 (water to white vinegar). This will act as a mordant, which helps the dye adhere to the basket. Add the baskets to the mordant pot and let it simmer for an hour. Remove the basket from the mordant pot and let them cool down. Once the baskets have cooled down, add them to the spinach dye pot and let them simmer for about an hour. Stir occasionally to make sure the dye is evenly distributed.
After an hour, turn off the heat and let the baskets cool down in the dye pot. Remove the basket from the dye pot and rinse under cold water until the water runs clear. Let the basket dry in the sun or in a well-ventilated area until completely dry.
Safety
Using natural dyes can be a great way to add color to your baskets, but there are some precautions to keep in mind:
1. Wear protective gloves to avoid staining your hands.
2. Use a separate set of utensils for dyeing, as the dye may stain or damage them permanently.
3. Always work in a well ventilated area to avoid inhaling any potentially harmful fumes.
4. Do not consume any of the natural dyes, as some may be toxic if ingested.
5. Avoid using natural dyes on fabrics or yarns that have been pre-treated with chemicals or synthetic materials, as this may affect the color outcome or cause damage to the fibers.
6. Keep natural dyes out of reach of children and pets, as they may be tempted to play with or consume them.
7. Dispose of any leftover dye safely and responsibly, according to local regulations.
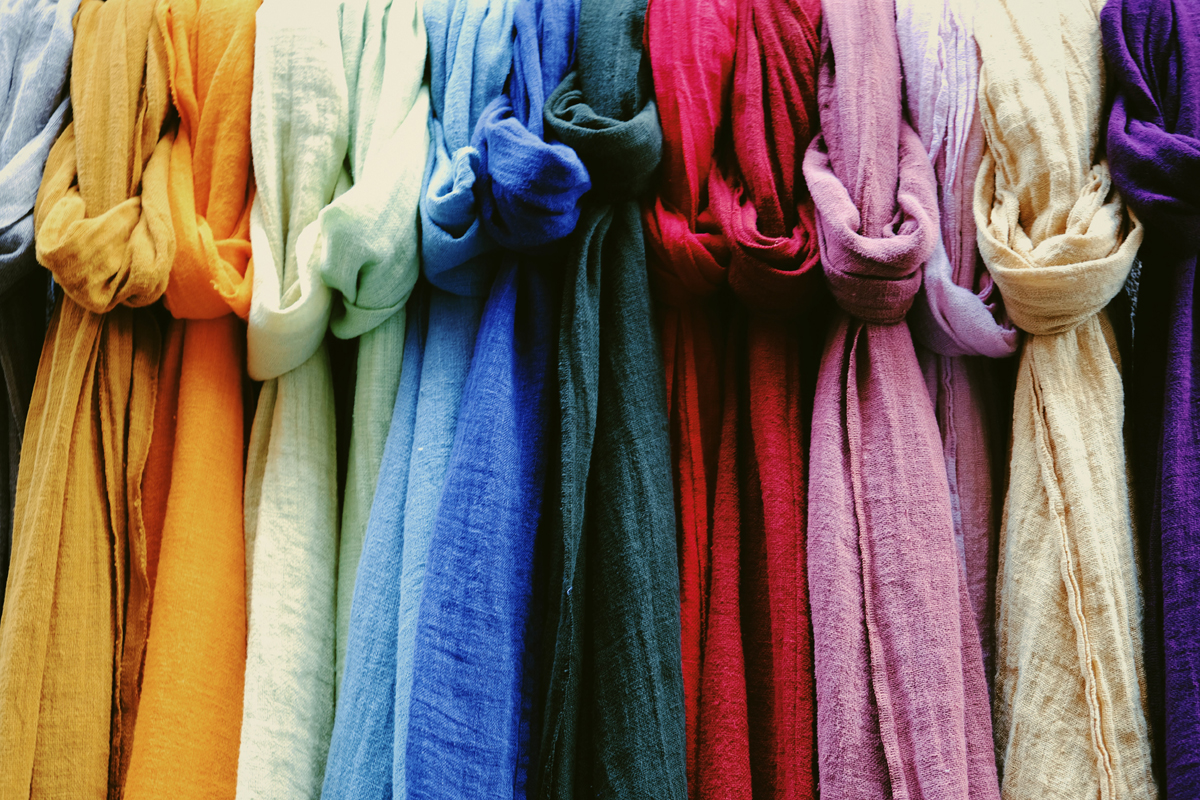
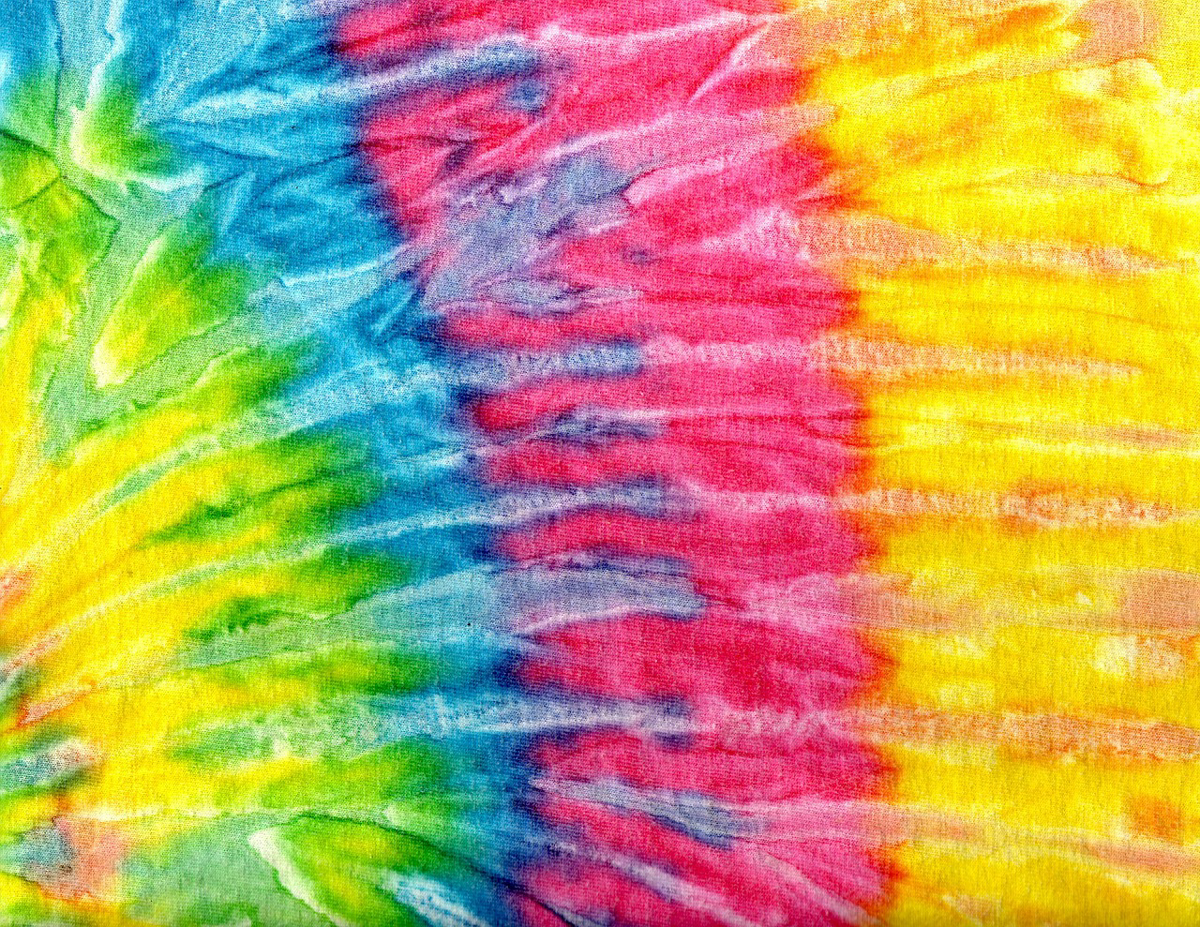
Natural dyes are a wonderful way to add color to your baskets while also being environmentally friendly. With a little experimentation, you can create a rainbow of beautiful hues using materials that are readily available in nature. So why not give it a try and see what kind of colorful creations you can come up with!
>> Explore more recipes and techniques in our Complete Guide to Botanical Dyes & Pigments.
The Author:
Pioneerthinking.com: Ingredients for a Simple Life. Insights from a seasoned professional rooted in country living, with 28 years of horticulture expertise and over two decades of practical experience in homesteading, natural beauty and cosmetic creations, natural health, cooking and creative living.
Photo. Gemini