From-Scratch Pumpkin Stew: A Traditional Pioneer Recipe
There is something profoundly comforting about the scent of squash simmering on a stove as the air turns crisp. While pumpkins are often relegated to decorative doorsteps or sweet pies in modern kitchens, they have been a foundational pillar of human nutrition for millennia. Pumpkin stew is not merely a dish; it is a bridge to our agricultural past, offering a savory, earthy depth that showcases the true versatility of this autumn staple.
A Brief History of The Pumpkin
The pumpkin (Cucurbita pepo) is native to North America and has been cultivated for over 7,500 years. Indigenous peoples across the continent—often referred to as the “Three Sisters” alongside corn and beans—regarded the pumpkin as a vital source of sustenance.
When European settlers arrived in the Americas, they were introduced to this prolific gourd. Because traditional wheat flour was scarce in the early colonial years, settlers learned to adapt the pumpkin into everything from breads to, notably, savory stews. It became a “survival crop” because of its long shelf life; a whole, unblemished pumpkin could be stored in a cool cellar throughout the winter, providing a steady source of vitamins and calories when other food sources were frozen or depleted.
The Original Pioneer “Utility Vegetable”
Pioneers on the frontier treated the pumpkin with a level of respect bordering on reverence. Their use of the fruit extended far beyond the culinary:
-
Preservation for Winter: Pioneers would slice pumpkins into long strips and hang them from the rafters of their cabins to dry. These “pumpkin leathers” were rehydrated in water during the winter months to make soups and stews.
-
The “Pumpkin Shell” Vessel: After the pulp was removed for cooking, the hollowed-out shells were often used as storage containers for dried grains or seeds.
-
Animal Fodder: Nothing went to waste. If a pumpkin was too fibrous for human consumption, it served as nutrient-dense feed for dairy cows, which in turn provided the milk and butter necessary for the pioneer diet.
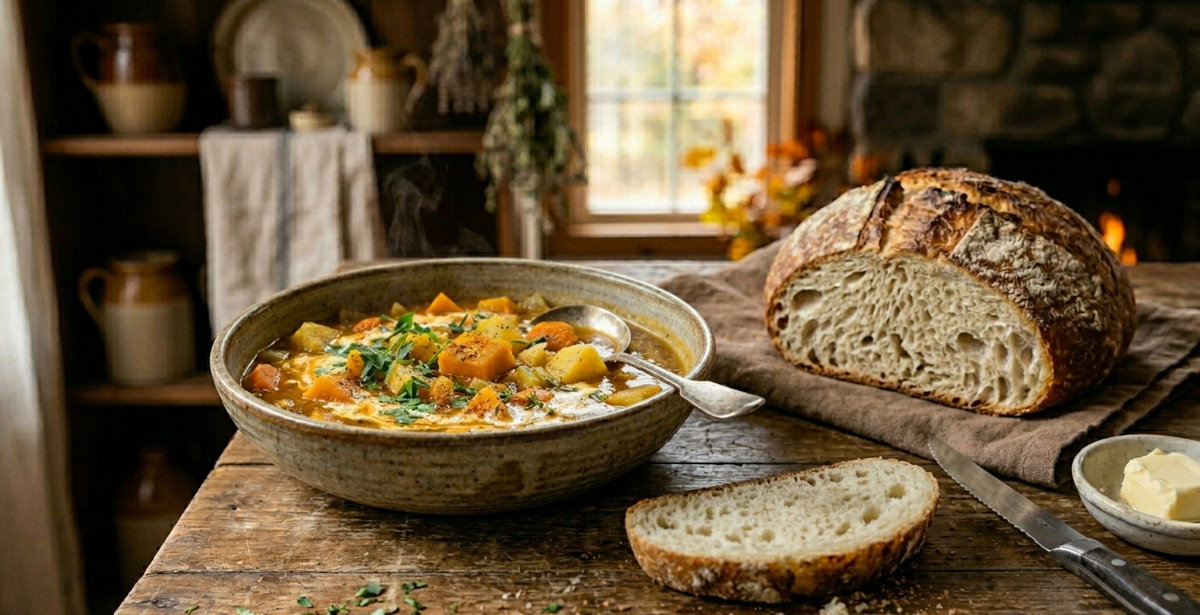
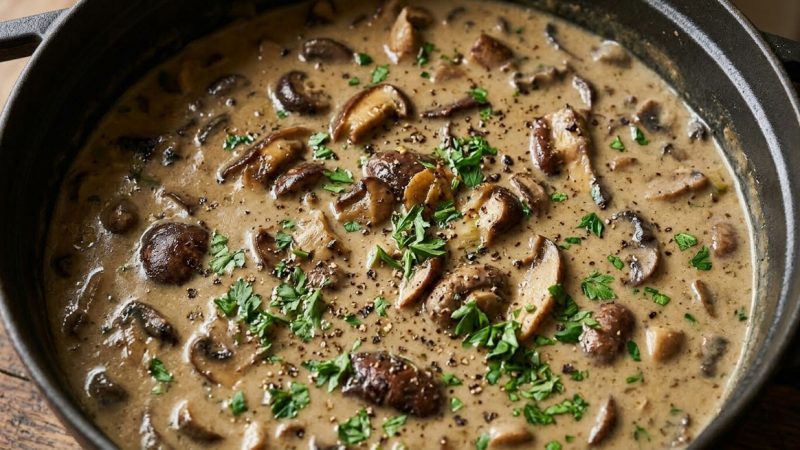
Rustic Autumn Pumpkin Stew
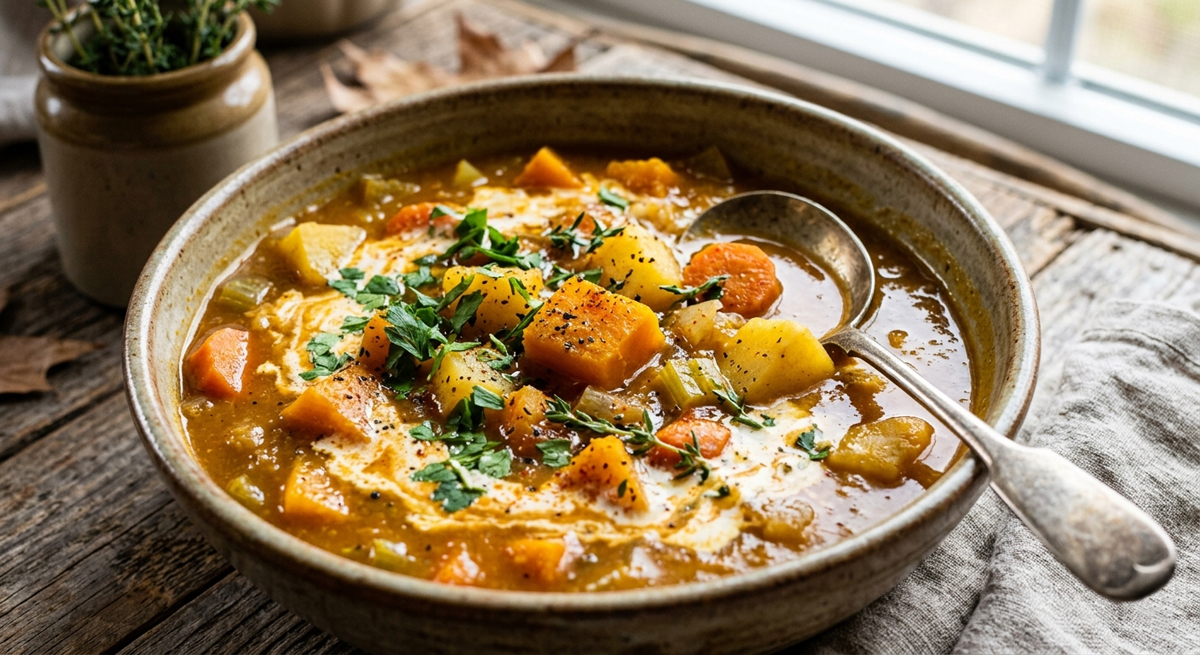
This stew balances the natural sweetness of the pumpkin with the savory, umami-rich flavors of root vegetables and herbs.
Ingredients:
-
1 small sugar pumpkin (about 3–4 lbs), peeled, seeded, and cubed
-
2 tablespoons olive oil or butter
-
1 large onion, diced
-
3 cloves garlic, minced
-
2 medium carrots, sliced into rounds
-
2 stalks celery, chopped
-
1 lb potatoes (Yukon gold work best), cubed
-
4 cups vegetable or chicken broth
-
1 teaspoon dried thyme
-
1 teaspoon smoked paprika
-
Salt and black pepper to taste
-
Optional: 1/2 cup heavy cream or coconut milk for richness; fresh parsley for garnish.
Instructions
-
In a large heavy-bottomed pot or Dutch oven, heat the oil over medium heat. Add the onion, carrots, and celery. Cook until the onions are translucent (about 5–7 minutes). Add the garlic and cook for another minute until fragrant.
-
Add the cubed pumpkin and potatoes to the pot. Stir to coat them in the aromatics.
-
Pour in the broth until the vegetables are just covered. Add the thyme, smoked paprika, salt, and pepper. Bring to a boil, then reduce heat to low.
-
Cover and simmer for 25–30 minutes, or until the pumpkin and potatoes are fork-tender.
-
If you prefer a thicker stew, use a potato masher or immersion blender to lightly crush a few pieces of pumpkin; this will naturally thicken the broth. Stir in the cream (if using) and adjust seasoning to taste.
-
Ladle into bowls and garnish with fresh parsley
Complement The Stew
To complement a hearty, rustic pumpkin stew, pair with a bread such as a simple, rustic white sourdough boule, No-knead artisan dutch oven bread or skillet cornbread.
Quick Tip: Serving Suggestion

If you want to make the meal feel special, you can create “Bread Bowls.” Simply use a slightly denser artisan bread recipe, shape it into a large round boule, and bake it until the crust is very firm. Once cool, slice off the top, scoop out the soft bread inside, and pour your stew directly into the crusty shell. The bread will soak up the broth from the inside, becoming delicious and infused with flavor by the end of the meal.
Rustic No-Knead Artisan Bread
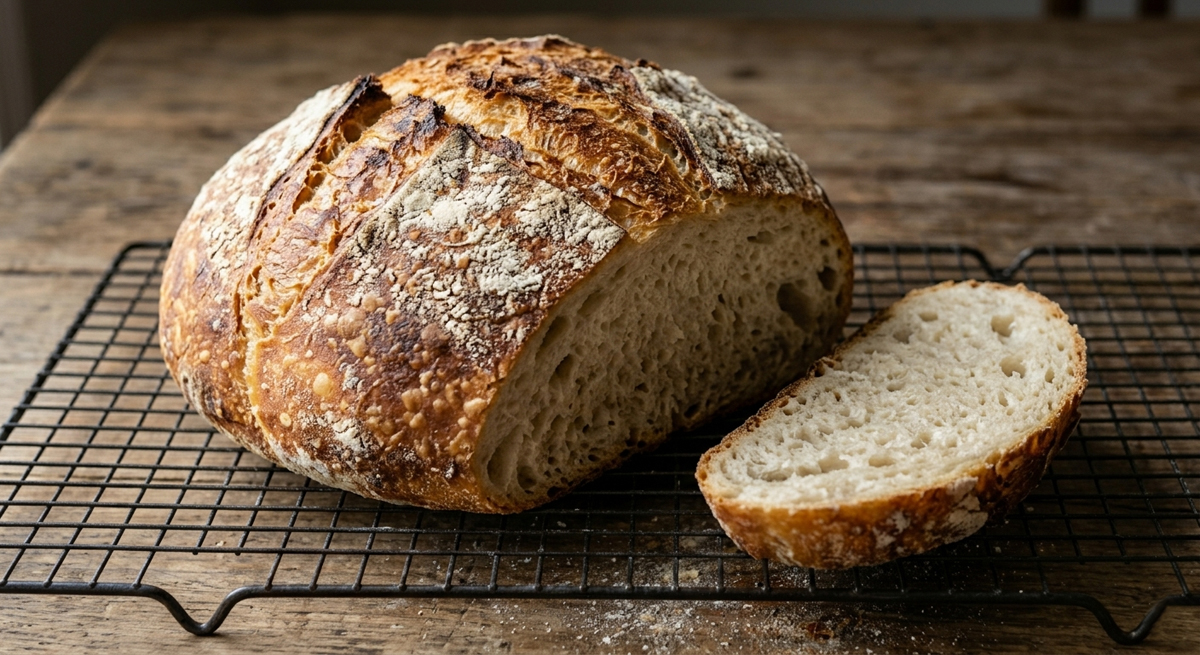
This “No-Knead” bread is perfect for a weeknight because it requires almost no active effort—just a bit of patience while it rises. Since it needs time to proof, you can start the dough in the morning or the night before, and bake it right when your stew is ready.
Rustic No-Knead Artisan Bread
Yields: 1 large loaf
Ingredients
-
3 cups All-purpose or Bread flour
-
1 1/2 cups Warm water (approx. 100°F–110°F)
-
1 teaspoon Instant or active dry yeast
-
1 1/2 teaspoons Salt
Directions:
-
In a large bowl, whisk together the flour, salt, and yeast. Add the warm water and stir with a wooden spoon or spatula until a shaggy, sticky ball forms. Do not overwork it.
-
Cover the bowl tightly with plastic wrap or a kitchen towel. Let it sit at room temperature for 8 to 18 hours. The dough will double in size and become bubbly.
-
Preheat your oven to 450°F (230°C). Place your empty Dutch oven (with the lid on) inside the oven to preheat for at least 30 minutes.
-
Meanwhile: Turn the dough out onto a heavily floured surface. Fold the edges into the center a few times to form a rough ball. Place it on a piece of parchment paper.
-
-
Carefully remove the hot Dutch oven. Lift the dough (using the parchment paper) and drop it inside. Cover with the lid.
-
Bake for 30 minutes with the lid on. Then, remove the lid and bake for another 10–15 minutes, until the crust is deep golden brown and sounds hollow when tapped.
-
Let the loaf rest on a wire rack for at least 20 minutes before slicing. (This is the hardest part, but it keeps the inside from becoming gummy!)
Pro-Tips for Success
-
The “Long Rise” Secret: If you have time, letting the dough sit for the full 18 hours develops a deeper, slightly “sourdough-like” flavor thanks to the extended fermentation.
-
Additions: If you want to elevate the flavor, try folding in 1 tablespoon of fresh rosemary or 1/2 cup of toasted walnuts right before you shape the dough.
-
Safety: Always use heavy-duty oven mitts when handling the Dutch oven; that pot will be extremely hot!
The Author:
Pioneerthinking.com: Ingredients for a Simple Life. Insights from a seasoned professional rooted in country living, with 28 years of horticulture expertise and over two decades of practical experience in homesteading, natural beauty and cosmetic creations, natural health, cooking and creative living.
Photo. Gemini
