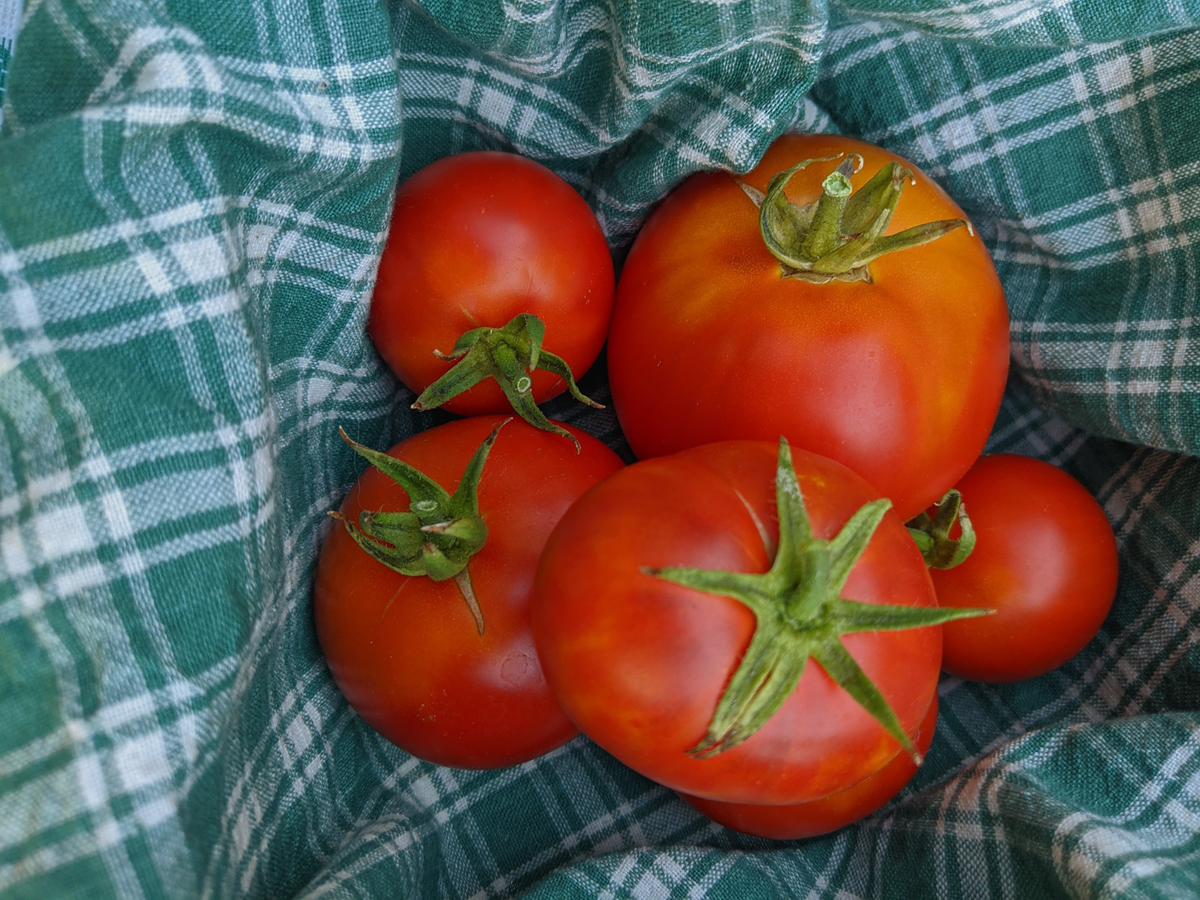
How to Store Ripen Tomatoes – Freezing Fresh Tomatoes
With winter months soon approaching, you will want to harvest your tomatoes, pumpkins and squash before the first frost appears. The following tips and techniques will help you all summer long but the following methods are for longer storage use so you will be able to enjoy your bounty for many months to come.
How to Store Tomatoes:
I would not recommend storing fresh tomatoes in the refrigerator. Besides creating a loss of flavor, the condensation that develops on the skins surface will speed up decomposition. Ripening tomatoes can be stored at no less than 50 F. (45 degree F is recommended for refrigerators.)
Tomatoes are very sensitive to frost. When a light frost first appears, you will want to cover your plants with tarps or light blankets to prolong the harvest. Keep in mind, however that when the colder weather starts permanently setting in, immediately harvest everything and ripen green tomatoes indoors. Tomatoes can show some signs of red, but if picked too green, they may rot. An ideal temperature for storing green tomatoes and for fast ripening is at about 70 F. You can delay ripening for up to a month if green tomatoes are kept in high humidity (75-85%) and near 50 F. See part 2 of this series for additional information on hygrometers. Any temperatures below this and your tomatoes will taste bland or off flavor. Low humidity will also cause tomatoes to shrivel. Refrigerators have low relative humidity levels as well as a recommend temperature setting of 45 F, not very ideal for tomato storage.
In order to provide adequate storage to ripen tomatoes, place a layer of tomatoes in a cardboard or wooden box and cover it with waxed paper. You want to use waxed paper in case some of the tomatoes should “pop” their skins and then ooze upon the tomatoes below, which will speed up decay. You can wrap tomatoes individually with newspaper for extra humidity control. Add an additional layer of tomatoes and then more wax paper. Next, put a cover over the top to keep the light and moisture out. Remove any tomatoes as they ripen.
To speed up the tomato ripening process, place a banana or a couple of apples inside the box close to the tomatoes. The fruit will emit ethylene gas which speeds up tomato ripening. Learn more about ethylene gas in Part 8 of this series.
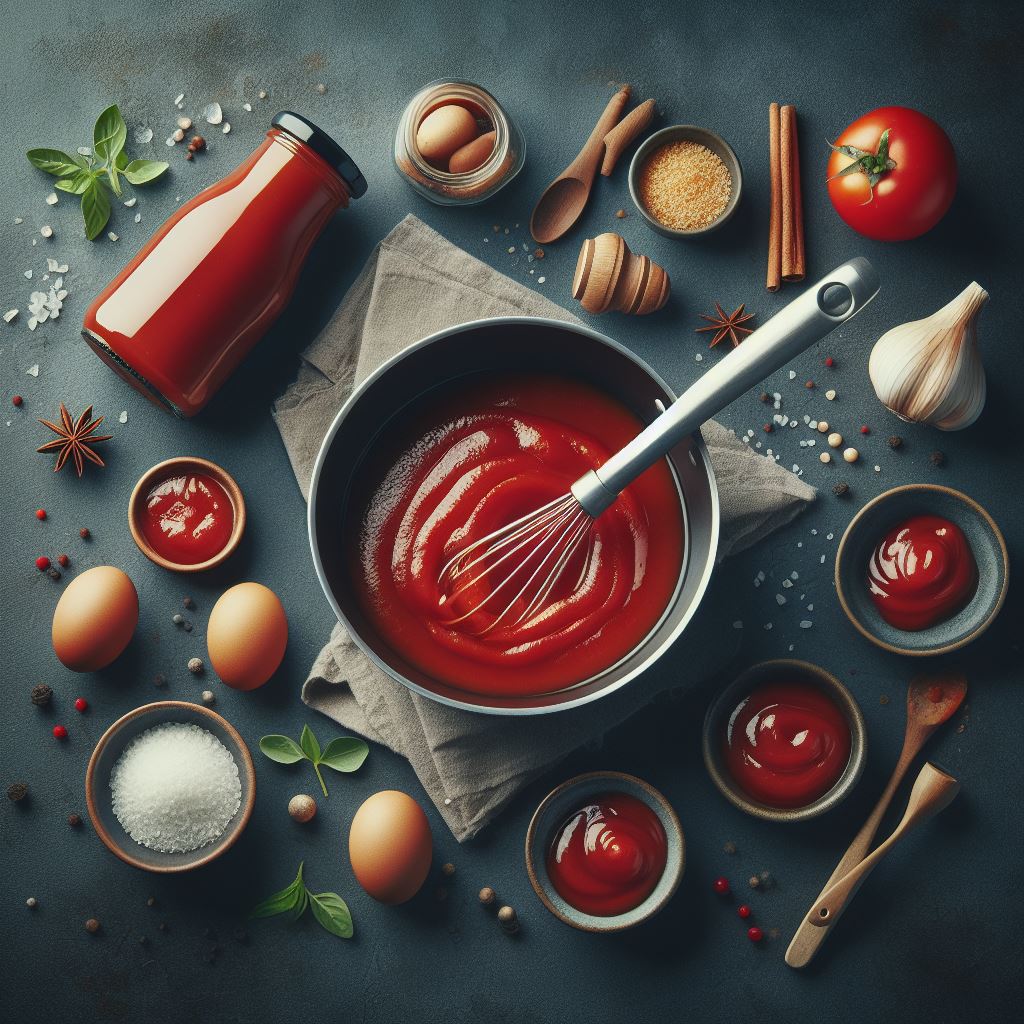
Freezing Fresh Tomatoes:
If you have asked the question, “Can you freeze tomatoes?” the answer is yes, you can. It is even possible to quickly freeze fresh tomatoes without blanching them first. You can freeze them with or without their skins. They can be frozen raw or cooked, whole, sliced, chopped or pureed. You can freeze tomato juice, sauce or prepared in any recipe of your choosing. Frozen tomatoes are best used in recipes that are cooked such as soups, sauces and stews as they become mushy when they are thawed. Tomatoes should be seasoned prior to cooking rather that before they are frozen. Freezing tends to either strengthen or weaken seasonings such as herbs and spices, and onions or garlic.
To Freeze Tomatoes Whole, select the ones that are firm and ripe. Discard any spoiled tomatoes. Wash, then pat dry with a clean paper towel or cloth. Next, cut away the stem then place the tomatoes on a flat cookie sheet and put them in the freezer. Once frozen, transfer them to thick freezer bags or other containers. When you are ready to use your frozen tomatoes, run the tomatoes under warm water. The skin will just slip off easily. If you prefer to freeze your tomatoes without the skins, blanch the tomatoes in boiling water for about a minute or until you see the skins split. Cool slightly in ice water to stop the cooking process, then peal the skins off and freeze them as mentioned above. Stored in the freezer at about 0 degrees, your tomatoes will last for about 8 months.
Freezing Stewed Tomatoes:
If you would like to prepare stewed tomatoes to add to soups or stews, you will want to first place the washed tomatoes on a cookie sheet and place in the oven for about 3 minutes (depending upon your oven) or until you see the skins split. Next, core, peel and quarter the tomatoes. Add the tomatoes and optional spices such as oregano, garlic, onion, and pepper to a pan. Cover and simmer on low heat until tender for about 10-20 minutes, stirring frequently. Do not let the bottom scorch. Cool the tomatoes by placing the cooking pan in a sink or larger container of cold water, stirring often. Pack the cooled tomatoes into freezer containers, leaving a 1-inch gap for expansion. Seal tightly and freeze. I add my seasonings before I freeze stewed tomatoes since I prefer my stewed tomatoes strong in flavor.
Freeze Tomato Juice:
Cut your washed tomatoes into quarters or eighths. Place the tomatoes in a pan and heat rapidly to a boil; reduce the heat and simmer for about 5-10 minutes. Tomatoes are prone to scorching to watch them closely. Cool the tomatoes. Press the mixture through a sieve, cheesecloth or food mill to separate the pulp from the skin and seeds. Pour the juice into containers, leaving a 1-inch gap for expansion. If desired, you can add 1/2 tsp of salt for flavor to each quart of juice. Seal and freeze.
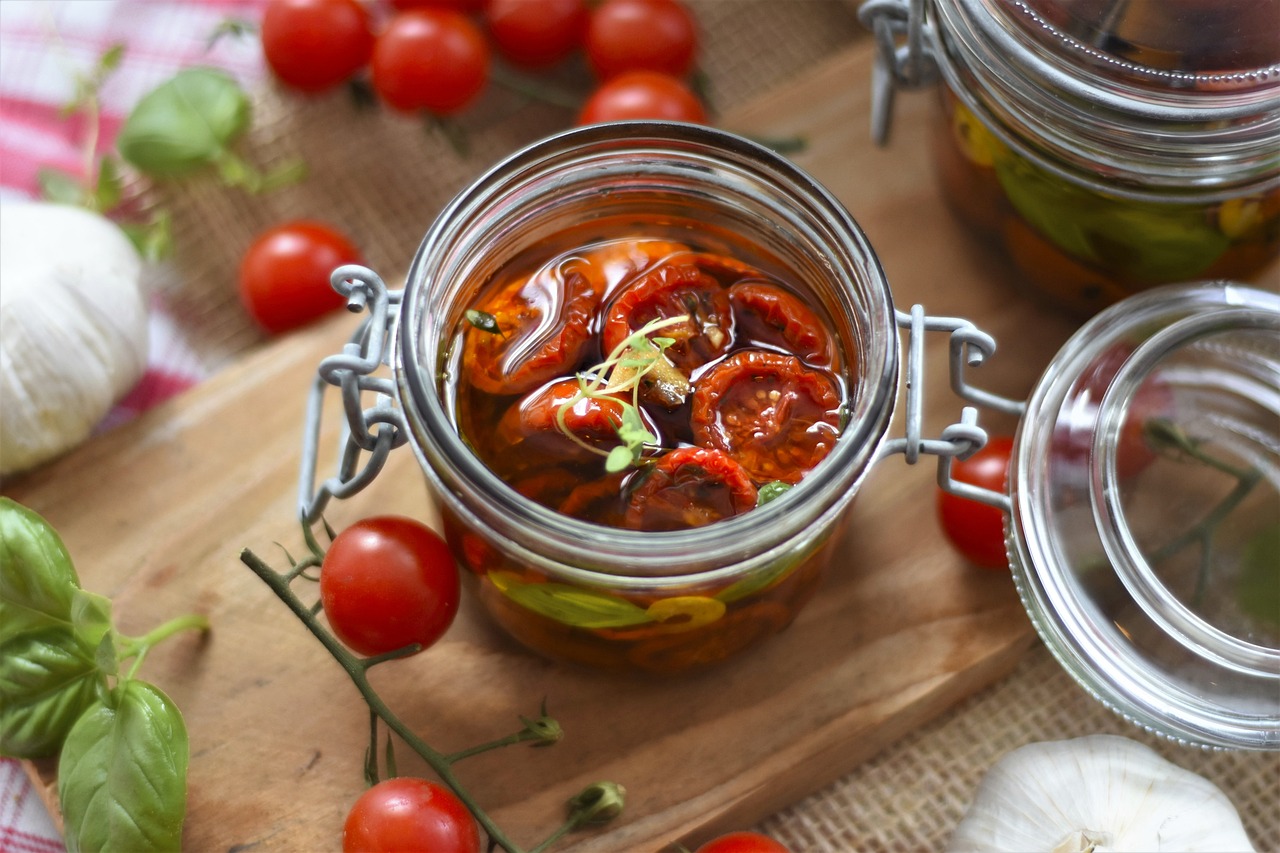
Make Sun Dried Tomatoes at Home:
If you live in a climate with low humidity of less than 60% and daily consistent temperatures of at least 90F, you may just possibly be able to sun dry your own tomatoes at home. If not, I have provided instructions on drying tomatoes in the dehydrator below. Check out my site below as well for recipes using sun-dried tomatoes including storing sun dried tomatoes in olive oil.
To try your hand at making your own sun dried tomatoes, you will first need a clean wooden or plastic drying tray. I use an old screen window to dry my tomatoes. Do not use anything galvanized due to the acid within the tomatoes causing a chemical reaction. Place your washed, cored and sliced tomatoes about ½ to an inch apart with the cut side up. Do not stack your trays, you will want plenty of airflow all the way around. Next, cover the tomatoes with a fine netting or cheesecloth to keep the bugs away. The netting or cheesecloth must be raised above the trays so they do not touch the tomatoes themselves. Flip your tomatoes on the trays at least once a day for even drying.
After an initial drying period when the tomatoes are becoming tough, you are able to then sting your tomatoes on heavy thread to hang them to dry in the sun, sort of like using a cloths line. Make sure to place the netting or cheesecloth over the top and secure the bottom to stop any insect invasion. If the temperature at night drops 20F below the daytime temperature, you will want to bring the tomatoes inside to place in a dry area at night, otherwise the tomatoes will reabsorb moisture again, which defeats your purpose. It usually takes about a week to completely sun-dry tomatoes properly. Of course it all depends upon the air temperature and the size and type of the tomatoes you are drying. Tomatoes are thoroughly dried when you can touch them and you do not see any juices. They should be “leathery” but not brittle. If you have found that insects have invaded your tomatoes, place the tomatoes in the freezer for about 48 hours. Another way to stop the insect invasion is to place the dried tomatoes on a cookie sheet and heat them in an oven for about 30 minutes at 160F. Do not over dry the tomatoes. There is a fine line.
Drying Tomatoes in Dehydrator:
Most electric dehydrators are equipped with a thermostat and a blower fan to maintain a consistent even temperature. If your dehydrator does not have a thermostat, you can place a cooking thermometer on a bottom tray.
Heat your dehydrator to 135-145 degree F. Place your washed, cored and sliced tomatoes on the trays, leaving about a 1-2 inch gap between them. You may need to turn your tomatoes over as well as rotate the trays during the drying process to maintain even drying. Dehydrating tomatoes usually takes about 10-16 hours, depending upon the thickness of the tomato slices and the dehydrator itself. Towards the end of the drying cycle, watch the tomatoes for any signs of scorching. Remove individual tomatoes when they are finished.
Drying Tomatoes in The Oven
Its possible but because tomatoes can take up to 40 hours to adequately dry, I would not recommend it. Besides heating up the kitchen, it also causes the oven to be unavailable for other uses. If you do want to pursue this method of drying, place the tomato slices on wire racks on top of cookie sheets to catch any juices. Turn them often and place the temperature at about 150-degree F. Drying tomatoes in the microwave I would definitely not recommend. The microwave does not heat evenly, nor does it allow for air circulation. The microwave will actually cook the tomatoes rather than dry them…
After your tomatoes are completely dried…and I do mean completely, store them in thick plastic, zip lock bags, airtight jars or other suitable container. Pack the tomatoes tightly and squeeze out any excess air. Store them in a cool dry place. You may even want to place an oxygen absorbent packet inside the container as described in part 3 of this series. Storing them this way will preserve the color, flavor, aroma and nutritional value for about a year. Storing the dried tomatoes in the freezer wrapped in plastic coated freezer paper will prolong shelf life even longer.
Re-Hydrating Dried Tomatoes
You are able to re-hydrate dried tomatoes in a variety of ways. You can add them directly to soups and stews or soak them in water, wine, bouillon or vegetable juice. They usually re-hydrate within 1-2 hours. If you soak them for more than 2 hours or overnight, you should refrigerate them. Using boiled liquid from your recipe will shorten the soaking time. The liquid can them be added back to your recipe since it contains lots of vitamins.
Tomato Flakes and Powders
To produce flakes or powder from dried tomatoes, dry them beyond the “leathery” stage to a more brittle consistency. Tomato flakes can be made by pounding the dehydrated tomatoes with a mallet or by crushing them with a rolling pin. Powders are finer than flakes and you can make them using a food processor or blender. Dried tomato flakes and powders can be added to soups, stews and other foods for color and flavoring.
The Author:
Kali S Winters is gardening enthusiast and author who spends much of her time teaching others how to setup and maintain beautiful, amazing gardens.


