Turning a Table Into a Wall Mounted Night Stand
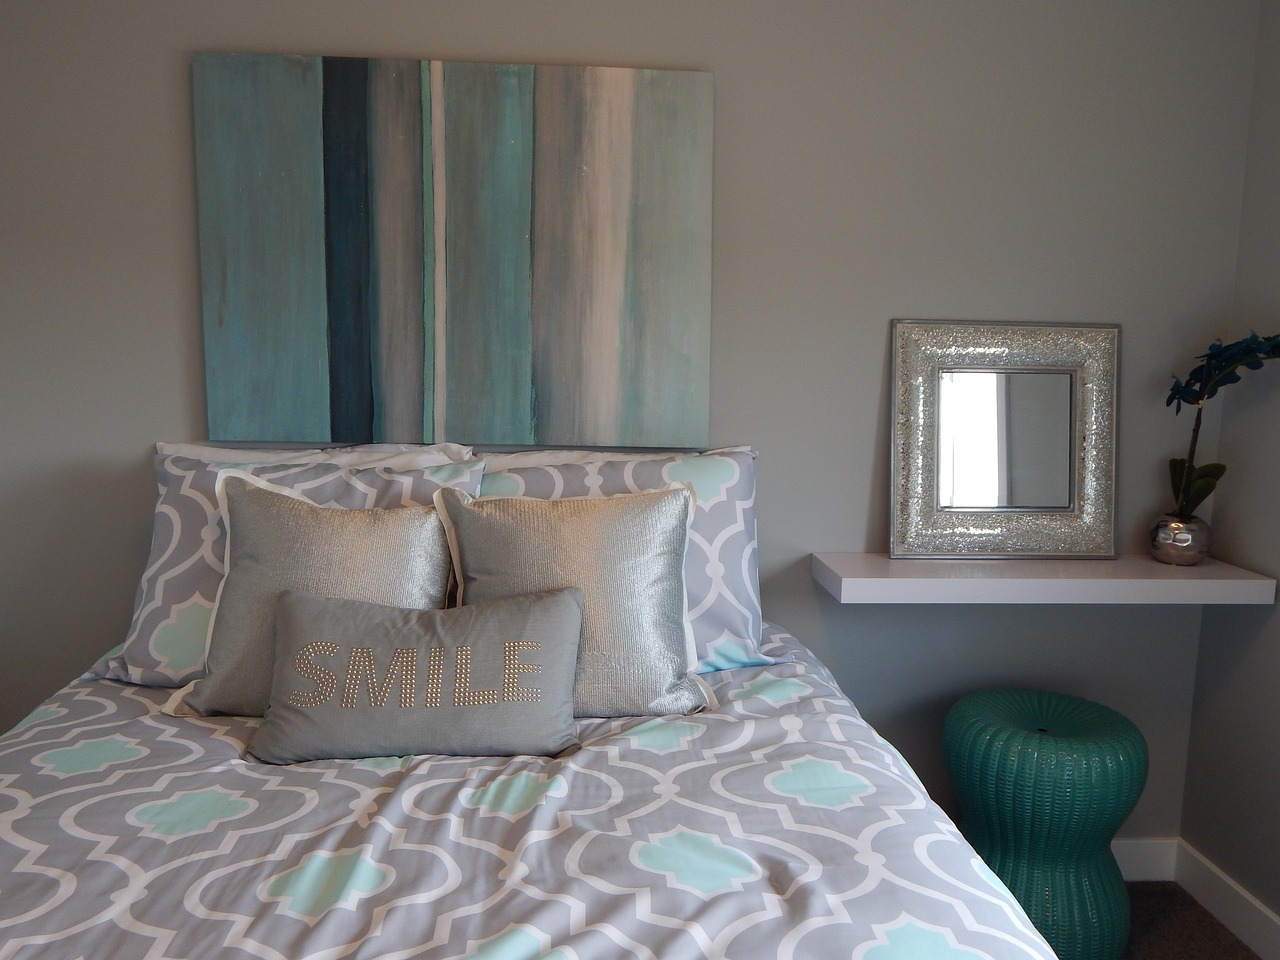
Having a wall mounted nightstand resting beside your bed at night means that you don’t have to get up to put down a book, or take a sip from a glass of water. Everything you need is right there beside the bed, so you can reach out, take it, put it back, and drift to sleep without ever having to leave the comfort of your bed. Fortunately, the building and installation of such pieces is actually quite simple, and can be accomplished in a matter of a couple of hours as long as you have the proper tools on hand.
You start by measuring the space beside the bed, and determining how tall you want the table, as well as how far you would like to position it away from the bed. Mark your measurements on the wall lightly with a pencil to use as a reference point.
Next, take a small, basic wooden table, and compare its sizes to the markings you made on the wall. Depending on the size of the table you may need to cut the legs down slightly to make the piece fit into the design that you want. If you do decide to cut down the legs make your measurements very carefully so that you slice all of the legs to be exactly the same height. If necessary sand down the bottom slightly to even out imperfections.
Once you have everything properly measured, lay the piece surface down on a table saw, and cut it exactly in half. Once you have two even pieces, you can choose to shave them both down slightly if you want the final wall mounted pieces to be smaller than half the surface area of the original. You now have two potential night stands to work with.
Now that you have the piece properly sized, sand it down thoroughly so that all traces of stain or paint are removed. Then, wipe the entire table down with a slightly damp cloth in order to remove any excess sawdust. Wait for it to dry, and then re-stain it with your choice of wood color, or use paint to create a smooth evenly colored surface. Apply a sealing agent such as polyurethane over this to protect the finish, and then allow this to thoroughly dry as well.
Next, measure the width of the back end of the table. Then take two pieces of 1X2 hardwood, and cut them so that they are about an inch shorter than that measurement. This is your cleat, and will allow you to attach the night stand to the wall. Take these two pieces of wood and nail them to one another in such a way that you make a ninety degree angle in the shape of a capital L.
At this point take the night stand, and hold it up to the wall so that the feet touch the floor in the position you want it to be secured to. Then, using a pencil mark the bottom edge of the wood along the wall, making sure to delineate where the edges of the table end.
Then you take the cleat that you just built, and line it up so the top of the wood is resting along the bottom of the line that you marked on the wall. Using a screw gun, secure the wood to the wall, leaving the horizontal piece sticking out on the top like a tiny shelf.
The final step is to rest the table on the cleat that you have secured to the wall, making sure that the surface buts up perfectly against the flat of the wall itself. Then, making sure that you have screws that are the appropriate length, secure the table to the cleat shelf by screwing upwards from underneath. This should fasten the table against the wall, creating a permanent fixture in your bedroom.
The Author:
This article is provided courtesy of PebbleArt natural stone cocktail tables, a sleek collection of stunning mosaic designs crafted from real, mountain born pieces. The author of the article is Joey pebble, a design professional and expert in natural stone applications.


