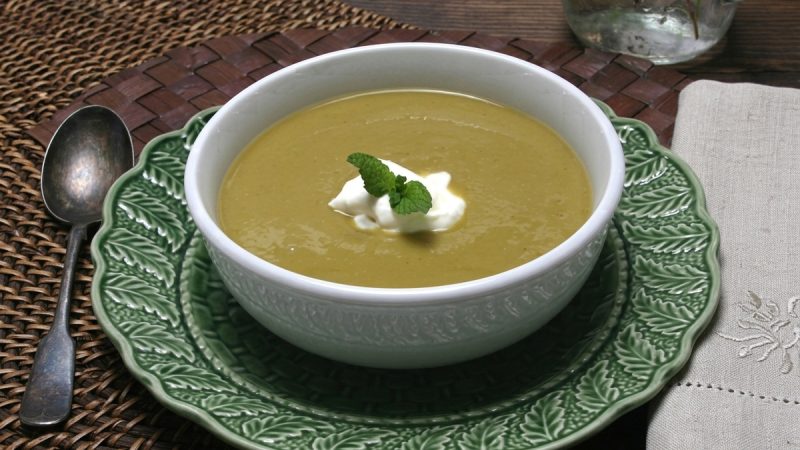
Chili with Cabbage Cheese Bread
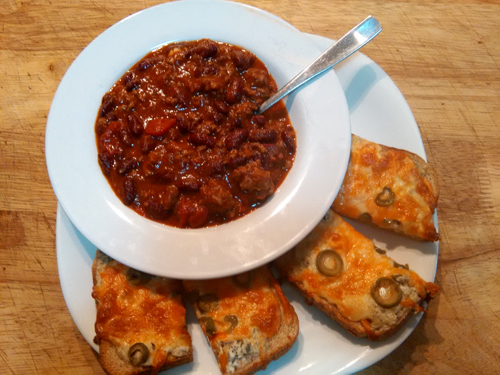
Looking for a quick dinner? Try making a pot of chili and serve with some cabbage cheese bread. This meal is quite filling with one bowl! You may have leftovers that you can either freeze for another day, or serve for lunch.
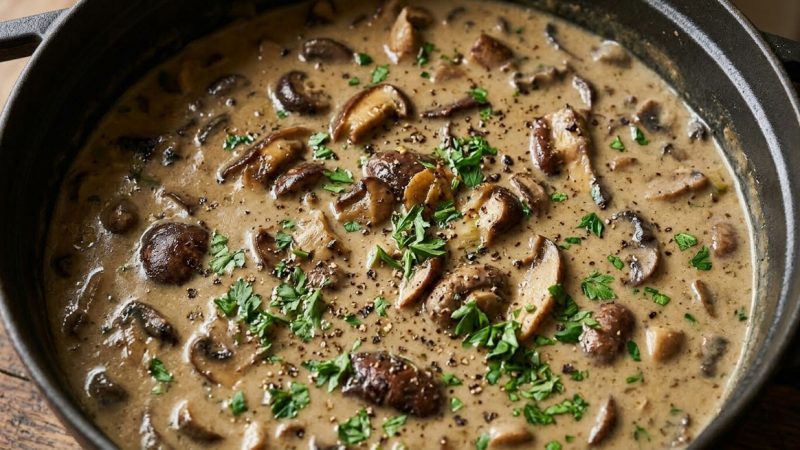
Homemade Kidney Bean Chili
Ingredients:
- 3 cans (798ml / 280z of red kidney beans ( rinsed and drained))
- 1 can (28 oz. crushed tomatoes)
- 3 cups about 1 lb. cooked ground beef (add more if you want it meatier)
- 2 garlic cloves (finely chopped)
- 1/2 medium red pepper (diced)
- 2 cans (680ml/ 22.67 oz of tomato pasta sauce)
- 2 tablespoons of chili powder
- ¼ teaspoon of cayenne pepper (optional)
- 1 tablespoon of ground cumin
- 1 teaspoon of dried oregano
- 2 cups chopped onion (optional)
- Salt and black pepper (to taste)
- Hot sauce (optional to taste)
Directions:
In a large pot, cook up the onion, peppers and garlic until the onions is clear. Add the spices, tomatoes and beans. In a separate pan cook the ground beef, then strain out the fat, add the beef into the pot with the beans.
Cook on medium heat for 20 minutes (stir occasionally) then simmer for another 20 min.
>> Homemade Ranch Dressing
Cabbage Cheese Bread
- Slices of whole wheat bread (however many you need)
- Green olives (for topping sliced)
- Ranch dressing (mine was homemade, here’s the recipe or store bought is fine too)
- Coleslaw (I used store bought but rinsed it off to remove oils, homemade is fine too or finely shredded plain cabbage)
- Shredded cheese (I used a mix of shredded mozzarella cheese and marble cheese)
Directions:
Butter the bread with ranch dressing then add a layer of the coleslaw, and cheese. Top with olive slices.
Bake in the oven at 375οF. for 10 minutes or the cheese is melted. Remove from oven, allow to cool for a minute or so then cut toasts in half.
Serve with a bowl of chili.
The Author:
Pioneerthinking.com – Ingredients for a Simple Life.
Photo. Pioneerthinking.com
Running a lemon back and forth against a zester can create a blizzard of zest and spray. Instead, drag the zester across the rind, following the curve, as if you’re shaving the lemon. The zest will collect neatly on the underside. When a recipe calls for zest and juice, zest first; squeezed fruits lose shape and are hard to grate.
That’s a great tip for zesting lemons! I always struggle with getting zest all over the place when I use a zester. Shaving the lemon with the zester sounds like a much cleaner and efficient method. Plus, it’s good to know that zest should be done before squeezing the lemon as it becomes harder to grate once it’s been juiced. Thanks for sharing this helpful advice!