Mehndi Art
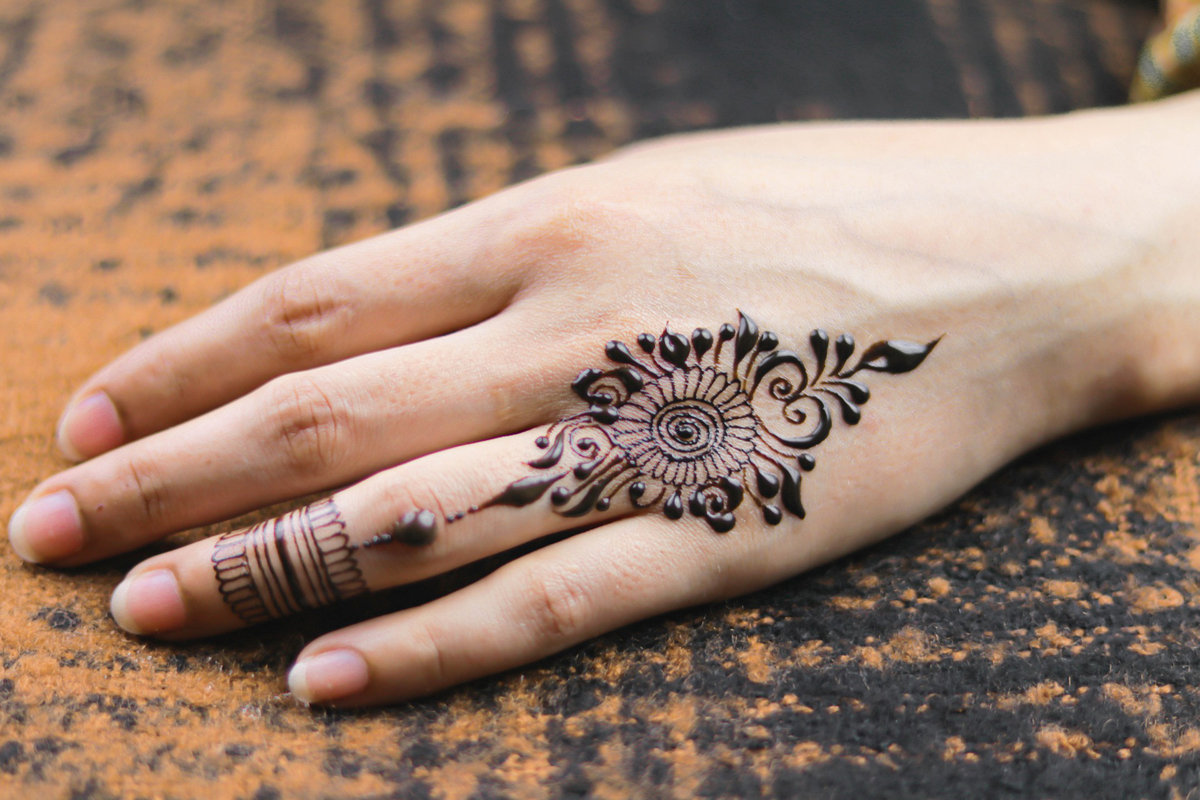
Henna body art is an ancient tradition of Africa, Asia, and the Middle East. Traditionally done on the hands and feet, it involves painting beautiful and elaborate patterns with a dye made from crushed leaves of the henna plant.
The designs are then left to set overnight, and the end result is a beautiful deep reddish brown pattern on the skin, which will last up to four weeks, fading naturally.
Henna How-To
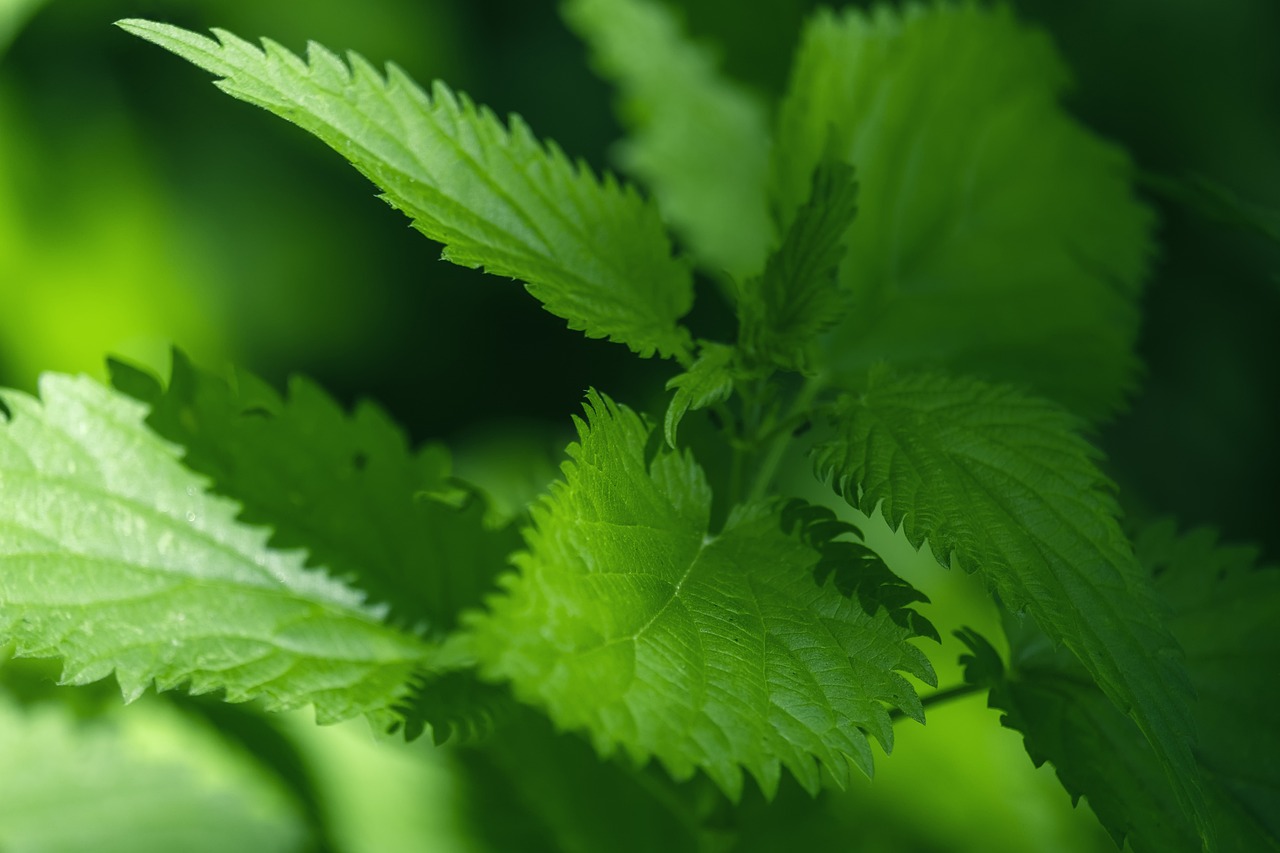
There are only a few things you need to make henna, and the most important, is obviously the henna! The henna must be fresh, green, and aromatic. A henna that is stale and has no smell will not work for dying the skin. The henna must also be fairly fine, so that it does not clog the tip of your applicator. If it is not quite as fine as you would like it to be, this can be remedied by sifting it.
The second most important thing needed to make henna is a slight acid. Lemon or lime juice will do for this purpose. The most basic recipe is just to add henna and lemon juice, but some prefer to use other ingredients. The most common, and most effective of these is clove. Clove contains a natural chemical that helps the henna make a deeper stain. The easiest way to add clove to your recipe is to boil a handful of whole cloves in lemon juice. Eventually the lemon juice will be infused with the clove, and you can strain it and add it to your henna.
Other ingredients which are often used are a variety of essential oils. The most commonly used is eucalyptus, but clove, camphor (white), lavender, lemon, and other oils are also used. Most of these oils do nothing for the henna but scent it, except Clove oil and Camphor oil, these actually do boost the color. Clove oil acts the same way as the lemon/clove infusion mentioned above, and camphor oil acts as an oxidant. Both of these oils should be used with caution, as they may be dangerous if used improperly. Clove oil can etch metal, and will kill an exposed nerve, while camphor can be toxic in large doses. No pure essential oil should be allowed to come into contact with the skin unless it is diluted, usually with a ratio of 1:10 in a carrier oil.
Making The Henna Paste
1) Measure into a bowl about one heaping tablespoon of henna powder. Your henna powder should already be sifted, if it needs it. See below for instructions and suggestions on sifting.
2) Into the same bowl, add about 1/2 teaspoon of sugar.
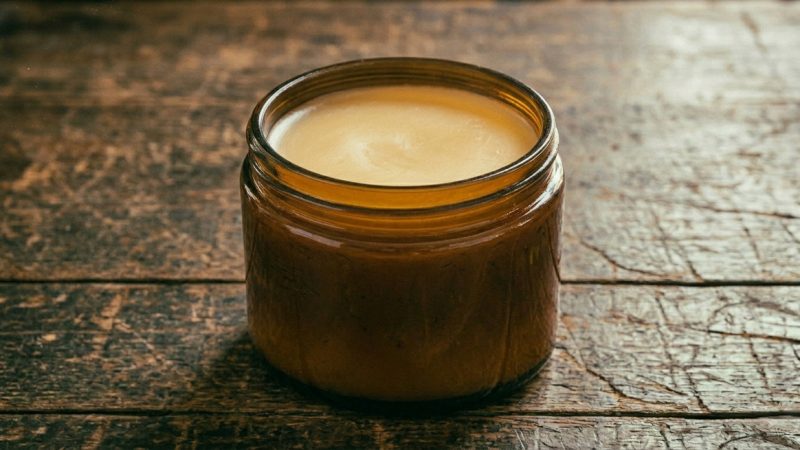
3) Now add the liquid. It should be strained, if you are using fresh lemon juice or anything which may cause clogging. Start by adding about one tablespoon, and stir it in little by little to get the proper consistency. This is the hardest step, because the consistency must be quite right to be able to use it properly. It should be about like stirred yogurt, not so thin that it drips, but not too thick either.
4) Give it a good stir, to make sure that the liquid and henna are well mixed. Stir it vigorously for a few minutes, to make sure that everything is properly incorporated. This should remove most of the lumps, and the paste should be smooth and green.
5) To transfer the paste to a plastic ziploc bag, take a lump of it on the spoon, open the top of the bag, place the spoon inside, and squish the henna downwards off of the spoon with your fingers from the outside of the bag. If there is more henna in the bowl, repeat this until it is all in the bag. Squish the henna as far down into a corner as possible, and once the air is compressed into the corner of the bag, slice a small bit off of the corner, to let the air and henna out. Once you have done this, you can begin to fill your empty applicator, in this case a Jacquard bottle. Simply place the snipped corner of the bag into the open mouth of the bottle and squeeze. A small line of henna should drop to the bottom of the bottle, and begin to fill it. Tap it on a tabletop every so often to make sure that the henna has settled to the bottom. Then just snap on the top of the bottle, screw on a stainless steel tip, and you are ready to go!
Tips for Drawing Henna Designs
The most important thing to remember while hennaing is that if you make a grave mistake, it can usually be fixed. This can be done with toothpicks, cotton swabs, or simply by incorporating it into the design.
If you are decorating an entire hand, start where you are most comfortable, depending on the design. Common starting points are the line where the fingers bend bordering the palm, the wrist, or the center of the palm. It is usually easiest to begin by covering the palm, and then doing the fingers. If you are right handed, start on the finger that is the farthest to the left, and vice-versa if you are left handed. This will make it possible for you to rest your hand on the remaining fingers, without worrying about smearing the freshly applied paste.
Copying henna designs – For many beginners, the easiest way to draw a freehand design is to copy it from either a lineart, other pattern book, or a henna design that was done by somebody else. This makes it easier to fill space and have the design come out neatly, because everything is already mapped out. On the other hand, copying may prove harder, if the design is too complex for the beginner’s ability.
Improvising henna designs- It is challenging at first to improvise henna designs, but once you build up a ‘design vocabulary’ from the different design styles and traditions, it becomes natural. By a `design vocabulary’ I mean a basic knowledge of the shapes, borders, and types of patterns used in henna. For instance, once you become familiar with the Moroccan style, which uses triangles, diamonds, zig-zags, and other geometric shapes, it will be easy for you to make up a design in that particular style.
To ease the transition from copying to improvising, it works well to first get a firm ground in the actual technique by copying, and then, as you move on, try copying a design, but changing some small part of it. Once you are used to tailoring and changing designs to your own taste, it will come easily to make up a design in the same way.
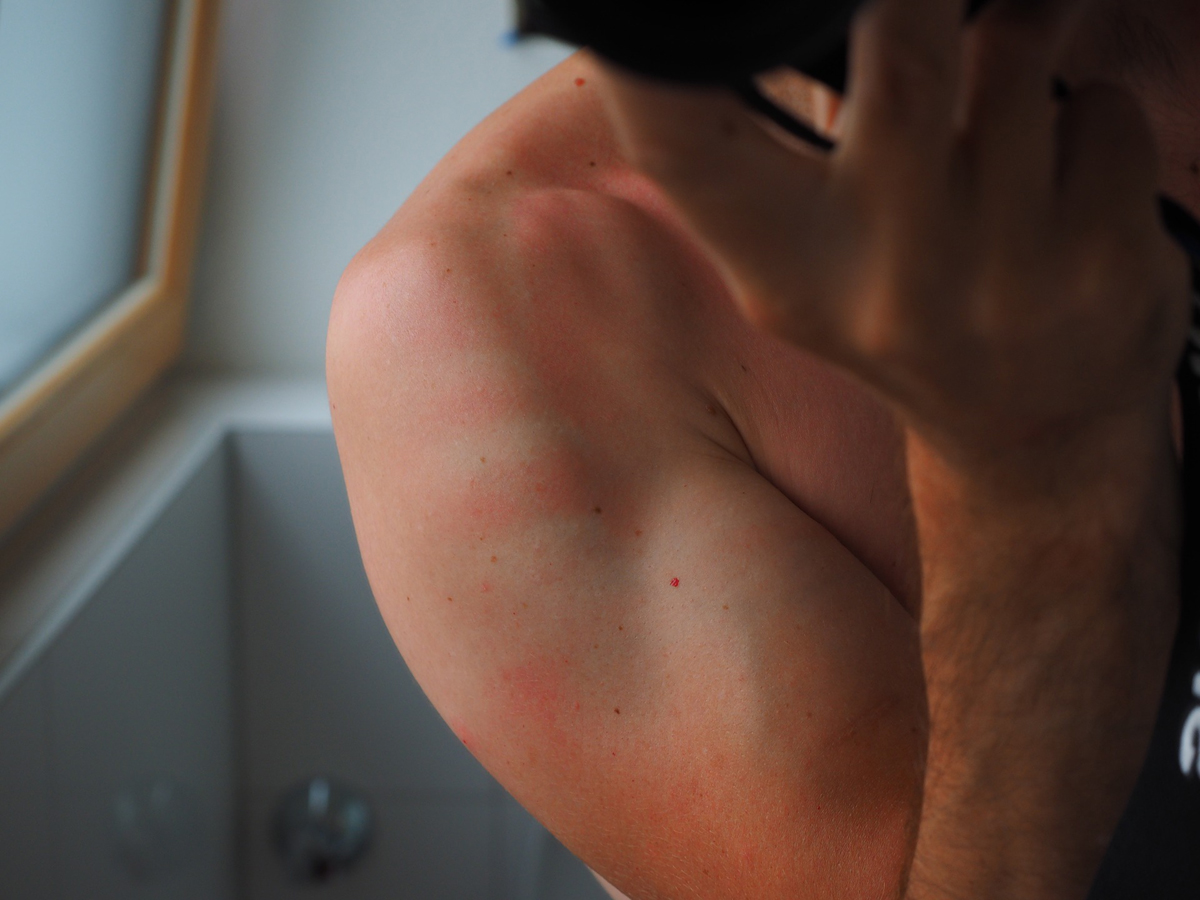
Important Note: You should NEVER use BLACK HENNA. A chemical called PPD, present in black henna, can cause chemical burns on your skin.
The Author:
(c) Nick Cartier, Sacred Sun Henna Arts. Discover the Beauty of Mehndi Art.
Photo. Mehndi Training Center
