Storing Cherries – Freezing Apples
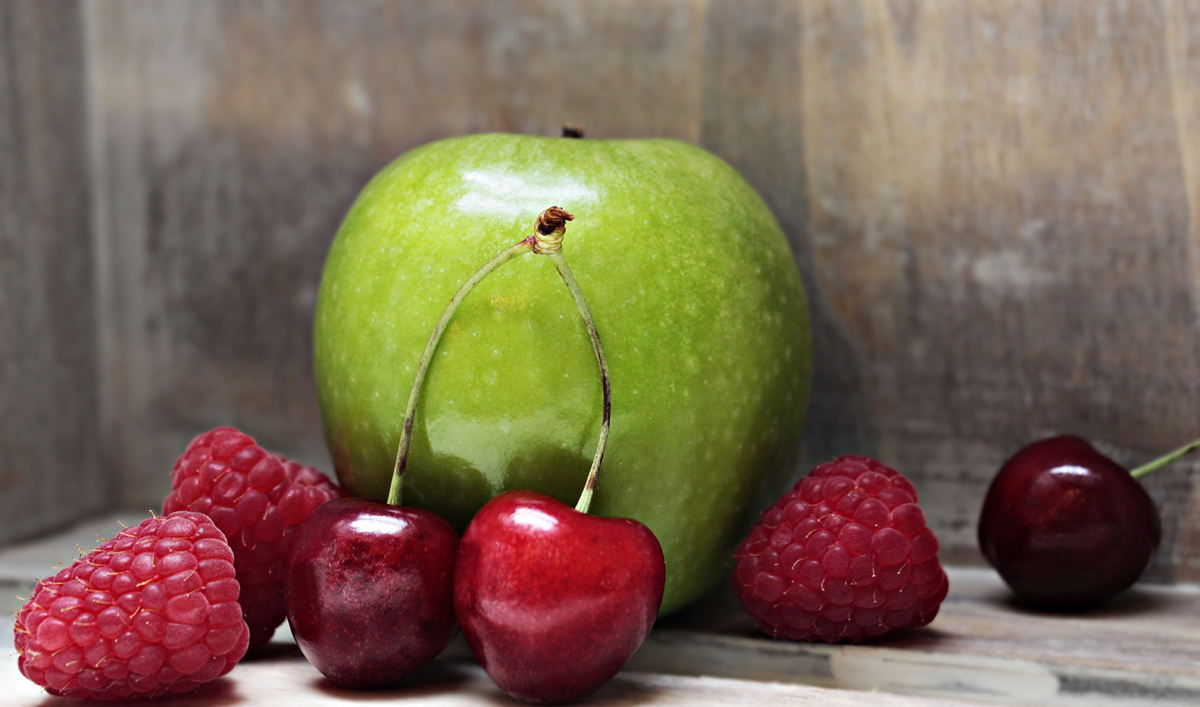
About 30 years ago, I started planting apple trees on our land. Shortly thereafter, we also started growing cherry trees. When it came time for harvest season, we lived by trial and error. I learned more about the facts on fruits than herb gardening in those first several years. I would like to share with you my experiences to help you further develop your own skills. I will be covering Ethylene Gas in Part 8 of this series.
Cherries-Types
The nutritional value in cherries varies somewhat amongst the two main types: sweet and sour. Sweet cherries can be eaten raw to protect their high vitamin C but they virtually contain no vitamin A. Sweet cherries also contain anthocyanin and melatonin, an antioxidant that fights insomnia and jet lag. Sour cherries, on the other hand, are tastier when cooked. Sour cherries are lower in calories and are full of vitamin A but contain only ½ the amount of vitamin C. Sour cherries also contain fiber, manganese, copper and beta-carotene. Being a red fruit, the health benefits from cherries provide antioxidants, especially lycopene, which helps to reduce the risk of cardiovascular disease. Black cherries make the perfect gout cherries. Cherries nutritional value is high in potassium and carbohydrates but low in saturated fat and cholesterol.
Sweetness will vary from farm to farm, even tree to tree and week to week. The darker the cherry, the sweeter its flavor and the more health benefits. Good cherries should be large (one inch or more in diameter), glossy, plump, hard and dark-colored according to variety. The stems should be left on and be green and fresh, bending easily and snapping back when released. If buying cherries, they should be kept cool and moist, as the flavor and texture both suffer at warm temperatures. Avoid sticky cherries (they’ve been damaged and are leaking), red cherries with very pale skin (they’re not fully ripe), and bruised cherries whose flesh will be discolored under the bruise. If you find many damaged cherries, eliminate them for they will speed up the decaying process.
A Word of Caution: Like apple seeds cherry pits contain amygdalin, a naturally occurring cyanide/sugar compound that breaks down into hydrogen cyanide in the stomach. Accidentally swallowing a cherry pit once in a while is not a serious hazard, however, there have been reports of humans being poisoned after eating apple seeds.
Storing Cherries
Cherries have a limited growing season and are highly perishable. By storing cherries in the refrigerator, keeping them cold and humid, you will be preserving their nutrients and flavor. Loosely pack unwashed cherries in plastic bags or place them in a single layer in a shallow pan then cover with plastic wrap to minimize bruising. Check the fruit occasionally and remove any damaged cherries. Always wash your fruit before eating. For the best, most sweetest flavor, allow the cherries to come to room temperature before eating. Fresh cherries will last up to 4 days in the refrigerator.
Pitting Cherries
To remove cherry pits, there are two methods applied. The first is to use actual cherry pitters. After washing and stemming the cherry, place the cherry pitters curved side, underneath the spike. Squeeze the pitter so that the spike goes through the cherry, forcing out the pit. The second method entails using either an un-bent large paper clip, or my favorite, an orange manicure stick. Insert the instrument of your choice into the stem-end of the cherry. You should feel it hit the pit. Then twist it around the pit and scoop it out. Sour cherries are the easiest to pit but after experimenting a bit to see which twisting motion works best for you, the mangled mess won’t look so bad, besides, they will still taste just as good.
Drying Cherries
Cherries take longer to dry compared to many other fruits. Both sweet and sour cherries are great for drying and they rehydrate easily. They can be used in baked products in place of raisins or in cobbler pie. You can also put them into lemonade or ice tea. Some of their vitamin C content is lost during drying however. Fresh cherries are known for their short shelf life so drying cherries will extend this process up to about a year. Select only fully ripened fruit. Wash, stem and pit them. Large cherries can be cut in half for drying. Place on the dehydrator screens and dry at a medium temperature of 140o F until pliable and leathery with no pockets of moisture. Depending upon your dehydrator’s wattage, the drying process may take anywhere from 6-18 hours. As a rule of thumb, you might want to wait an additional hour for each additional rack.
Freezing Cherries
Learn about the 4 methods of freezing cherries as well as how to preserve their color and flavor by clicking on the link below. I have also included several fresh cherry recipes-desserts like cherry tarts as well as ideas for gift giving such as fruit for gifts and fruit in a basket.
Preserving Apples
The first rule when harvesting apples is to store only perfect fruit. All apples should be handled with care. If any are dropped or knocked around, they should be set aside for immediate consumption. The tiniest puncture, pinprick, or bruise will be enough to cause immature decay. Use caution when storing apples with other vegetables as they give off ethylene gas that causes other vegetables to rot. I talk more about ethylene gas in part 8 of this series.
Storing Apples
Apples can be kept for as long as 6 months if they are kept in temperatures between 32 –45ºF. Fruit must be completely dry upon storage. Moisture breads decay! Rain or dew on the skin when harvesting should be carefully dried off. An alternative is to gather your fruit on a breezy, dry summer day. As mentioned in Part 1 of this series, it is worth wrapping individual fruits in newspaper and storing them in cardboard boxes or trays in the darkest, coolest corners of the basement. Parts 9-10 of Store Garden Produce- will address alternative Root Cellars. Examine your fruit from time to time in any type of storage, removing any that show signs of ageing. Mid-season and late varieties tend to store much better than earlier season varieties.
Freezing Apples
Some types of apples freeze better than others, especially the ones for making pies or sauce. Granny Smith, Golden Delicious and Winesap hold up well to freezing and resist bruising. McIntosh bruises easily and Red Delicious is the least favorite to freeze. You will need approximately 1 ¼ to 1 ½ pounds of sliced quartered apples to fill one pint and about 2 ½ to 3 pounds to fill a quart.
Preparing your apples is the most time consuming part of freezing. You can peel, core and slice your apples by hand or use a handle-crank, apple peeling machine that sits on the counter. There are basically 2 types of apple peelers: those that have a suction base and those that clamp on to the edge of a table. I prefer the suction type due to its portability. They are relatively inexpensive and work great, an apple slicer-peeler-corer all rolled into one. I always peel my apples but that is a personal preference.
Keep Apples from Turning Brown by three easy methods: Apples are notorious for browning. Once you have washed, cored and/or peeled your apples, you will want to either (1) dissolve ½ teaspoon ascorbic acid, also known as “FruitFresh”, into 3 tablespoons of water then sprinkle over the apples and blend. (2) Soak sliced apples in a solution of 2 tablespoons of salt per 1 gallon of water, stir water a bit to make sure all have been submerged, or (3) steam-blanch them for 1 ½ minutes then cool them in ice water before freezing. Any of the three methods mentioned above will keep apples from browning and must be applied before apples are frozen.
Choose Your Method of Freezing Apples: There are several methods to freeze apples depending upon how you intend to use them afterward. Freezing apples dry, in sugar or the syrup pack method are the most popular. The sugar pack is preferred for apples in uncooked desserts or fruit cocktail. A sugar or dry pack is ideal for pie making. Dry packs can be used generically. The sugar and syrup pack methods are less likely to brown or develop freezer burn. Containers suitable for freezing should be airtight and include plastic bags or rigid plastic containers. Apples in syrup or sugar packs will keep for 10-12 months when stored at 0ºF. Dry packs should be used within 3-6 months.
Dry Pack: This is the easiest method for freezing apples, but it does not retain the texture and flavor as well as the other methods. Treat apple slices to preserve color, pack them into a suitable container leaving ½ inch of headspace then freeze. Apple slices can also be frozen first on a tray and then packed into containers as soon as they are frozen.
Sugar Pack: You will need ½ cup sugar per quart (1¼ pounds) of peeled, sliced apples. After treating the apples to preserve their color, place the sliced apples into a shallow bowl. Mix in sugar then pack the apples into containers, leaving ½ inch of headspace per pint and freeze.
Syrup Pack: The sugar syrup recipe is useful because it preserves the flavor and texture best. Use 2 cups of sugar added to every 3 cups of water. Of course, you can scale this up or down to suit the amount of apples you have. Combine sugar and water in a saucepan and bring to a boil until the sugar is dissolved. Chill. Add ½ teaspoon of ascorbic acid to each quart of syrup. Pour ½ cup of syrup into the freezer container and add apples. If necessary, add more syrup until apples are covered and place a small piece of waxed paper on top to keep the apples submerged. Leave ½ inch headspace for pints, 1 inch for quarts.
The Author:
Kali S Winters is gardening enthusiast and author who spends much of her time teaching others how to setup and maintain beautiful, amazing gardens. Check out Kali’s latest book, “Holistic Herbs~A Beginners Guide to Herbal Gardening”

