When to Harvest Garlic & Best Way to Store Herbs
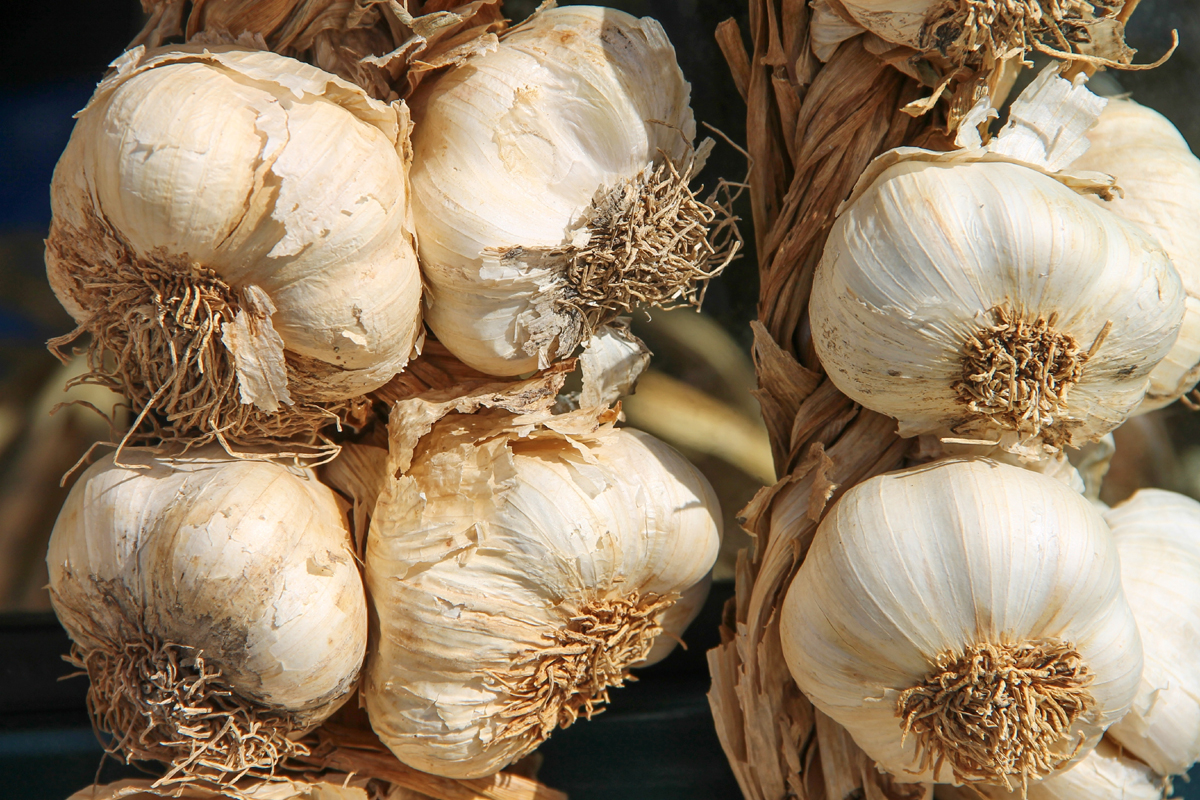
September in old English terms means “harvest month” and just like the name predicts, there is plenty of leftover bounty to store garden produce for the upcoming winter months ahead.
The following are individual tips and techniques to help you store your garden produce:
When to Harvest Garlic or Onions:
These two are my most sought after commodity in the garden. Even though you are planting onions and garlic separately, they are harvested and stored in similar fashion. That is why I have combined the two.
When are onions and garlic ready to harvest you ask? Well, you will want to wait to harvest your garlic or onion bulbs until half of the tops are green and the other half is yellow or browned. This will indicate that the bulbs are mature enough and ready for storage. Pluck them from the garden and lay them out of the way of direct sunlight to dry for several days, with the tops still attached. Onions require about a 3-7 day warm drying period.
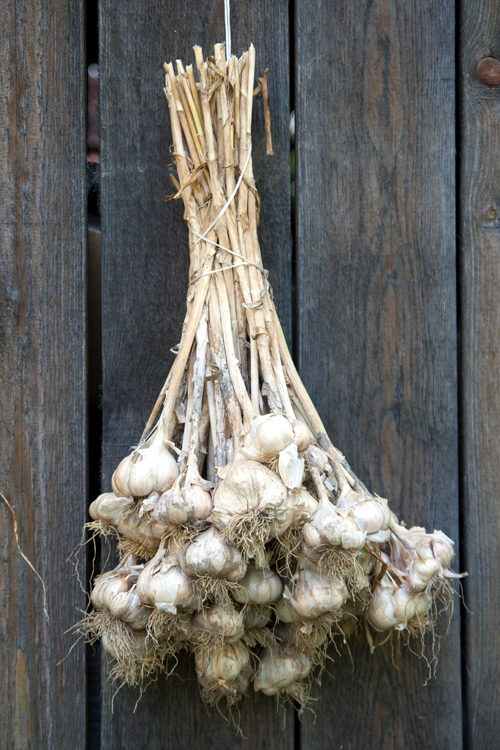
After drying, gently rub the bulbs with a towel or cloth to remove any loose dirt. Do not wash the dirt off the skins with water, that only adds moisture and moisture encourages bacteria growth. Next, trim the roots back closest to the bulbs. Do not remove the protected, dry skins. You will then want to trim the tops to about 1-3 inches and then use the tops to braid the garlic together to hang for storage. (The same can be done with baby onions; large onions are too heavy to sustain the weight.) If you do not want to braid, (understandable–it does require practice), place the bulbs in brown paper bags, cardboard or wooden crate and store in a cool, dry place — 40-55 degree F, with a relative humidity level of 50-60 percent. You will notice that when both of the onions and garlic have cured, the dry, outer skins will start flaking. (Keeping garlic in warm dry conditions for 3-6 weeks will fully cure them.) Garlic can be kept for about 6 to 7 months while onions up to 8 months.
Note: Do not store your garlic or onions in the refrigerator or around the stove. If you take notice of the produce section at the grocery store, you will find that onions, garlic, tomatoes and potatoes are all displayed in center isles, away from the refrigerated section. Why then, do some people pack their produce home in the plastic bags provided, especially the potatoes and tomatoes, and store them in the fridge? A lot can be learned by observing how grocery stores section off their produce department. Look at several stores to compare.
Best Way to Store Herbs and Spices:
Dried herbs and spices should never be kept above or near your stove. The heat and steam from cooking will cause them to loose their oils and retard flavors. Store your herbs and spices in a cool dry place and preferably in a dark glass bottle. Using clear plastic containers like commercialized products will allow you to see the contents within, but it will also expose the dried herbs and spices to too much light and will cause the oils to be absorbed into the plastic itself. This is not good if you want to maintain the quality of your dried herbs and spices. When buying your herbs from the market, either tape dark colored paper around the container or transfer them to dark colored glass bottles.
Fresh vs Dried Herbs:
To dry herbs at home, remove any foliage from the base of the stems and then bunch 6-12 stems together and fasten with a string or twine. Hang the bundle, away from sunlight, in a cool dry place. I use several, circular, old metal lamp shades to hang my herbs.To dry individual leaves, place them on herb drying racks or screens for a good airing. Turn them often so they dry evenly. In the beginning, I used window screens to dry my herbs in the shed. Years later they came out with the herb drying racks which I have found to be wonderful.
Other methods have been used in the past such as drying herbs in dehydrator, oven drying herbs or drying herbs in microwave but they have usually produced unsatisfactory results. The heat from the appliance dries the herb too rapidly so the herbs end up loosing their natural oils. After purchasing enough machinery in my lifetime to dry my herbs easier, I have come to only one conclusion: The old fashion way works the best!
A medium can also be used to preserve fresh herbs as well. White vinegar for instance can be used as a cover on mint, tarragon or basil. Using this method will preserve the fresh herbs for several months. To make a flavored salt as well as preserving your herbs at the same time, alternate layers of fresh herbs between thin layers of salt while drying. The salt draws the moisture and flavors from the herb. You do not want to do this with all your herbs, sometimes the salt will pull too much flavor out of the herb, of course, how much salt do you really need? Once completely dried, separate the brown herb from the flavored salt and store both separately in airtight, dark containers. Note: with this method, I purchased a bunch of old, light weight, aluminum windows that they used to call storm windows and placed the layering material on top….guess I am showing my age here!
Storing Herbs in The Fridge:
Most fresh herbs and spices will keep for short periods of time in the refrigerator as long as they are not washed and are placed in tightly sealed plastic baggies that allows a slight amount of moisture within the bag to prevent wilting. Remember, wet herbs will mold and rot. If you would like to store your fresh herbs longer without drying them, place them unwashed in a specially designed green garden bag. Other plastics will cut off the oxygen and will therefore, promote spoilage.
Freeze Dry Herbs:
I would talk about using dry ice, however the commodity became so scarce and expensive that I retired this method of preserving my herbs. Regardless, you can still preserve your herbs in the freezer by using this fairly simple method: First dip your herbs in a bowl full of water to clean them. Gently air and pat them dry with a paper towel. *Never run fresh herbs directly under the faucet—it will damage the herb. Next, cut the fresh herb into about 1/4 inch pieces and lay them on a flat cookie sheet lined with waxed paper; then place the sheet in the freezer. After they are frozen, bunch them together in heavy freezer bags and return them to the freezer for use at a later date. Remove these herbs from the freezer at the very last minute to add to your recipe. Do not let them unthaw or they will end up loosing their potency and becoming soggy. If needed, chop them up further while they are still frozen and quickly add to your cooked recipe.
There is also the ice cube method to freeze dry herbs. Once again, clean and cut up your fresh herbs into 1/4 inch pieces and place them in large ice cube trays. Pour water, chicken or vegetable stock or another base, (cooled to room temperature-or you will end up cooking the herb), to barely cover just the tops of the herbs and pop the ice cube tray into the freezer. Once frozen, pop them out of the cube holder and place them into thick freezer bags. For longer storage, use freezer wrap to surround the freezer bag.
By using this method, you will be able to mix and match your basil, oregano, cilantro etc. into one ice cubical. Then when you are making soups or stews, just plop the whole ice cube into the pot. Whala! Fresh instant seasoning! You can also store your left over stock or bases this way as well. However…a word of warning: Do not put dried/dehydrated mushrooms or onions in the cube holders with the herb and spice mix. They will expand in liquid before the ice sets leaving quite a mess to clean up….That one was for my kid sister who made this mistake so I thought I would mention it. Sorry sis…..!
Until next time!
Successful Gardening!
Kali S Winters
The Author:
Kali S Winters is gardening enthusiast and author who spends much of her time teaching others how to setup and maintain beautiful, amazing gardens.

