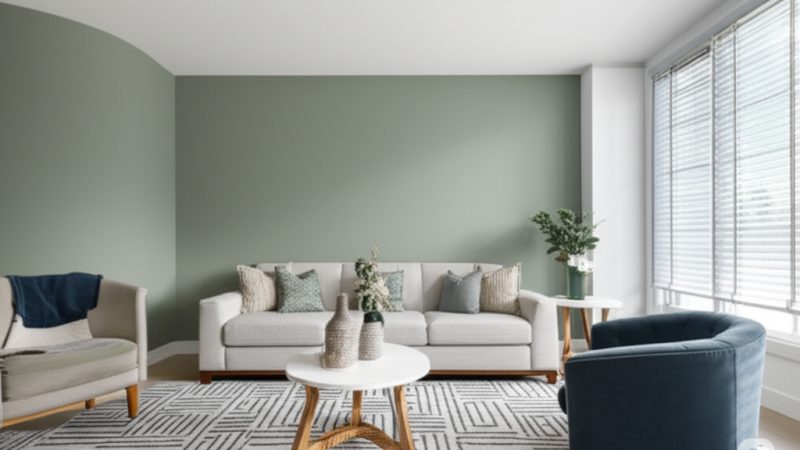
Tips for DIY Wallpaper Removal
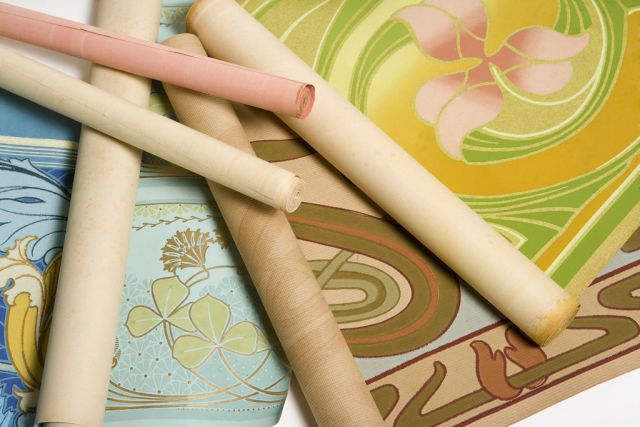
Just say the words “wallpaper removal,” and you can clear the room of even the most enthusiastic DIYers and professionals alike. This task is classically messy and time-consuming. Re-papering over old paper that is cracked, damaged, or of a different type won’t work, and painting over wallpaper is never advised, so removing old wallpaper is a task that must be done. But, done right the first time you’ll have perfectly prepped walls that will be easy to finish.
Getting Started
To keep yourself safe, shut off the circuit breakers to the room, remove the outlet covers, and cover outlets with tape. These simple steps will keep you safe, even if you must use plenty of water to remove the paper. Cover the floor and any nearby furniture with a drop cloth.
Removing Wallpaper The Easy Way – Or Not
How do you remove wallpaper? What are the most common techniques?
Strippable Wallpaper
If the wallpaper you need to remove was installed in recent years, you might be fortunate enough to have “strippable” wallpaper that you can easily pull away from the wall after you pry up the corner with a putty knife. Once you have the bottom of a strip loosened, grasp it with both hands and pull it off, keeping your hands close to the wall so that you remove large strips at once. You may have a couple of stubborn places where you’ll to score the paper and pull off the remaining paper in tiny strips.
Liquid Stripper Or Steamer
– For most other jobs, you will need to use a liquid stripper and water or a steamer. One word of caution. If your walls are made of drywall, you can inadvertently remove the outer layer of paper along with chunks of drywall material with either technique. If your walls are plaster, you run less risk of damaging them in the process. You can usually tell the difference by tapping on the wall. A hollow sound means you have drywall, while a dull thud means plaster.
Removing More Stubborn Traditional Wallpaper
Using A Liquid Stripper
– Quick stripping products make the job of wallpaper removal easy. You simply mix the concentrated material with water and work top to bottom to apply it to a small section at a time. Once the paper absorbs the stripper, you should be able to use a 3-6″ hand scraper to remove the paper. If the paper will not absorb water, you can either scuff it up to penetrate the outer coating or score it with a tool made specifically for this purpose. Apply the wetting agent a couple of times and after 30 minutes, when the paper is soaked all the way through, you can start scraping.
Using A Steamer
– The alternative to stripping with a solution is using a steamer, which requires you to hold the steamer and focus the steam toward the area for about 30 seconds with one hand, while stripping with the other. To penetrate the paper and loosen the glue, you should score the paper first. If you are stripping wallpaper from the ceiling, make sure to wear goggles and a head cover to protect yourself from hot, wet chunks of falling wallpaper.
Special Cases
- These basic techniques work on any wall, but there are a couple things to keep in mind for special circumstances. For example, If you have unprimed drywall under the wallpaper you are removing, you will need to thoroughly soak the walls to avoid damaging the drywall. The pros use a compression sprayer that’s often used for lawns and gardens that blasts the wall with water more effectively than a simple hand sprayer. Once the wall is soaked, you will be able to slide a putty knife under the wet paper to pull up layers of wallpaper without scraping it and damaging the wall. The downside? Since the drywall is also soaked, you must wait until it is thoroughly dry before priming and reapplying paper.
- If you have peelable or fabric backed wallpaper, you must first remove the top layer. It usually comes off fairly easily, and then you;ll need to strip the rest using water or a stripper.
Finishing Up
Though removing the wallpaper itself can be labor-intensive, you have a couple more tasks to do once the wall is free of it. To prepare the wall for finishing, clean it with soap and hot water to wash away any residual glue and dry with a clean towel. If the wall has imperfections or loose drywall paper, repair them with glue or wall compound and sand the surface. To make life easier for yourself or the next person who finishes the wall, prime it first.
The result? A great looking wall that will look even better after you have done your magic with new wallpaper or paint!
The Author:
Jillynn Stevens, Ph.D. is a writer with a vast array of subject matter expertise. Along with publishing articles for large and small businesses, she researches, writes and publishes reports on various public policy issues. For a huge selection of wallpaper that can be viewed in the comfort of your home, take a look at the eCommerce site Wallpaper Warehouse and have your new wallpaper delivered right to your door. https://www.wallpaperwarehouse.com/

