10 Tips to Frost Layer Cakes Like a Professional
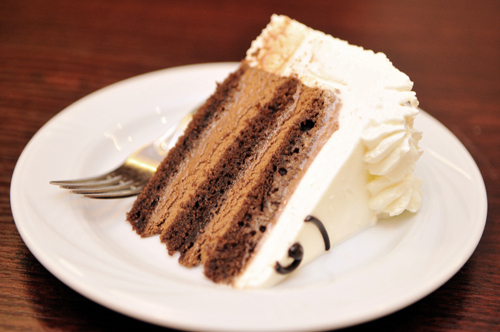
Frosting a cake should be one of the most enjoyable parts of cake-making. The mixing and cooking is done, and all that’s left is to use your creativity to complete your edible work of art. But many find cake frosting a challenge, particularly when it comes to layer cakes. Time pressure, impatience and the lack of proper tools can stand between you and a beautifully-frosted cake. As with nearly every aspect of cooking and baking, organization and advanced preparation is key.
Consider the following tips when frosting a cake, and you’ll be on your way to an awe-inspiring and flawless dessert.
1. Make sure your cake and frosting are fully cooled.
The cake should cool for a minimum of four hours or overnight to be safe. This avoids running frosting and a messy appearance. If that time frame isn’t feasible, you may place the warm cake in the freezer for a short time to accelerate cooling.
2. Gather the proper tools.
The ideal tool for icing is a stainless steel offset spatula, which comes in a variety of sizes. Otherwise, try using a butter knife, which has a similarly flat surface.
3. For cake layers with a slight dome shape, trim the dome top with a serrated knife so that the surface is flat.
Also scrape off any batter bubbles formed when baking. Those areas will be obscured by frosting.
4. Anchor the cake to the plate’s surface with a small amount of frosting.
This will keep it from sliding during frosting and transport.
5. If you are frosting your cake on the serving plate, tuck wax or parchment paper strips around the bottom edges of the cake before you begin.
They’ll trap any stray frosting and can be removed when you’re ready to serve.
6. Brush the top and sides of the cake lightly with a pastry brush to remove any loose crumbs.
7. Avoid crumb-y frosting.
Apply a thin initial layer of frosting which is designed to trap cake crumbs and prevent them from showing up in the outer frosting layer. Thin this portion of the frosting by adding 2 tablespoons of milk or water. This will allow you to spread a thinner layer to trap remaining crumbs. Let this first frosting layer set for up to two hours and then frost the outer coating.
8. If you are new to frosting, choose a type of frosting that is easier to spread.
A light frosting spreads more easily than a heavy, thick frosting. Thick frosting is more likely to tear the cake and create crumbs.
9. Using the offset spatula, smooth the frosting from the center in a loose figure 8 motion to the edges.
Think of it as ‘pushing’ the icing and keep your wrist flexible. Use the full length and width of the spatula, spreading the frosting evenly across the cake. Be sure not to apply too much pressure to the frosting so that it squishes, but enough so that you keep the icing gliding easily across the surface.
10. Warm the spatula under running water periodically.
This keeps the knife clean and helps smooth the surfaces of the cake. For final smoothing of the frosting, pull the spatula across the surfaces in straight wide strokes. At this point, the cake is frosted and ready for additional decorations if desired.
The Author:
If you’re looking for award-winning, useful information on food, nutrition, and shopping, you just found it. As a writer, librarian and trained chef in New York City, Sarita Haines provides expert guidance to hundreds of readers every day.

