DIY Branch Ladder Towel Rack

Give your bathroom or guest room a cozy, rustic touch by turning a sturdy tree branch into a ladder-style towel rack. This project is as simple as finding a well-shaped branch, cleaning it up, and securing it to a corner or wall. It’s a wonderful, budget-friendly way to display colorful linens, dry your towels, and add a bit of the outdoors to your living space.
Whether you lean it casually against the wall or mount it securely, this project celebrates the beautiful imperfections of nature while serving a practical purpose in the modern home.
Tools and Materials
Before you begin, gather your supplies. You can easily find most of these during a walk through the woods or right in your own backyard.
Materials:
- 2 long, relatively straight branches (approx. 5 to 6 feet long, and 1.5 to 2 inches in diameter for the sides)
- 3 to 4 shorter branches (approx. 18 to 24 inches long, and 1 inch in diameter for the rungs)
- Wood glue (exterior or heavy-duty)
- 2.5-inch wood screws or heavy-duty jute twine/tallow-treated cord (depending on your preferred aesthetic)
- Clear matte wood sealer or natural beeswax polish (to protect against bathroom moisture)
- Fine-grit sandpaper (150 to 220 grit)
Step-by-Step Instructions
Step 1: Forage and Select Your Wood
Look for fallen branches that are completely dry and seasoned. Avoid green wood, as it will shrink, warp, and potentially crack as it dries out indoors.
- Hardwoods like oak, maple, birch, or ash are ideal for durability.
- Ensure the two main side branches are sturdy enough to support the weight of damp towels without bowing.
Step 2: Clean and Prep the Branches
Nature is beautiful, but you don’t want loose bark, dirt, or hitchhiking bugs in your bathroom.
- Strip the loose bark: Use a stiff brush or a pocket knife to remove any peeling bark, moss, or dirt. If you prefer a completely smooth look, you can peel the bark entirely; for a rustic look, leave the tight bark intact.
- Trim the knots: Saw off any sharp stubs or small twigs poking out.
- Sand thoroughly: Run fine-grit sandpaper over the entire surface, paying special attention to the areas where towels will hang. You want to eliminate any risk of snagging delicate linens or causing splinters.
Step 3: Measure and Cut to Size
- Cut your two side branches to your desired height (typically between 5 and 6 feet). Tip: Cut the bottom ends at a slight angle so they sit flush against the floor when the ladder is leaning.
- Cut your rungs to equal lengths. A width of 18 to 22 inches is standard for accommodating folded bath towels.
Step 4: Layout and Assembly
Lay the two side branches flat on the floor, parallel to one another. Space your rungs evenly—around 12 to 14 inches apart is ideal to allow proper airflow for drying towels. Mark the placement with a pencil.
There are two excellent ways to secure the rungs:
Option A: The Rustic Screw & Bind Method (Easiest)
- Pre-drill a hole through the outside of the side branch directly into the center of the rung end. (Pre-drilling prevents the branch from splitting).
- Apply a dab of wood glue to the joint, then drive a 2.5-inch wood screw through the side branch into the rung.
- The Heritage Touch: Hide the screw heads by tightly wrapping the joints with heavy-duty jute twine or leather cord using a traditional square lashing knot. This adds incredible structural stability and an authentic, old-world look.
Option B: The Mortise and Tenon Method (Flusher Fit)
- Using a spade bit that matches the diameter of your rungs, drill a shallow hole (about halfway through) into the inside face of the side branches.
- Whittle down the ends of the rungs slightly if needed to snugly fit into these pockets.
- Put wood glue into the holes, insert the rungs, and clamp the ladder together until dry. Secure with a small finish nail from the back for extra hold.
Step 5: Seal for Moisture Resistance
Bathrooms are inherently humid environments. To protect the wood from mold and water damage over time, apply a protective finish.
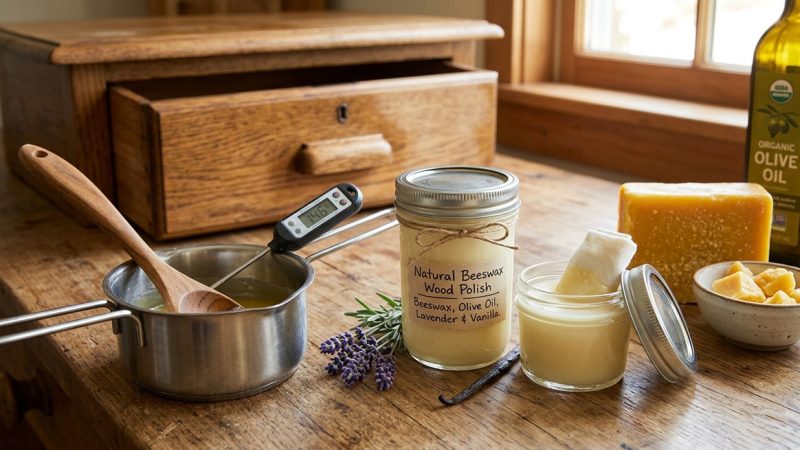
- For a completely natural, low-sheen finish that honors the wood’s texture, rub the ladder down with a warmed natural beeswax and oil polish.
- Alternatively, apply two coats of a matte water-based polyurethane sealer for maximum moisture protection without adding an artificial shine.
Let the ladder dry completely for 24 hours before use.
Styling and Safety Tips
💡 Safety
If you have small children or pets in the home, do not leave the ladder free-standing. Secure the top of the ladder to the wall using a simple drywall anchor and a small L-bracket, or tie the top rungs to securely mounted wall hooks to prevent tipping.
- In the Bathroom: Layer textured waffle-weave towels, naturally dyed linens, or simple white cotton towels to contrast beautifully with the raw wood grain.
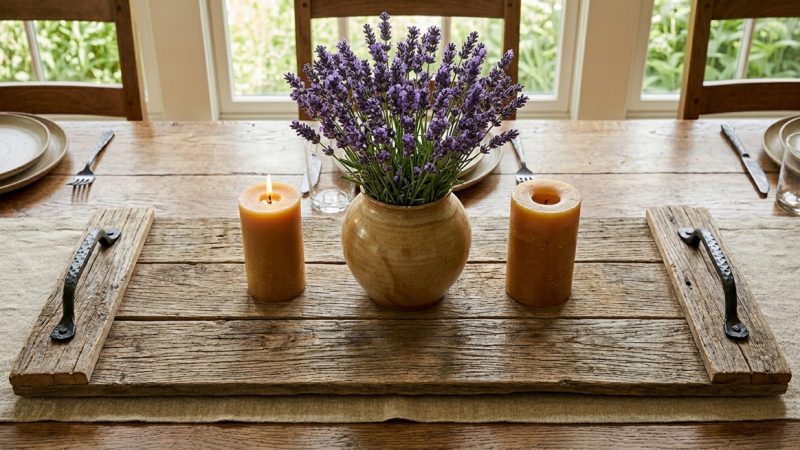
- In the Guest Room: Use the ladder to hold an extra cozy throw blanket and a small hanging sachet of dried lavender to welcome your visitors.
The Author:
Pioneerthinking.com: Ingredients for a Simple Life. Insights from a seasoned professional rooted in country living, with 28 years of horticulture expertise and over two decades of practical experience in homesteading, natural beauty and cosmetic creations, natural health, cooking and creative living.
Photo. Gemini


