Clutter Command
Clutter Equals Stress, Plain and Simple.
Messy rooms, disorganized closets, and jumbled junk drawers add unneeded hassle to our already hectic days. I can’t think when things are cluttered! So I’ve learned a few tricks to control the clutter. I sort and toss the stuff I don’t need or want, and I keep the necessities of life tucked away, out of site but easily accessible.
Even small homes have space for storage. Under the bed, at the back of a closet, under the sink — all these spaces can be used to hold out-of-season clothes, toys, sports equipment, and unsightly trash bins. That’s right, even putting the kitchen trash bin under the sink and on a convenient roll-out trolley, instead of having it out, in plain sight, reduces both visual and floor space clutter.
Donating useful but no longer needed items, getting rid of unwanted junk, and keeping what we do need neat, accessible, and as invisible as possible let our personal spaces become welcoming havens instead of uninviting areas that make you want to run away. In an ideal world, every room of your house should be neat as a pin and organized alphabetically. But we know that’s pretty much impossible. After all, we do have to live our lives, and making a mess is sometimes part of it. But the storage solutions in this section can help you keep your stuff restrained.
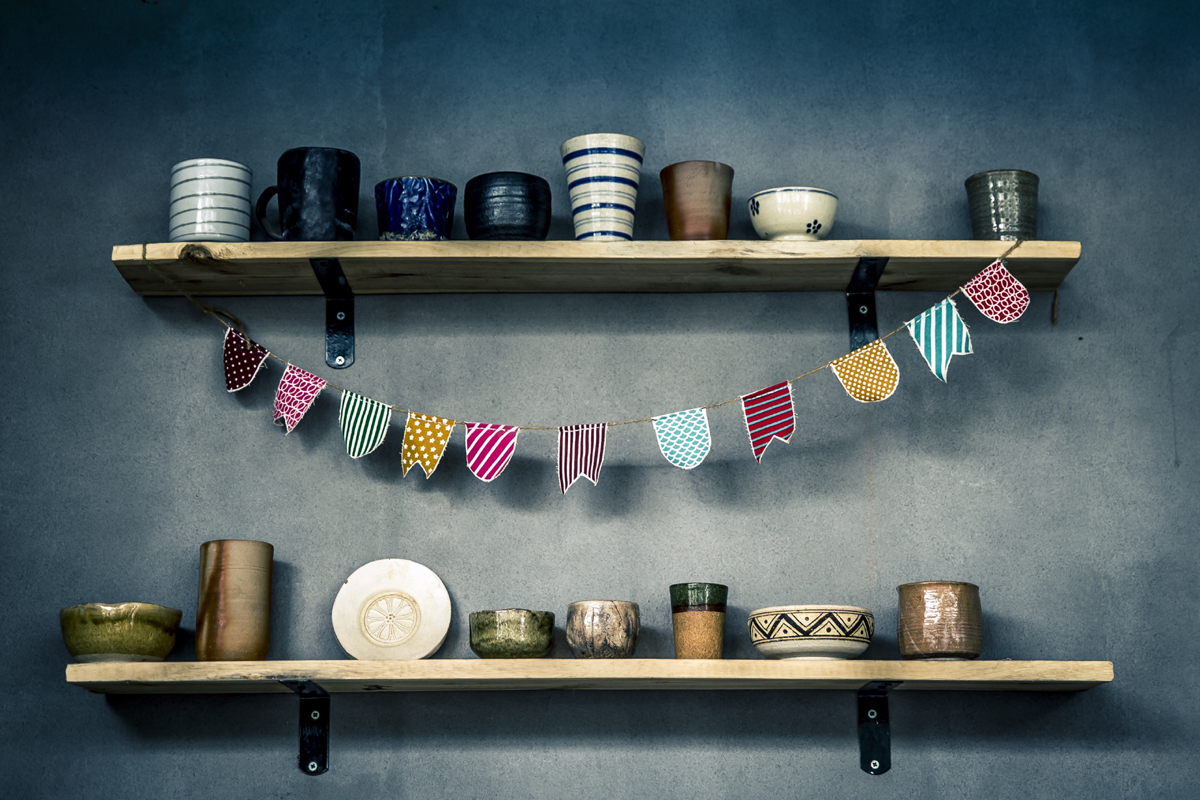
Simple shelves, for instance, are one of the most basic and useful forms of storage. Tucked into the back of a closet, at the end of a little used hallway, or in the corner of a child’s bedroom, they provide an easy, classic clutter solution. They can hold decorative bins, boxes, and baskets for all the stuff you need but don’t want to look at. Or hang a curtain in front of them for complete coverage but easy access. Once you see how easy shelves are to install, you’ll find all sorts of places for them.
Basic shelves are easy and inexpensive to construct using wood, plywood, or fiberboard cut to specific lengths and widths and hanging them from metal shelving standards (long metal strips that hold brackets) and arm brackets. For a less utilitarian took, you can attach shelves to decorative brackets. Consider saving time and skipping the cutting and sanding steps by taking your measurements to the lumberyard or home improvement store and having them cut the wood to your specifications. It costs a little extra for the cuts, but it may be worth it if you are short on time and tools.
Basic shelves can be made from a variety of materials. If the shelves are going in a closet or utility area (such as a laundry or mudroom), 3/4-inch plywood or pine shelves can be sanded smooth and then left as is. Plywood sheets are less costly than solid wood boards. Keep in mind that plywood does not normally come in shelf-width planks, but in 4- by 8-foot sheets, which need to be cut or “ripped” into shelf width. Unless you have a circular saw and know how to use it, you will have to have plywood sheets cut into shelves at the home center or lumberyard when you purchase the sheets. For a finished look, you can add veneer tape to the front and sides of plywood shelves. It’s easy to apply with an iron because it is coated with a heat-activated adhesive.
If you are planning on making the shelves a prominent feature of a room, you can paint or stain them to match your color and design scheme. For a high-end look, sheets of plywood veneer (plywood covered with birch, mahogany, cherry, or even oak sheathing) can be cut to size and coated with polyurethane for a natural finished look, stained, or even painted. And, of course, you can buy hardwood boards, such oak, or cherry, but these woods are expensive. Plywood veneer gives you the same look for a lot less. You can also buy melamine-coated particleboard (usually available already cut in a variety of standard widths and lengths) if you want an easy-to-clean surface.
The Author:
Barbara Kavovit a New York City businesswoman/entrepreneur, and CEO of barbara k!, a comprehensive lifestyle brand that offers solutions for women through innovative home enhancement/repair and automotive products. For more information, please visit the author’s Web site at www.barbarak.com
Reprinted from: Room for Improvement: Change Your Home! Enhance Your Life! With Tools, Tips, and Inspiration from Barbara K! by Barbara K (May 2005; 1-59486-133-1) Copyright © 2005 Barbara Kavovit. Permission granted by Rodale, Inc.
Photo. Pexels

