Cutting Quilt Patches with Scissors
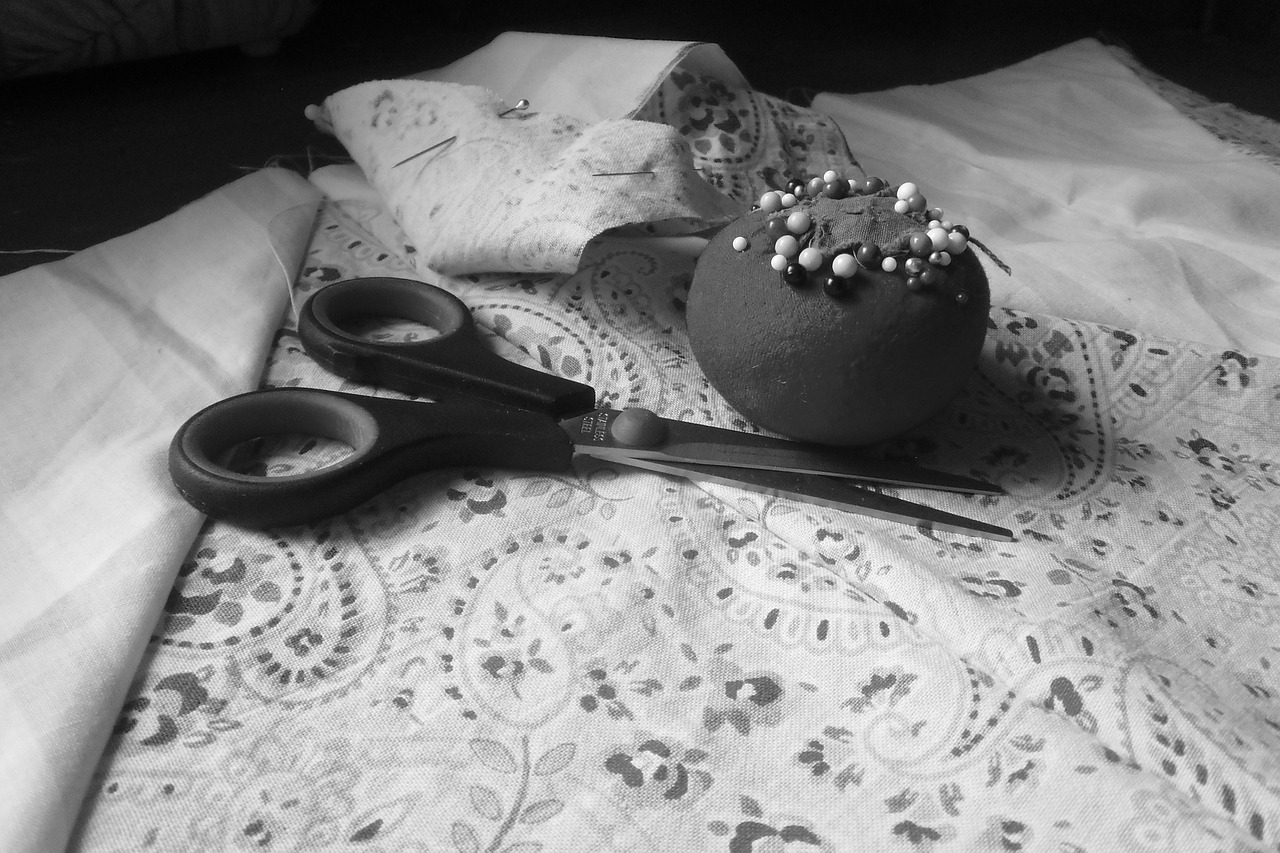
For those quilters who hand cut their patches, here is a shortcut way to hand cut the patch and know that your finished piece will be the right size. Rather than marking the cutting line on your fabric, mark the sewing line. That way, you have an accurate sewing line, regardless of how accurate your cutting line is.After all, the point of accurate stitching is to get an accurate patch when the block is sewn together. Here’s how:
Step 1:
Create a template the finished size of your patch and place it on the wrong side of your fabric. There are a few things to watch for as you place the template on your fabric. First is to be sure that the straight sides of your template are lined up with the straight grain and cross grain of your fabric. For more information and a description with pictures of the grains of fabric, see the article about Fabric Grain Lines.
Second – if you are marking more than one patch at a time (which I recommend), be sure that you leave at least 1/2 inch between the patches – having enough space for each patch to have a 1/4 inch seam allowance. Also, be sure that your template is placed at least 1/4 away from an edge of the fabric and the selvedge edge (after you trim the selvedge off).
Third – place the template on the wrong side of your fabric. You will mark a sewing line, and you want to be sure that as you sew on the wrong side of the fabric, your line is showing to guide you.
Step 2:
Mark around the outside of your template with a pencil or marker that shows up on your fabric. Because you are marking on the wrong side of the fabric, it is only a little bit critical that your mark doesn’t show. Mostly you want to be sure that the mark won’t show through permanently on the front of your quilt. Most of the pencils available for quilting will work great for this type of marking.Surprisingly, there are several different colors that can be used for marking dark fabric – silver is one of my favorites, yellow works well, and white is good as well. Soapstone is another option. The idea is to get a soft material that will mark the fabric easily, so you get an accurate mark without stretching and pulling the fabric.
Step 3:
Remove the template and determine where the 1/4 seam allowance is (this is where you will cut). Long before quilt shops started carrying 1/4 inch masking tape, I discovered it in a paint store. Not too surprisingly, it is less expensive there and at other home improvement stores like Home Depot, although you don’t get the fancy packaging that assures you it is for quilting. Let me assure you, the tape is the same. The point is, you need to determine where you will cut that is approximately 1/4 inch away from your sewing line. You could also use a ruler to measure the 1/4 inch, and mark a cutting line.
Step 4:
Cut the patch on the cutting line.Using your scissors, cut the patch on your cutting line – either on the outside of the masking tape, or on a drawn cutting line. If you are using masking tape, you can easily just move the tape around the outside edge of the patch. The tape will be sticky enough to use to mark several patches. Whether your cuts are perfectly straight are immaterial (pardon the pun), because the more critical line is the sewing line. As you sew these patches together, you will want to stitch on the inside of the marked sewing line. It is surprising how much difference just a pencil width will make in whether your finished block is the correct size.
The Author:
Penny Halgren is a quilter of more than 26 years.Ab


