Step by Step Easy Method to Grow Indoor Tomatoes
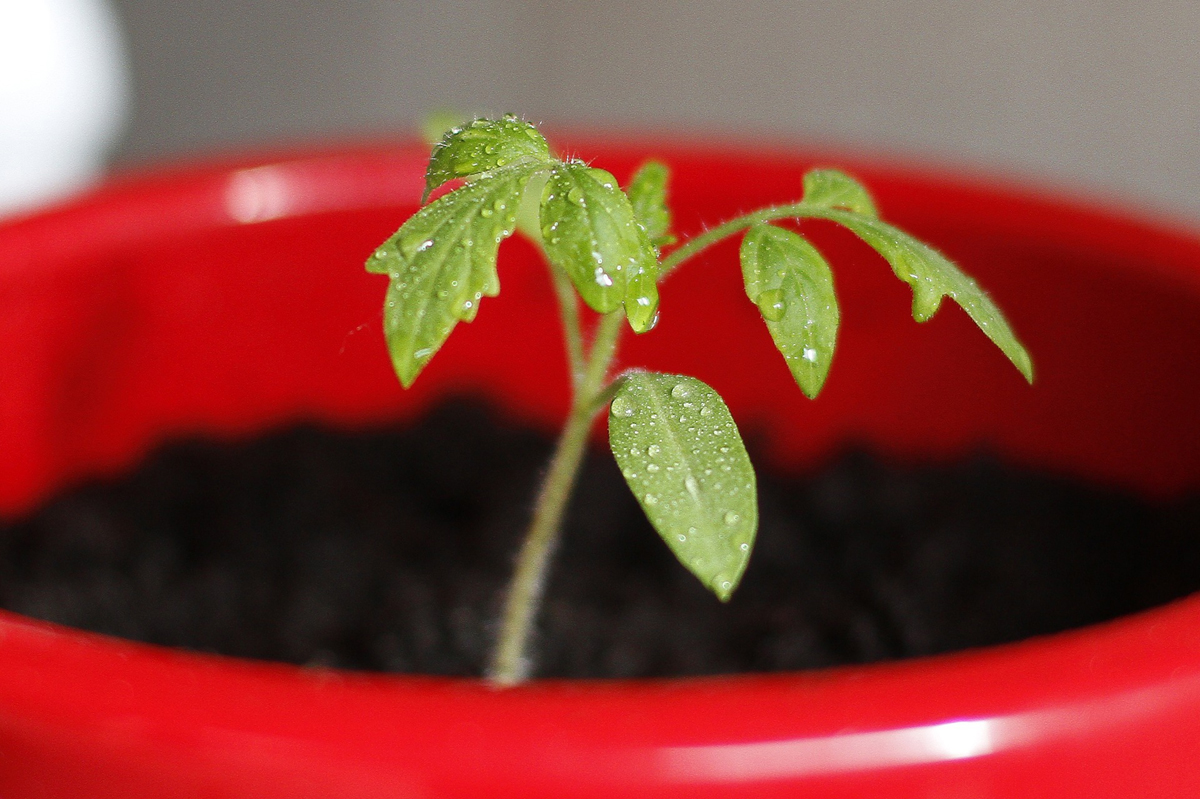
Growing tomatoes indoors is not difficult. Anyone can grow tomatoes indoors. All plants require the same basic elements; Soil (medium), light, water and the proper temperature to grow successfully. Of course each plant differs in the type of soil, amount of light, amount of water and the ideal temperatures it requires. I’ll focus on growing indoor tomato plants for this article by outlining the basic needs of the tomato plant. Followed by the method I use to grow indoor tomato plants and some useful resources to help you.
What Tomato Plants Like:
• Soil: The soil (medium) can be the usual potting soil mix that contains sphagnum peat, vermiculite and perlite. I like to use peat pellets, for starting my indoor tomato plants, that are available at most gardening stores or from online sources. TIP#1: Want to make your own peat pellets? Check out the article at Mother Earth News. For more in depth information on tomato plants I suggest; Jason’s Indoor Guide.To much to cover here. http://www.jasons-indoor-guide-to-organic-and-hydroponics-gardening.com/how-to-grow-tomatoes.html
• Light: Indoor tomato plants need to get 8-12 hours of bright light per day and a southern exposure is ideal during the colder months. Just take care to avoid cold drafts or to hot environments. Also if you don’t have good lighting there are many sources for plant lighting available at your gardening store or online. Tomato plants also need a period of sleep (darkness).
• Water: When you are starting your tomato plants from seeds (this is what I do for growing my plants indoors) keep the soil (medium) moist. When you see the seedlings appear you should adjust your watering to 2 or 3 or more times per week depending on your homes temperature. Don’t over water and let the soil dry out slightly before watering your plants. Misting is a good thing between watering.
• Temperature: Tomato plants can grow in a wide temperature range, but do much better with warmer temperatures. For example during the day 68 to 80 degrees and at night (when you save energy and turn the temperature down) from about 58 to 68 degrees.
Shopping List:
Note: If you have children, this would be a great project to get them involved.
1. Tomato seeds. I’d suggest that you do not get the ones that produce the very large tomatoes; It’s to much extra work supporting them. We want this to be easy, right!
2. Some peat pellets or some potting soil.
3. 1, 2 or 3 of those small seedling pots (the ones you saved, but never knew why) The ones that are 2 to 3 inches tall and 1.5 inches across.
4. Small plastic pot tray, about 3″ will do or a small saucer of any kind. Why so small; See #5
5. A large fishbowl vase or a large brandy snifter. You can find these at your local dollar store for, guess what, a buck ($1). This will be your green house. Just make sure the plastic tray fits into the opening of the fishbowl easily. TIP#2: Your plants need to breathe so make sure that you super glue 4 of those caps, from your bottled water, to the rim of the fishbowl/brandy snifter rim. The super glue is only a buck ($1) also. Can you tell I like the dollar store? J Note: If you want to go low tech, a small cardboard box with plastic wrap will do the trick also. Remember to have air flow.
6. Some plant food. Not sure, you may find that at the dollar store. I use Miracle-Gro
7. 1, 2 or 3 of those small gift bags. The ones with the handles and when opened they have a flat bottom. You can match your décor or just use the boring brown ones. They should not be over say 10″ tall and 9″ wide. More on this later as this is an optional step.
8. 1, 2 or 3 large storage or freezer bags. Note: Don’t try using those plastic grocery bags. They are not water tight and when they leak, the bottom of, your designer gift bag breaks open. That splat you just heard was your baby tomato plant hitting the floor. You don’t really need to ask how I discovered that, do you? L
Let’s get started:
Note: If you have small children, this would be a great project to get them involved. Just stress that they should never handle the fish bowl/brandy snifter or better yet, keep it out of reach.
1. Total time for this project will be about 30 minutes. Longer if you need to go to the dollar store. Put the peat pellets or potting soil in a seedling pot and set them in a saucer of water to let them absorb the water and expand, while you complete other tasks.
2. As I stated above I like to use peat pellets. If you want to use potting soil, that’s fine. (If I use potting soil I prefer to use small seedling pots. My thought on this is I like to build a strong root system first and repot later). You will only need to have a few plants unless you want to can tomatoes all year long (if all goes as planned, that is).
3. While the pellets or potting soil are absorbing water you can super glue the bottle caps to the rim of you new fishbowl/brandy snifter. Try to get them straight across from one another to have a solid stable base. You can of course use more if you like.
4. Put the tomato seeds into your potting soil or peat pellets. Plant them at a depth of about ¼”. Place the seedling pots with your tomato seeds in the plastic plant tray. I always add enough water to cover the bottom of the seedling pot by 1/8″ of an inch. This is the method I use to water the plant from that point on, feeding from the bottom. Adjust the water height to insure the potting medium (pest pellet or potting soil) is moist but not soggy. I put about ¼ of a teaspoon of soluble plant food in a gallon of water and water the plants with this, each time.
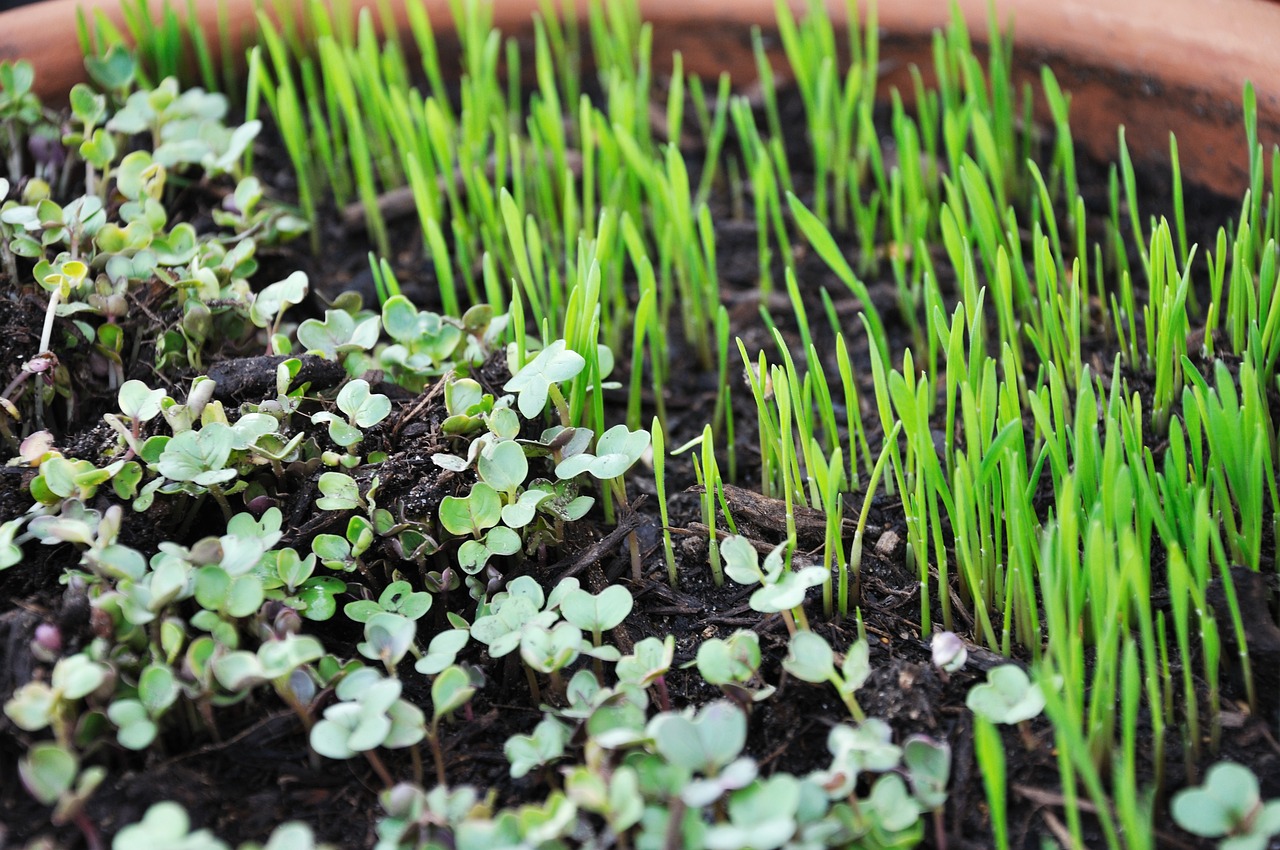
5. Place the fishbowl/brandy snifter over the plastic pot tray and set it where it can get sunlight or at least very bright light. In 7 to 15 days you should see small sprouts peaking out. It’s important not to over water from this point forward. Rotate the tray regularly to produce a straight (vertical) plant. Allow the plants to grow to a height of about 6″ to 7″ tall.
6. Oh yeah, did I mention “Do Not Over Water”? Now you can repot the plants into larger containers or for those of you, who were scratching your heads, wondering what the gift bags were to be used for. I found a unique use for them. After putting potting soil into the storage/freezer bags (about 4 loose cups full) I add the tomato plant, covering the base of the plant just slightly higher than was covered by the potting soil or peat pellet. I slip the storage/freezer bag into the gift bag. The flat bottom makes it easy to place on a table. TIP #3: I found an old coat rack at a second hand store for $12 bucks (not the dollar store). It has 6 hooks around the top and I can now hang the gift bags from the hooks on the coat rack. It makes for an interesting display, takes up less space than a table and the plants can receive more light being above other plants or objects. Also I have the ability to support the plant when it begins bearing fruit. Is a tomato a fruit? Yes, I looked it up.
I cannot stress this enough “Do Not Over Water”. The plastic storage/freezer bag will retain moisture. Always check the soil before watering. If in doubt simple mist the plant and water it later. TIP#3: Not sure if the soil is dry or moist. Stick your finger in the soil. If the dirt sticks to your finger; It’s moist.
With that I am finished. I hope you found some useful information and I do wish you much joy, happiness and success in your life and with your gardening.
The Author:
M.D. Martin

