Grow Microgreens at Home
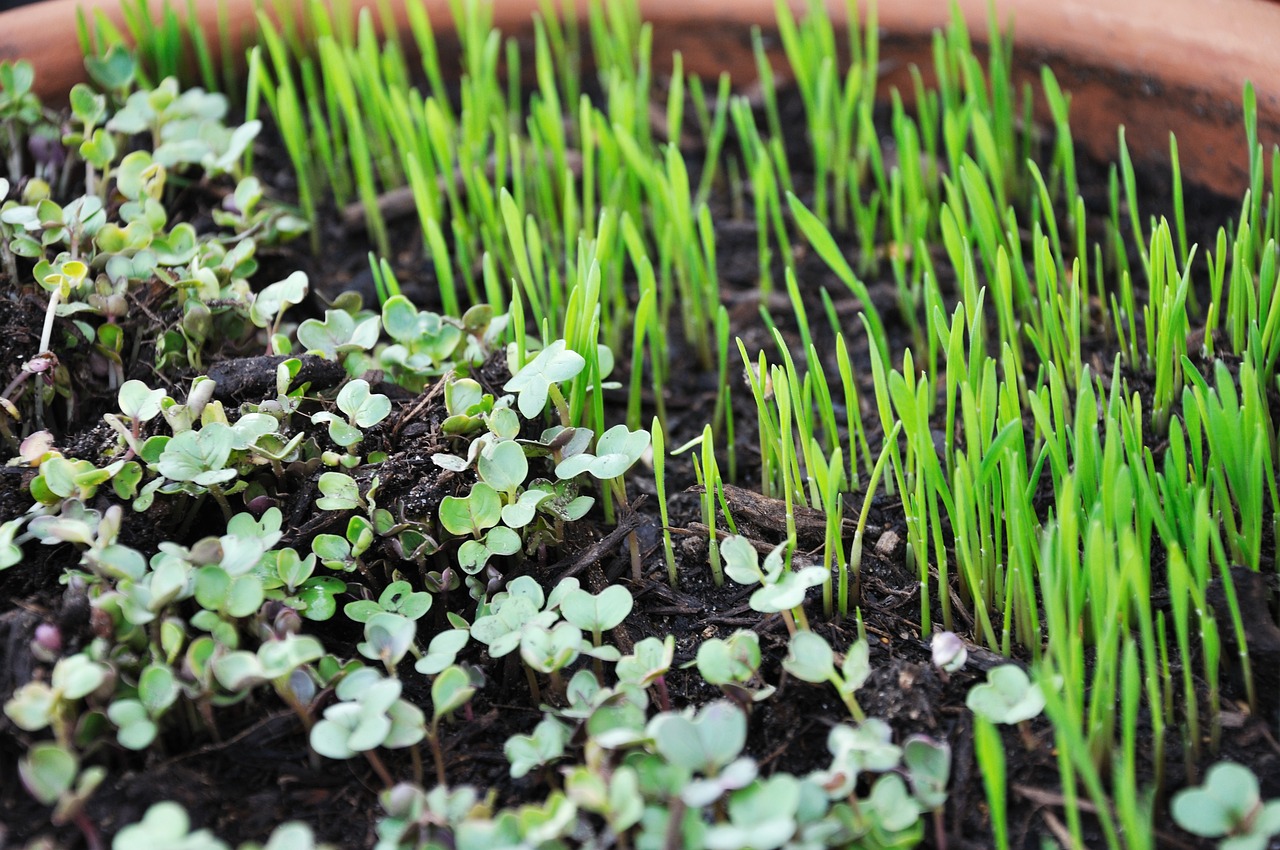
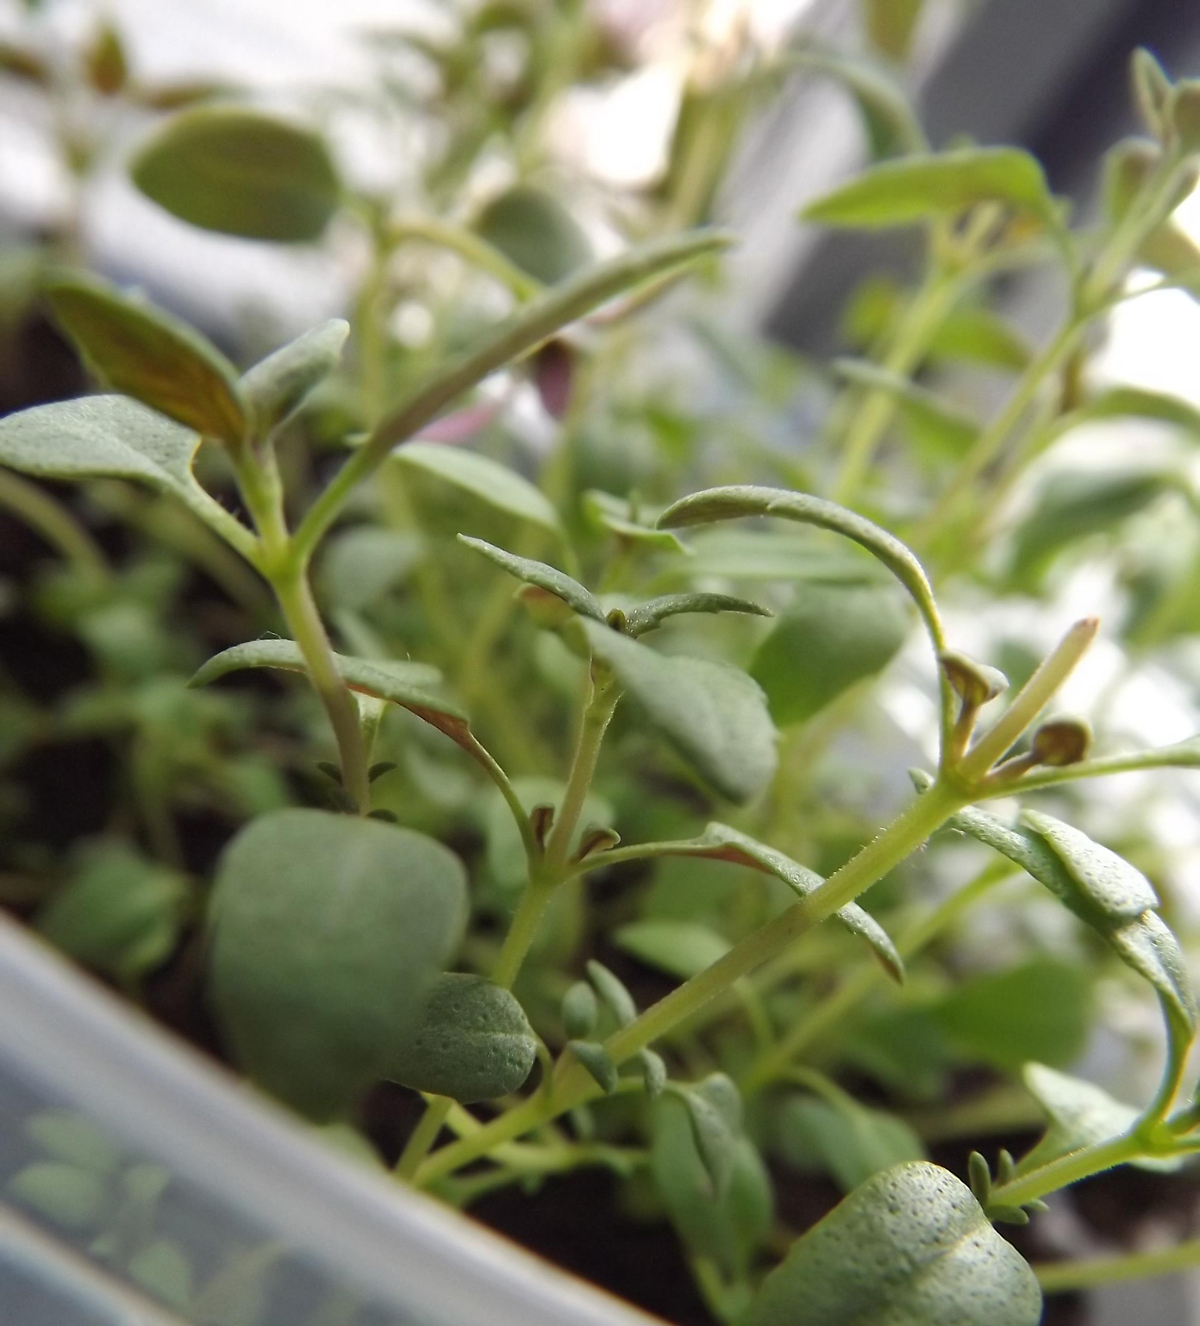
Microgreens, highly dense nutrient packed little greens. They are the seedlings of vegetables or herbs and harvested after the cotyledon leaves have developed. At time of harvest, it has fully developed cotyledon leaves and usually has one pair of very small true leaves. They are fast growing, taking on average of 10-14 days from seed to harvest. They are also easy to grow.
Here are the top 20 common, and easy to grow microgreens: (in alphabetical order)
- Alfalfa (Medicago sativa): Nutty flavor. Harvest: 8-12 days
- Amaranth, Red Garnet (Amaranthus tricolor): Earthy flavor. Fushia stems and leaves. Harvest: 8-10 days
- Arugala (Eruca sativa): Spicy, strong flavor Harvest: 8-12 days
- Basil, Lemon (Ocimum basilicum citriodora): Mild basil flavor. Harvest: 10-12 days
- Beets (Beta vulgaris): Tastes like a full grown beet. Has red stems. Harvest: 12-14 days
- Black Oil Sunflower: Tastes sweet, mild carrot flavor. Harvest: 10-12 days. Cut off the top 3 inches.
- Broccoli (Brassica oleracea): Tastes mild and crunchy. Harvest: 8 days/ Cut off top 2 inches.
- Cabbage, Red (Brassica oleracea var. capitata): Mild cabbage taste. Harvest: 8-12 days.
- Carrot (Daucus carota var. sativus): Sweet carrot flavor. Harvest: 10-12 days
- Chia (Salvia hispanica): Tangy taste. Harvest: 8-12 days
- Dandelion, Red (Cichorium intybus): Mild, bitter taste. Harvest: 12-16 days / cut at 1 1/2- 2″ high
- Kale (Brassica oleracea) : Sweet mild kale taste. Harvest: 8-12 days
- Lettuce (Lactuca):Fresh lettuce taste. Harvest: 10-16 days
- Mizuna, Central Red (Japanese Mustard Greens)(Brassica rapa var. japonica) : Mild mustard taste. Harvest: 8-14 days
- Oriental Wasabi Mustard (Brassica juncea): Horseradish-spicy taste. Harvest: 14-21 days
- Pea Shoots (Pisum sativum) : Fresh pea taste. Harvest: 10-14 days / Cut off the top 4 inches.
- Radish, Daikon (Raphanus sativus): Mild peppery-spicy flavor. Harvest: 6-8 days / Cut off top 2 inches.
- Rainbow Chard (Beta vulgaris) : Mild chard taste. Multi colored stems. Harvest: 8-10 days
- Salad Burnet (Sanguisorba minor): Cucumber taste. Harvest: 12-18 days
- Watercress (Nasturtium officinale): Peppery taste. Harvest: 10-14 days
Here is what you will need to get started growing your own microgreen gems.
You will need:
- Shallow growing/propagation tray(s) with drainage holes (10×20 growing tray is a good size but any tray or container works)
- Organic growing medium (any of these choices work well: Potting mix, Peat Moss, Vermiculite, Coconut Coir)
- Seeds – large packages (you don’t need any specialty seeds, just regular seeds but in larger amounts that the small store bought packages)
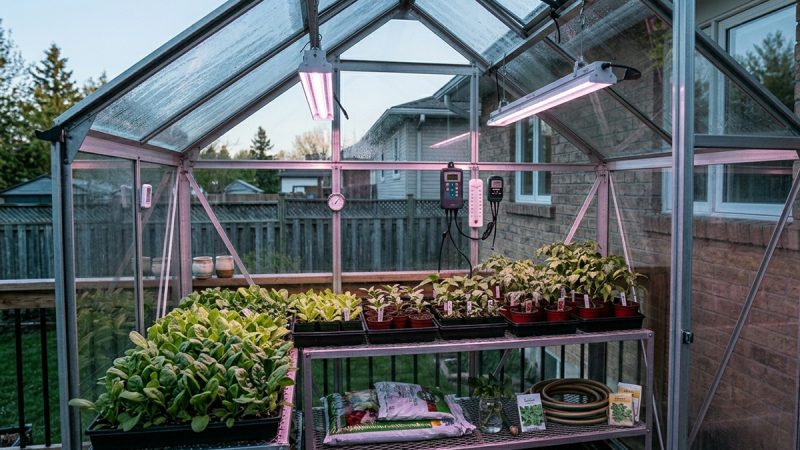
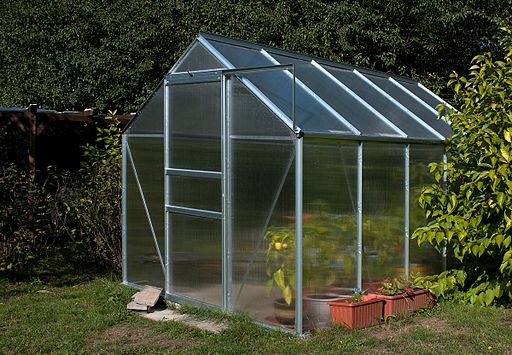
- Lighting – natural or a full spectrum grow light
- Water
- And a location away from drafts
To Plant:
Pre-soak your seeds for 24 hours to hydrate and speed up germination. Strain out water before planting. (note: not all seeds need a pre-soak)
Fill growing trays 1/2 way with the organic growing medium. Using another tray on top or a small piece of wood, press down over the soil so that the soil is packed down and level. Water soil thoroughly.
And now you are ready to plant your seeds.
Spread seeds evenly over the top of the soil covering the entire tray with no overlap. Once the seeds are spread, water them using a spray bottle. Enough to moisten them. Then using the spray bottle water every second day until harvest.
Using another tray of the same size, cover the seeds (keep the light out) for 3 days until they start to grow. Sprouts will be a yellowy colour from a lack of light but don’t worry its perfectly fine. Place under growing lights or sunny window. They will need a minimum of 4 hours of light a day. Keep at a temperature of 68-70F (20-21 C)
To Harvest:
Once the microgreens are a few inches high, its ready to harvest. Check the grow time and harvest list for your type of plant.
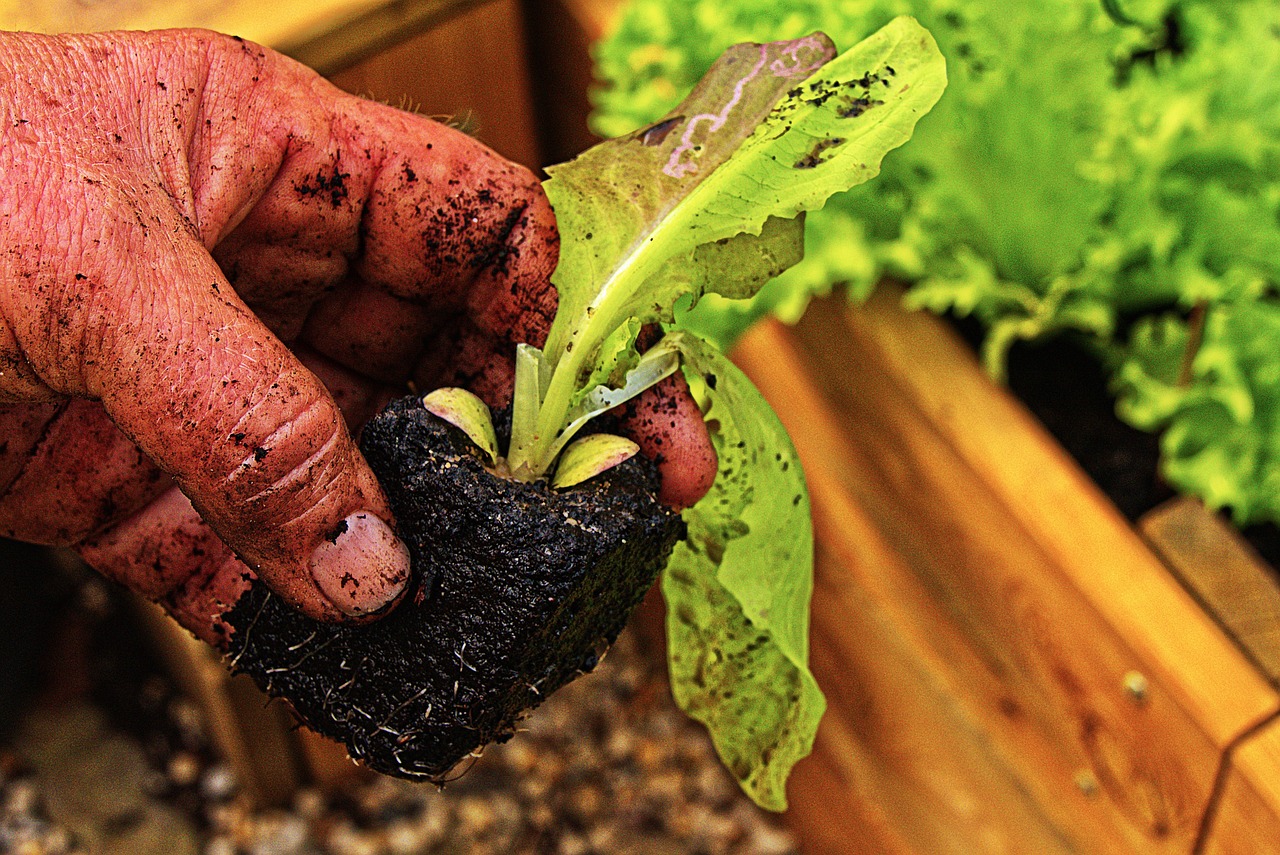
Use a sterilized pair of scissors or sharp knife to cut. Cut about 1/2″ above the soil line.
Compost remaining soil and plant material.
Keep your containers for your next round of microgreens. Some people plant right away but I like to sterilize my trays before using again. I rinse out with a few tablespoons of bleach in 1 cup of water. Dry, then add my fresh soil and seeds to start my next crop.
To Use The Microgreens:
You can add them to soups, salads, as a garish, sandwiches or for juicing.
Shelf Life: Once cut, you can store in a container up to a week in the refrigerator. Keep them dry.
Caution: Do not grow nightshade plants such as potatoes, tomatoes or eggplants as microgreens. Nighthade sprouts are toxic.
10 Most Profitable Specialty Crops to Grow
The Author:
Pioneerthinking.com – Ingredients for a Simple Life
© 2019 Pioneerthinking.com – All rights reserved. For Personal use only.
Photo. Coloboque

