How to Grow Giant Pumpkins – Practical Steps You Can Follow
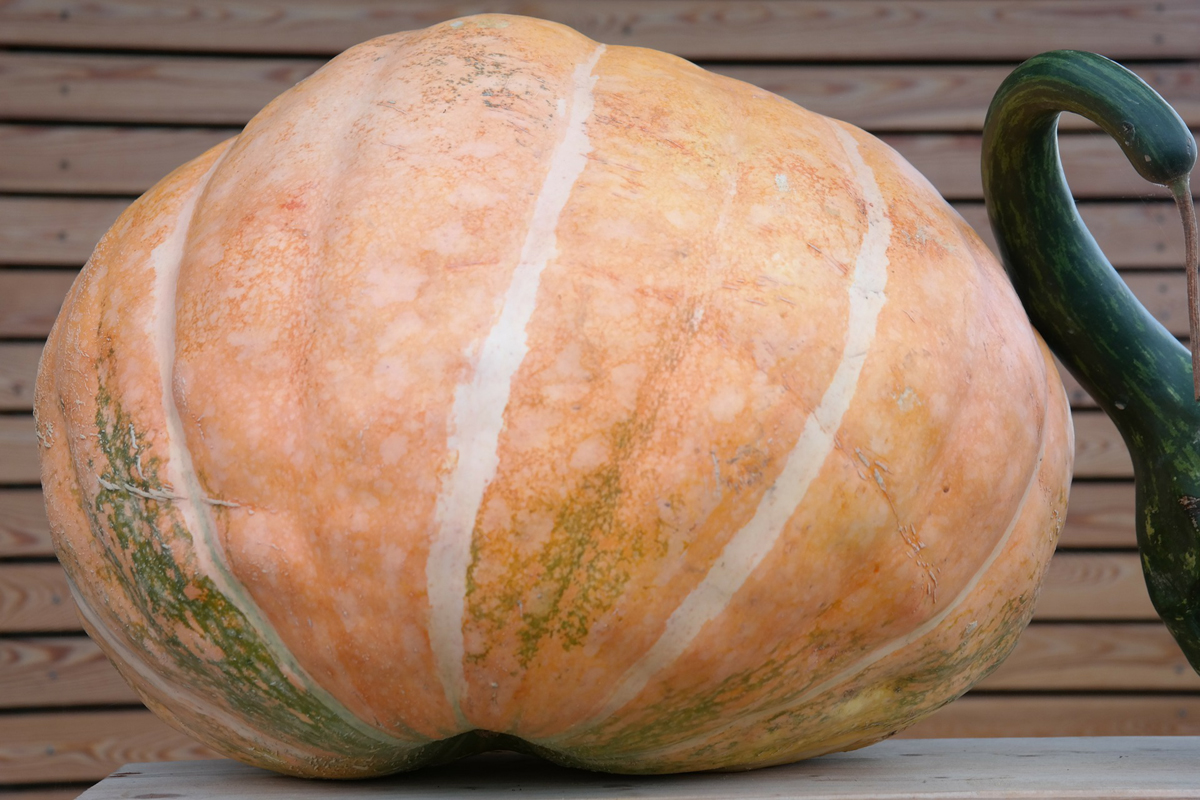
Whether you are growing giant pumpkins to make pies, or make humongous Jack-o-‘lanterns, or perhaps, simply to impress your neighbors, there are certainly some things you need to consider to achieve the result that you want. But, no worries, if you’ve been involved in some way in tending a vegetable garden, I’m pretty sure you’ve got what it takes to grow your own giant pumpkins.
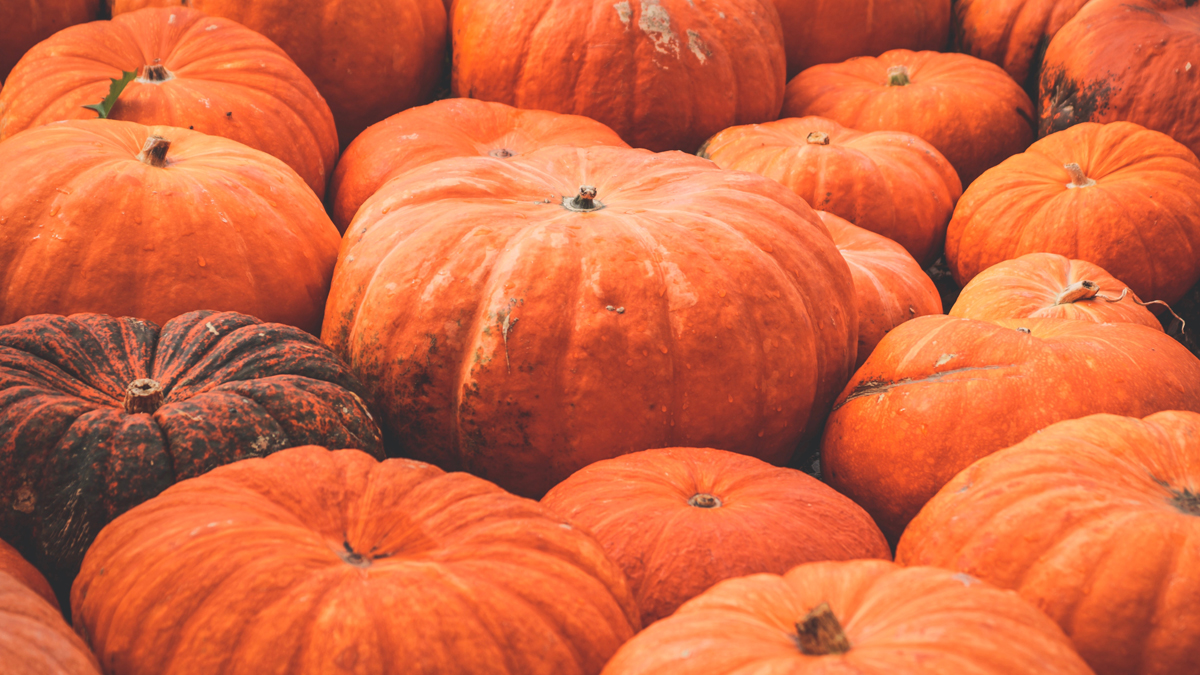
First off, you need to select the specific pumpkin variety that can yield giant produce. One variety that’s specifically bred for this purpose is the Atlantic giant pumpkin.
Following the practical steps detailed below will greatly improve your chances of harvesting a behemoth of a pumpkin come harvest season.
1. One of the initial things you’ve got to do is to make sure the soil on which you’re going to plant the seeds are prepared and ideal for the specific purpose of growing giant pumpkins. You need to check the pH of the soil. A pH of not less than 6.5 and no more than 7.0 is needed for the optimal growth of the pumpkin. You can add sulfur to lower the pH or lime to increase it.
Additionally, add fertilizer with phosphorus rich content. Composted manure on the area would also help in the growth of the plant.
2. A month before the end of spring frost, you need to start the seeds on a peat pot. Plant the seed with the pointed portion facing down. Wait for a couple of days for the sprout to appear. Meanwhile, keep the temperature of the soil at 85 – 90 degrees F.
3. Once the seedling is well established having developed true roots and leaves, it is now ready for transplanting. This usually happen within a week to 10 days after germination.
4. In order to protect the plant from harsh weather conditions, you can create a tripod-like stakes surrounding the young seedling. Additionally, you need to wrap around the stakes clear plastic leaving the top open for proper air circulation.
5. Once you see blossoms on the plant, it is now ready for pollination. This usually happen 10 weeks after you started the seeds. You need to take it upon yourself to make sure the plants are pollinated.
To do this, you have to correctly differentiate male from female flowers. Female flowers are distinguished in that they have small pumpkins at their base. Hand pollination is best done during early morning. You need to take a newly opened male flower and remove its petals exposing the pollen rich stamen. Then, you need to swab the pollens into the stigma or the internal parts of the female flower.
6. Care for the pumpkins making sure to reposition the vine as needed. Additionally, you also need to prune the vine regularly. Some other measures you need to undertake is to fertilize the soil to keep it rich with much needed nutrients.
Another option for you to consider is to select the pumpkin which is most likely to become biggest. Take out the rest so the plant can appropriate its energy and nutrients into the biggest pumpkin.
The Author:
StartaGarden

