How to Make and Freeze Homemade Pierogies
As a busy mother and wife, I don’t always have time to cook an hour long dinner in the evenings. To solve this problem, I like to make our own freezer meals that I can thaw out, reheat or cook…and have on our dinner table in less than 30 minutes.
My family enjoys homemade potato and cheese pierogies so I like to spend an afternoon every couple of months making them and freezing them for future use. The following recipe is the one that I like to use.
Potato and Cheese Pierogies
Filling:
- 2 lbs. Velveeta Cheese (shredded)
- 8 ounces Sharp Cheese (shredded)
- 5 lbs. white potatoes (peeled and boiled)
- 4 small onions (minced)
- salt and pepper to taste
- 1 clove of garlic (minced)
Dough:
- 4 cups all-purpose flour
- 1 cup shortening
- 1 teaspoon salt
- 2 eggs mixed with 1/4 cup of water
- Fry the minced or finely chopped onions in 1 stick of butter and set aside. In a large stock pot, boil 5 lbs. of potatoes; drain water, mash the potatoes and set aside. In a large bowl, combine potatoes, Velveeta and Sharp cheeses, minced onions, salt, pepper and garlic.
Dough:
You will need to make several batches of dough but only make 1 batch at a time. I usually end up making 3-4 batches.
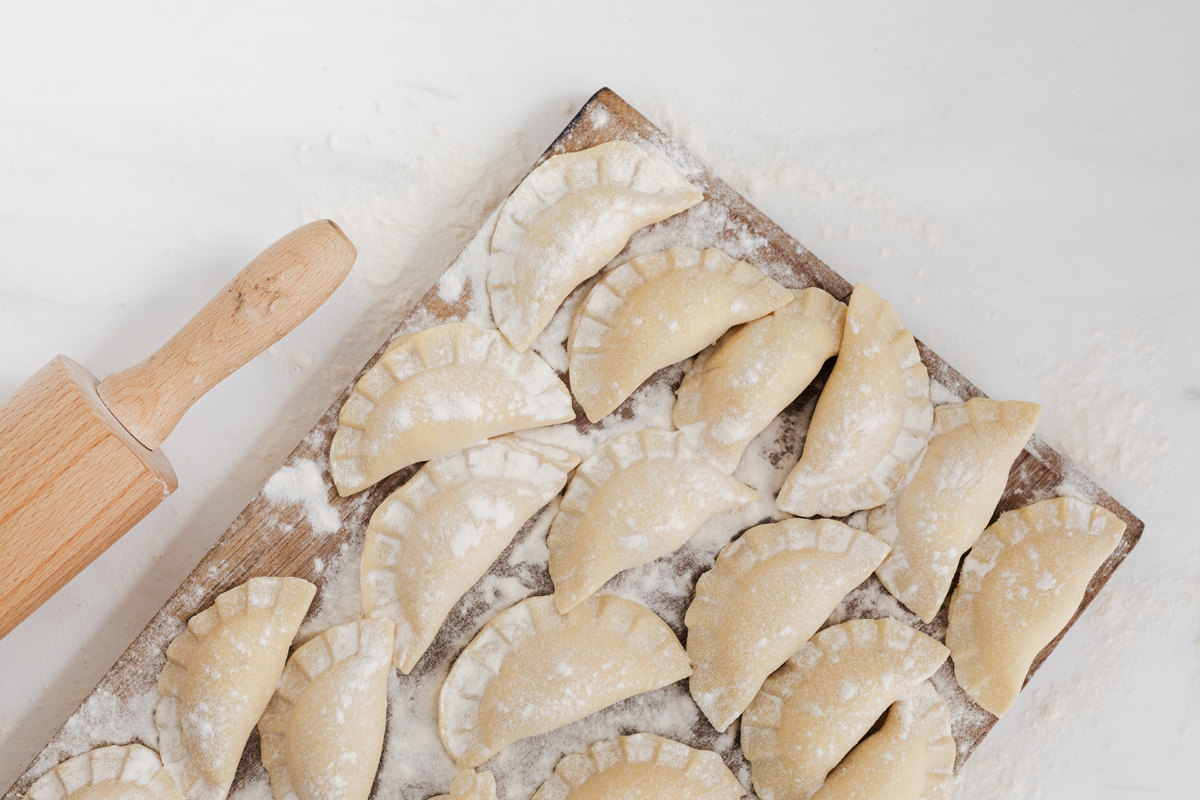
In a large bowl, combine the flour, shortening, salt, eggs and water until the mixture forms a stiff dough. Roll out the dough onto a floured dough board. Use a 4-5″ round circle cutter or empty coffee can to cut out dough circles. Place 2 tablespoons of potato filling in the center of each dough circle. Fold the circle in half and wet edges slightly with water to pinch them close.
In a large stockpot, bring 2 quarts of salted water to a boil. Add the pierogies in a single layer and boil them until they float. Drain on paper towels and let them cool. Once cool, place on a cookie sheet and freeze for 1 hour. Remove from freezer and place in plastic freezer containers, boxes or bags. They will keep for 9-12 months in your freezer.
You will need to thaw them for 20 minutes at room temperature before frying them in a deep fryer or frying pan. This recipe will make 12-13 dozen pierogies.
The Author:
Shelly Hill enjoys cooking and baking for her friends and family.
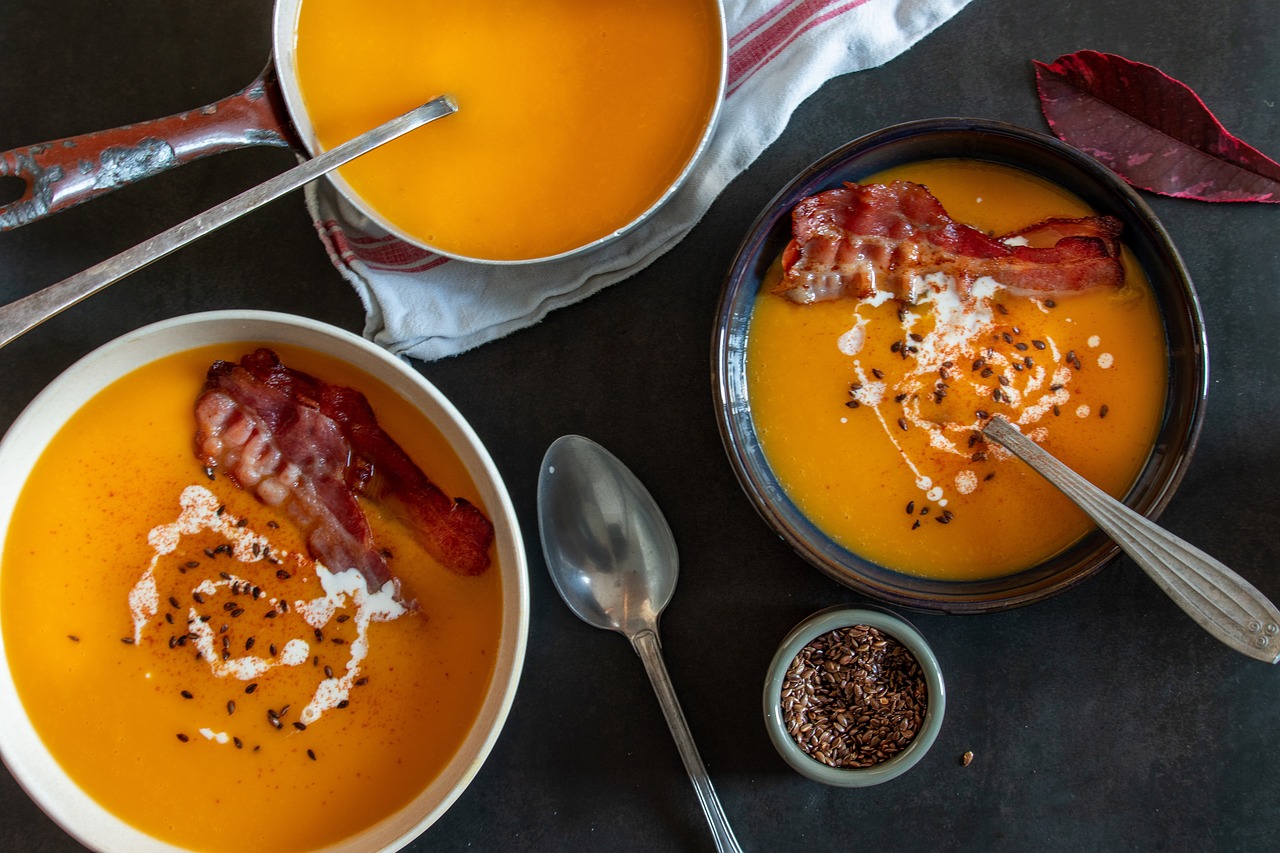
Photo. Karolina Grabowska




I just read your recipe and I really like it, but what I need to know is. Why do you boil them before you freeze them? Thank You!
hi Lori,
I’m glad you enjoyed the recipe! Boiling the pierogies before freezing them serves a couple of purposes. Firstly, it helps to cook and partially set the dough, so that when you freeze them, they maintain their shape and texture better. Secondly, boiling them before freezing kills any potential bacteria or microorganisms, ensuring they remain safe to eat when reheated later on. Boiling the pierogies also helps to prevent them from splitting. Lastly, the boiling step also gives the pierogies a nice, tender texture. So, while it adds an extra step, it ultimately helps preserve the quality of the pierogies during the freezing process.
Also, in response to the above question, if you don’t par boil the pierogi before you store them in freezer bags, the moisture makes them gummy and they all stick together. I’ve made this mistake. Much better to par boil for about 1 minute then drain them, air dry them, and freeze them. I suspect if you placed them on a tray and froze them completely before you put them into freezer bags, you’d be fine. But who has space to store a cookie sheet in the freezer?