How to Make a Sock Monkey
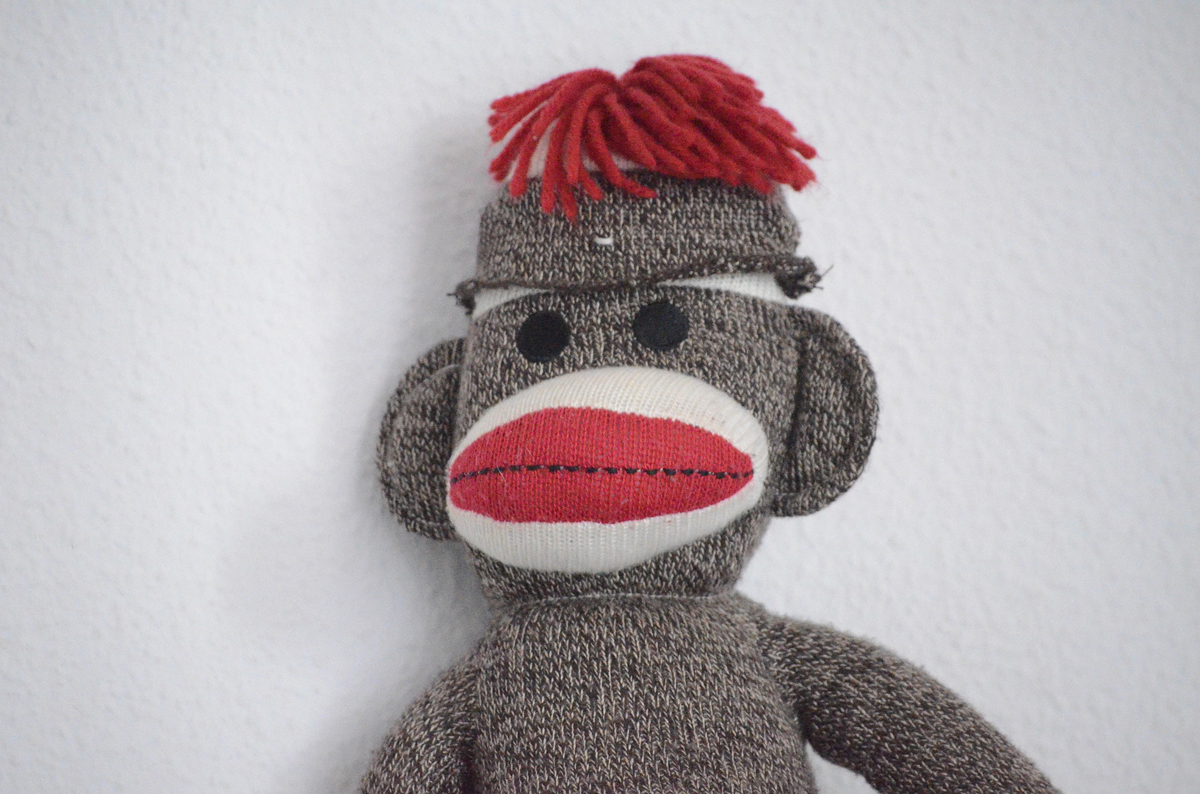
Learn how to make authentic red heel sock monkeys using these step by step instructions. Great for gifts!
1. Use one Pair of Fox River Mills Socks.
2. Turn socks inside out.
3. Lay the Sock for the Body Part with the heel upright and make sure the cuff is equally divided for the legs, pin in place along the cuff part.
4. Use an ink marker and draw the layout for the body of the sock monkey onto the first sock, measure 1 ½ inch from the heel and then mark a line down to the end of the cuff for the legs. Next put a 1 inch slit in the area where the neck will be, this is to turn right side out after sewing and cutting out. When sewing the legs make sure to sew the cuff end with a round ending so the legs are round at the end and they are more easily stuffed. Turn the sock over and where the neck area will be pick up the material and sew an almond shape across the sock this will make the head look straight forward.
5. Turn the sock inside out, sew a line around the hole in the back of the neck of the sock monkey to keep the material from unraveling and so it will not stretch too large.
6. You are ready to Stuff the body with Fiber Filling.
7. Now for the remainder of the body parts, using the second sock lay it out on the side flat, pin the sides and the end. Here is where the arms are laid out with a part of the arms are the cuff, as before when marking these making the cuff ends round, the cuff end should be divided in equal halves and marked all the way to the end of the sock toe, this will be make the tail as a part of one of the arms. Make a line across the sock just below the heel part, plus a half inch around the heel of the brown that will show outside the white part. Take a water bottle and cut the top off about 2 ½ inches from the top and use as a pattern for drawing the ears with half of the round as the template. Sew all of these parts before cutting any of them out. Sew leaving at least a ¼ inch seam inside the markings. Cut out the parts and turn inside out. The ears have to be cut from the edge for the opening and then put a small amount of fiber in each and pin closed.
8. Take red yarn and cut a piece to make the neck and tie around the body where the neck will be.
9. Take the ears and pin in place with the sides open, stitch the back in place then raise the ear upright and pin in place while stitching the front in place, next stitch a “C” inside the ear to make it rigid. Repeat for the second one.
10. The mouth work, pin the sock heel that has already been sewn around for stability, line it up evenly between the ears and evenly from the toe of the sock. Pin in place and turn the rough edges under and stitch half way around, now put some fiber in this to make it firm and finish turning under the edges and stitch in place.
11. The Sock heel (mouth) is stitched with embroidery stitch to make the mouth in the RED portion; two beads are sewn in the center of the white part as nostrils and tied off.
12. Eyes (Buttons) are to be located as close to the edge of the white part of the toe as possible, they should be located equal distance between the ears as possible.
13. Eyelashes are stitched in even position around both eyes(buttons) and tied off.
14. Now comes the arms and tails, first thing stuff them, fold the top under and pin each arm directly under the ears and stitch in place.
15. Tail is last, place it directly in the center of the Body Part Heel Red area, turn the rough edges under and pin in place and stitch in place.
16. FINAL NOTE: Sew all seams two times on the machine and all hand stitching attaching body parts use Carpet Thread and sew two times around.
The Author:
For more handmade originals including Barbie doll clothes, afghans, AG doll clothes and more visit http://maryjeanoriginals.wordpress.com .
Photo. Surfer Koala
