Make Your Own Candles with Old Wax in Just an Hour
If you want to make your own candles with old wax then just try this very simple and quick method. It is just four easy steps, you can do it are in under an hour, and best of all it’ll barely cost you anything. Are ready to get started?
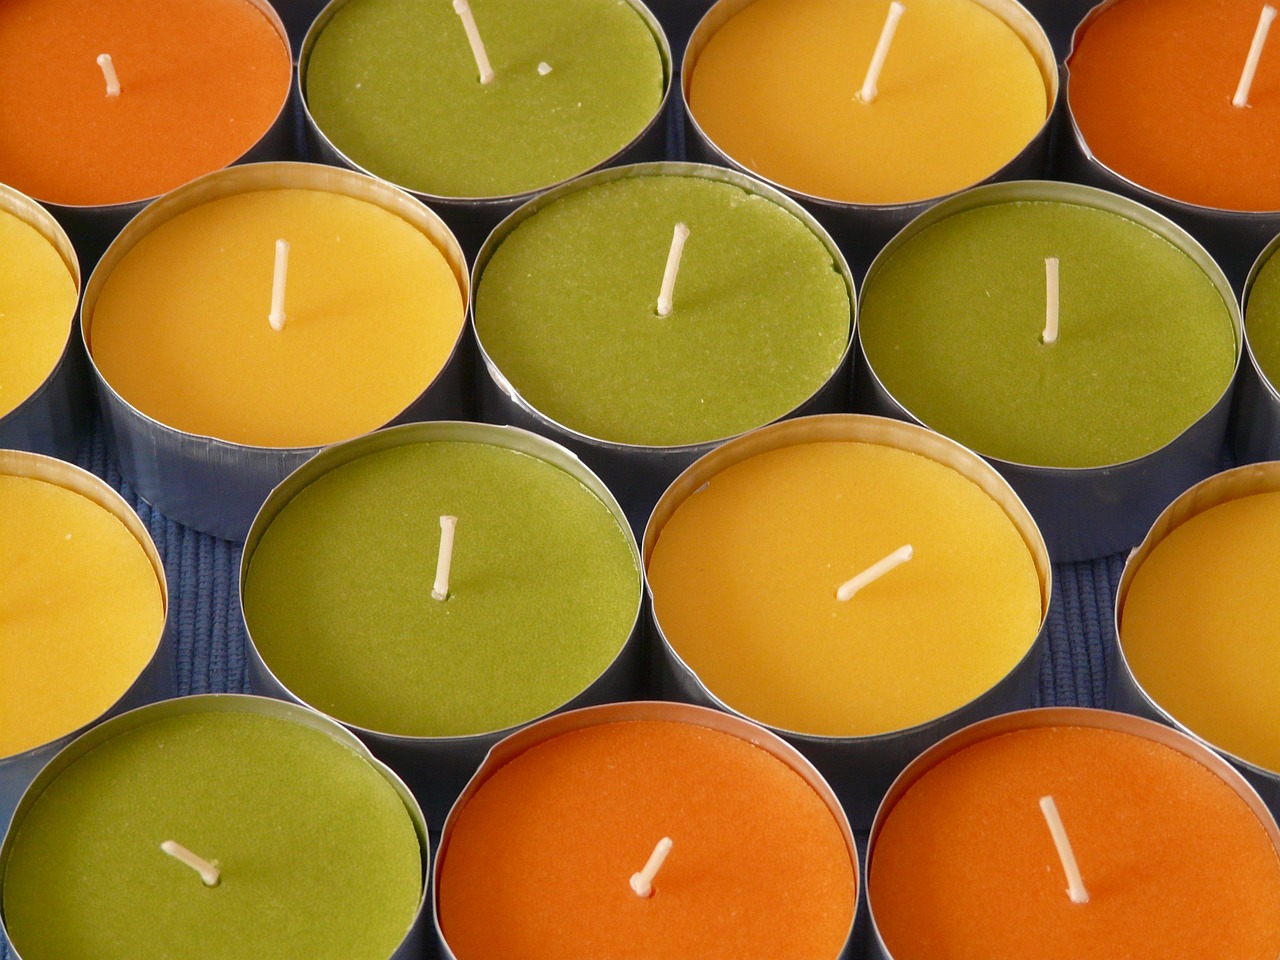
1. First gather all of your wax together: make sure to go through your house or apartment and get all of it together. To be perfectly honest, it really doesn’t matter if the old wax is different colors or different scents, though you might want to be careful mixing a lot of scents together. You can end up making a pretty foul smelling candle this way. Also, you want to be careful not to blend too many different kinds of wax together as this can make an inconsistent candle that does not burn evenly. Not only will this look bad, but the uneven burning can actually create a pretty large fire hazard which we obviously want to avoid.
2. Next, get a small pot with about 3 inches of water heating on the stove. Once it starts to boil, turn it down so that it is just simmering. Put a metal bowl on top of the pot so that it does not touch the water and add in all of your old wax. Is best to use either a silicon or wooden spoon to stir the wax so that it melts evenly, if you use a whisk it will be virtually impossible to clean. Ideally, you want the wax to heat all the way up to around 170° F. While this is heating, we’re going to get a few other things together. This step will take a bit of time, so don’t worry if it seems to be taking a while.
3. While the wax is heating and starting to melt, get the candle mold that you’re going to use and the wick and wick tab that you’re going to use. Just in case you don’t know, a wick tab is a small metal device that holds the wick so that it will not burn all the way to the bottom of the candle. These devices are extremely important as they prevent the flame from reaching whatever the candle is sitting on, which can be extremely dangerous. Even if you’re going to make your own candles with old wax instead of just buying new candles, you have to have some sort of a wick tab. They are extremely inexpensive and are less than 5 cents each, but if you want to make your own just bend a paper clip so that part of it sticks up. Wrap your wick around the vertical part of the paper clip, and the wick will not be able to burn all the way down. Even better, no one will even be able to see it until the candle is almost completely burned down anyway. If you are making your own wick, make sure that it is hanging from something to keep it centered; otherwise the candle will burn very evenly and could fall over.
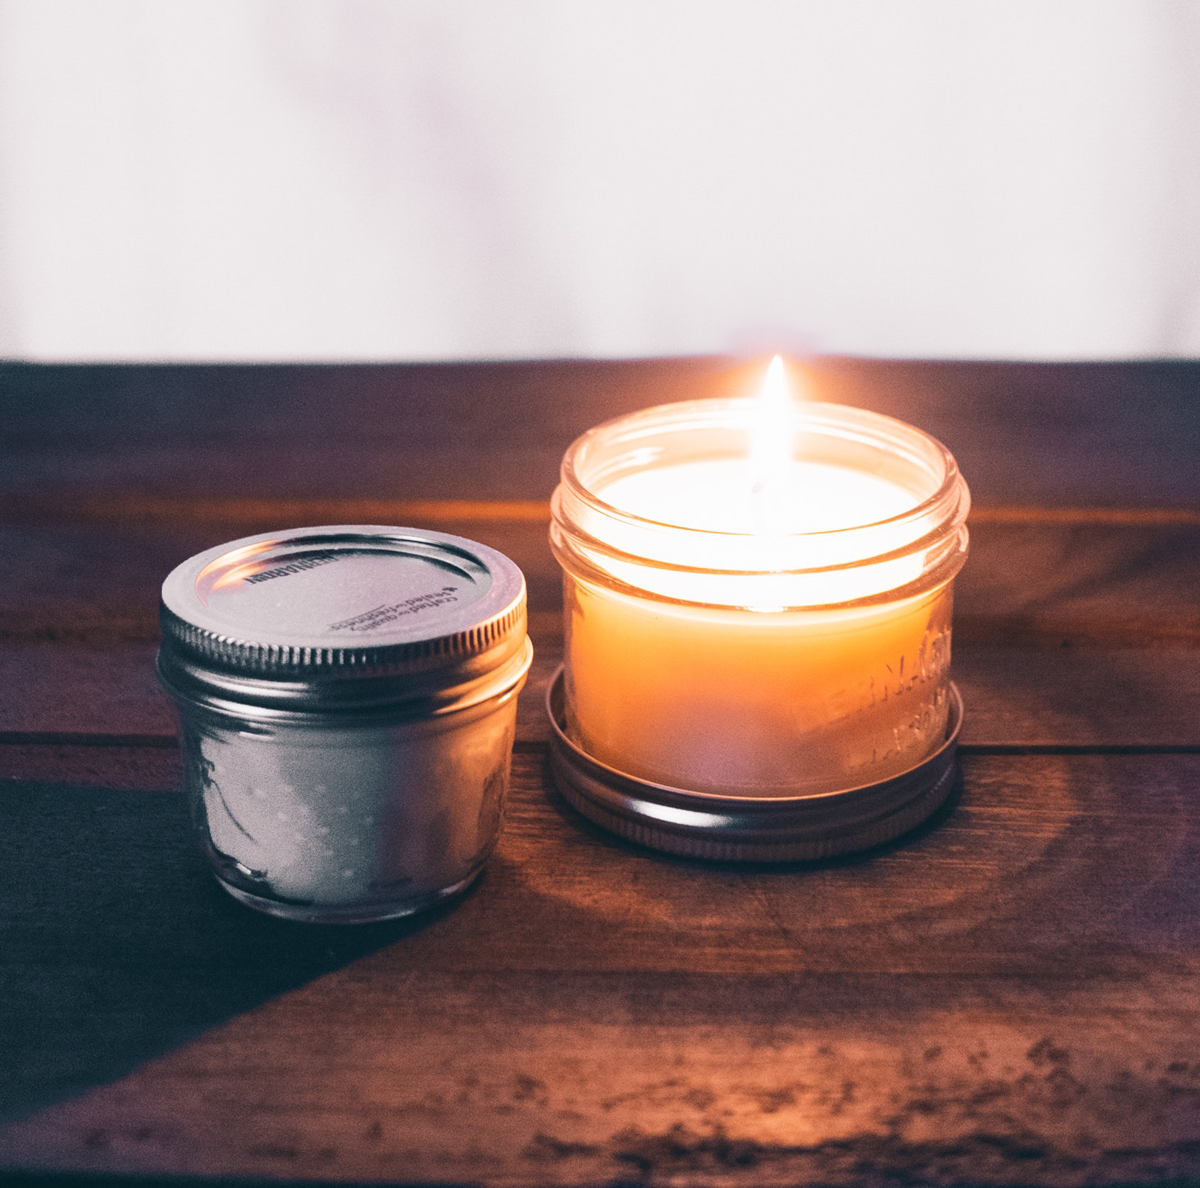
4. Now we’re on to the last step to make your own candles with old wax: pouring the old melted wax into the mold. Again, it you want the wax to be around 170°F before it is poured into the mold. Depending on the type of candle you’re making, it is extremely common for there to be some sinking in the center of the candle. Don’t panic too much, it is pretty easy to fix. If the look doesn’t bother you then you really don’t have to fix it. If you want a cleaner, more professional look; you have two options. You can either use a heat gun to carefully melt the top of the candle so that it evens out, or you can heat up wax to 180°F and re-pour a tiny amount. The slightly hotter wax will melt the top of the candle so that you don’t see a seam between the two lawyers.
That’s really all there is to it! Not only is it very cost effective to make your own candles with old wax, but also helps keep that wax and old candles out of landfills, which is good for everyone. While your first candle using this method may not look perfect and professional, the more times you do it the better you’ll get until it looks perfect. So just keep trying, try and learn a few things as you go, and you’ll be cranking out high quality candles in no time. If you decide to sell one, you can even market the fact that they are recycled from old candles!
The Author:
Jason Kinech has been making candles from home for several years.
Photo. Burst


