No-Dig Gardening
I have been a passionate organic gardener for over thirty-five years. My first memories are of my father’s fruit orchard in Marden, South Australia, where the deep alluvial loam grew magnificent plums, apricots, peaches and nectarines. In fact, everything we planted grew well. And I fondly recall our early morning trips to the market in the 1970s, the ute loaded up with half-cases full of ripe, juicy fruit ready to sell.
My grandfather had established an extensive market garden in Uraidla, in the Adelaide Hills. He taught my father about using nature to help grow healthy organic produce. And in turn, I learned from my dad. In fact, most ‘green thumbs’ of the older generation have a wealth of valuable experience and advice to offer – if only we take the time to ask. Then I moved to the Yorke Peninsula and found to my dismay that our block has only a very thin layer of topsoil and underneath it’s solid limestone. So it was with great interest that I began reading Esther Dean’s book on no-dig gardening. Well, straight away I was hooked. The no-dig system as she explains is a fantastic, eco-friendly method of growing nutritious fresh vegetables at home. It’s cheap, easy, no fuss and completely chemical-free (something I have been advocating for a long time.)
There Are Many Benefits and Advantages to Using a No-Dig System; They Include:
Any suitable area can be used to house a no-dig grow bed as long as there is enough sun, access to organic material and clean water is available – you can even build a no-dig edible garden on top of flat concrete if that’s the only space you have available. (Just be sure that excess water can run off and won’t cause problems later on.)
It saves time and effort (and your back! – no more bending to work hard ground).
The organic medium in the grow-bed retains its structure and fertility well. (This is because the organisms in the soil mix [soil biota] are not continually disturbed as they are during traditional ‘in-ground’ digging and planting methods.
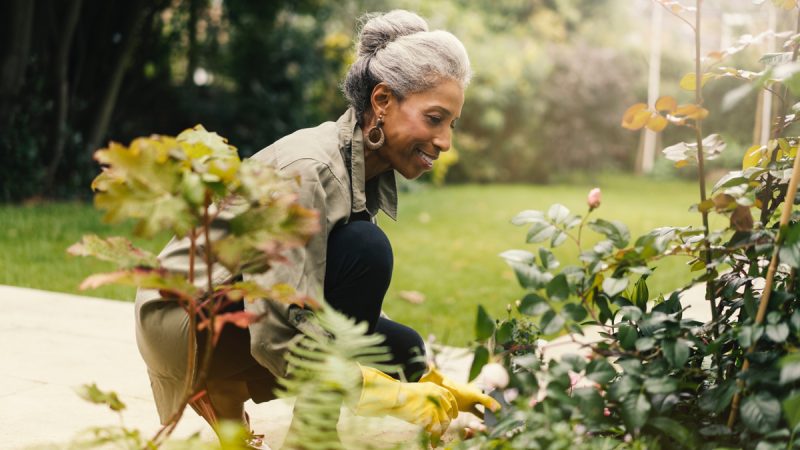
It’s simple – kids through to the elderly can give it a go, and with great results too!
It’s cheap, organic, uses recycled materials and is environmentally friendly.
It reduces water use, insect attack and damage; and weed infestation and competition.
It can be done on a small scale – right through to as large as you can manage.
As the organic material breaks downs it creates a soil warming effect.
And finally – it really works!
Worms…
The gardener’s friend, the humble earth worm, is nature’s underground dynamo. When you make a no-dig grow-bed without a solid bottom (for example you recycle an old rainwater tank and cut the bottom out), worms in the soil underneath and nearby will then have access. They will work their way up from below, aerating the bed and enriching the soil mix as they go.
Worms:
Drag small particles of organic matter down into the soil.
Deposit ‘worm-castings’ or vermicast back onto the surface
§ Vermicast helps enrich the soil through the addition of micro-elements and plant-friendly bacteria.
§ Vermicast used au natural or in the form of a weak ‘tea’ makes an amazing, eco-friendly and non-toxic natural
fertilizer.
Tunneling Worms Aerate The Soil
§ this assists drainage, moisture retention and also provides access for developing plant roots.
Tunneling earthworms also leave behind a trail of polysaccharides (sugars) and plant-friendly bacteria
‘Worm-farms’, are a great way to recycle organic kitchen scraps and will produce a free, natural, liquid fertilizer at the same time.
Earthworms – Class Oligochaeta Phylum Annelida
How to Build a No-Dig Grow Bed
Materials
1) No-dig bed framework – any suitably robust structure strong enough to contain the soil mix
2) Oaten hay, straw or lucerne
3) Old newspapers
4) Compost and well rotted manure
5) Clean water (to wet down the material as you go)
6) Organic fertilizer (to boost plant growth)
7) A couple of hours to prepare and construct the no-dig bed
8) Seeds or seedlings to plant.
Method
1) Choose a sheltered, sunny site for your no-dig garden bed, away from any large tree roots (if possible). Any form of solid frame can be used, as long as it’s strong enough to support the soil mix and won’t break down in the rain and weather.
Do not set up your no-dig bed directly on top of established kikuyu or thick Buffalo grass or similar, as these grasses thrive on the leached nutrients and will send runners all through your mix to eventually swamp the whole bed.
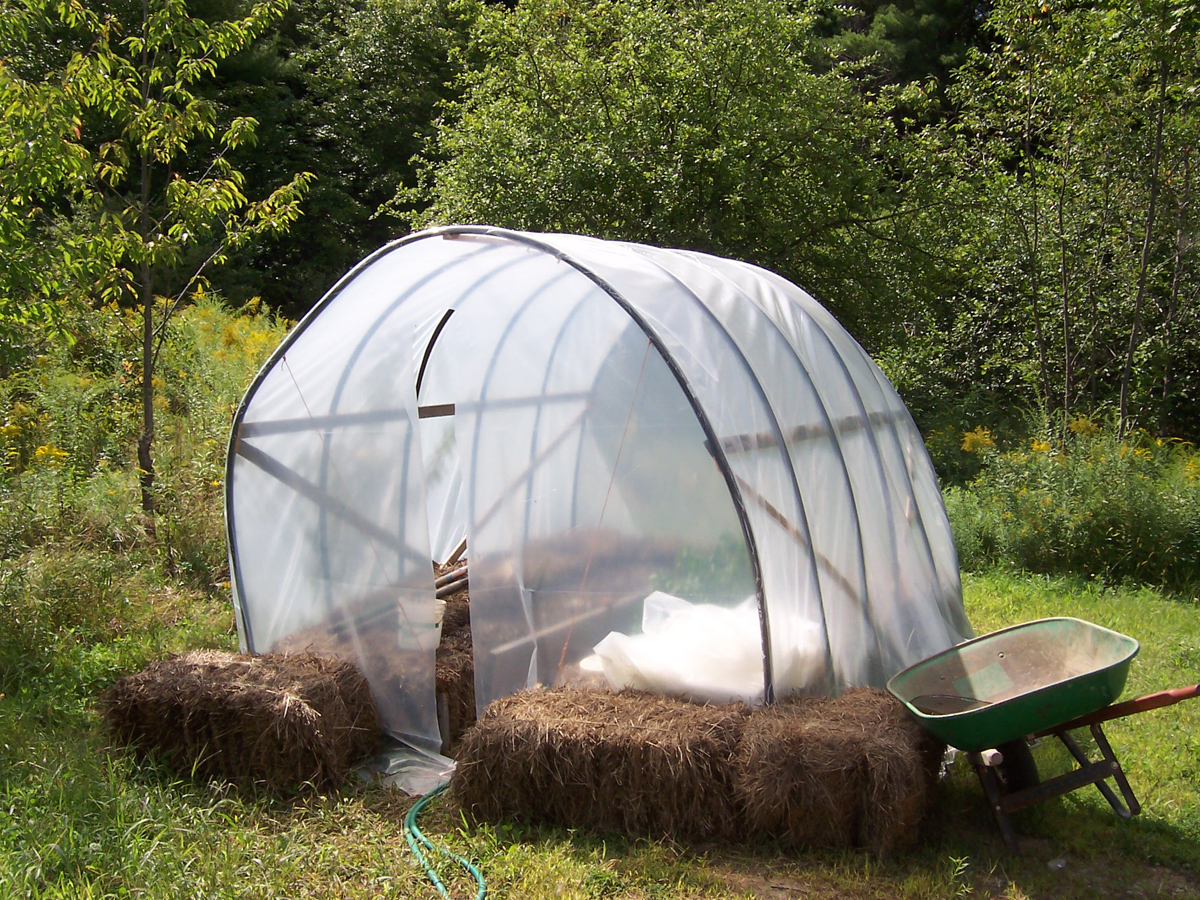
Recycled rainwater tanks make great no-dig grow beds
Some examples of no-dig frames you might use.
Hay Bales Old wire bed frames Boards
Sleepers Rainwater tanks Bathtubs
Tires Wooden pallets (cut to size)
Stones piled up/Besser bricks, Galvanised iron
Be Inventive – Find What You Can Use – Use What You Find
2) Once you have picked your spot, erect or construct your no-dig bed framework. Secure it well with screws or bolts or strong wire/twine to make it strong. You can use hay bales (see below), to get you started on your first attempts at no-dig.
Steps to Constructing a Hay/straw Bale No-Dig Framework
Set up your bales of hay in a rectangle then loop and tie a supportive ring of strong twine around the shape, to prevent collapse (the coloured plastic cord that binds the hale bales is a good, strong twine). Knock in some heavy garden stakes around the outside of the frame to provide extra support to the structure (see below). Using stakes tied with twine also provides an ideal trellis for climbing beans, tomatoes or cucumbers.
Next, place a layer of gravel, small rocks, twigs, or similar coarse material as a base to ensure your bed will have good drainage. Make sure this layer is thick enough to smother any ground weeds. I use a layer of broken bricks at the bottom for a no-dig garden bed, with hay bales to form the outside framework.
3) Lay down several sheets of newspaper, a layer of thick cardboard or an old piece of carpet. Wet this down thoroughly. On top of this spread a few handfuls of blood and bone, Dynamic Lifter® or a similar (slow release) organic fertilizer.
4) Add the first layer of pea straw or hay (oaten hay is the best), about eight cm (ten inches) thick. Wet this down well also.
5) Add the next layer – about twenty cm (eight inches) of manure. Make sure it is well rotted and weed-free (if possible). Water-in well also.
6) Cow manure is good, but any natural animal manure is OK – Zoo-Poo® is rated highly by some, but make sure any manure you do use is well aged, as fresh stuff will burn fragile plant roots. On top of the manure add a layer of compost, humus, or vegetative scraps (like old corn husks, cabbage or lettuce leaves.)
7) Add another layer of lucerne, straw or oaten hay and water in well. To this, add a crust of powdered dolomite, garden lime, crushed rock or granite dust. These compounds add essential minerals and trace elements to the mix and help stabilize the pH levels (acid vs. alkaline). Soil pH of around 7 (neutral) is generally the best for growing most vegetables.
8) Add another good, thick layer of aged manure.
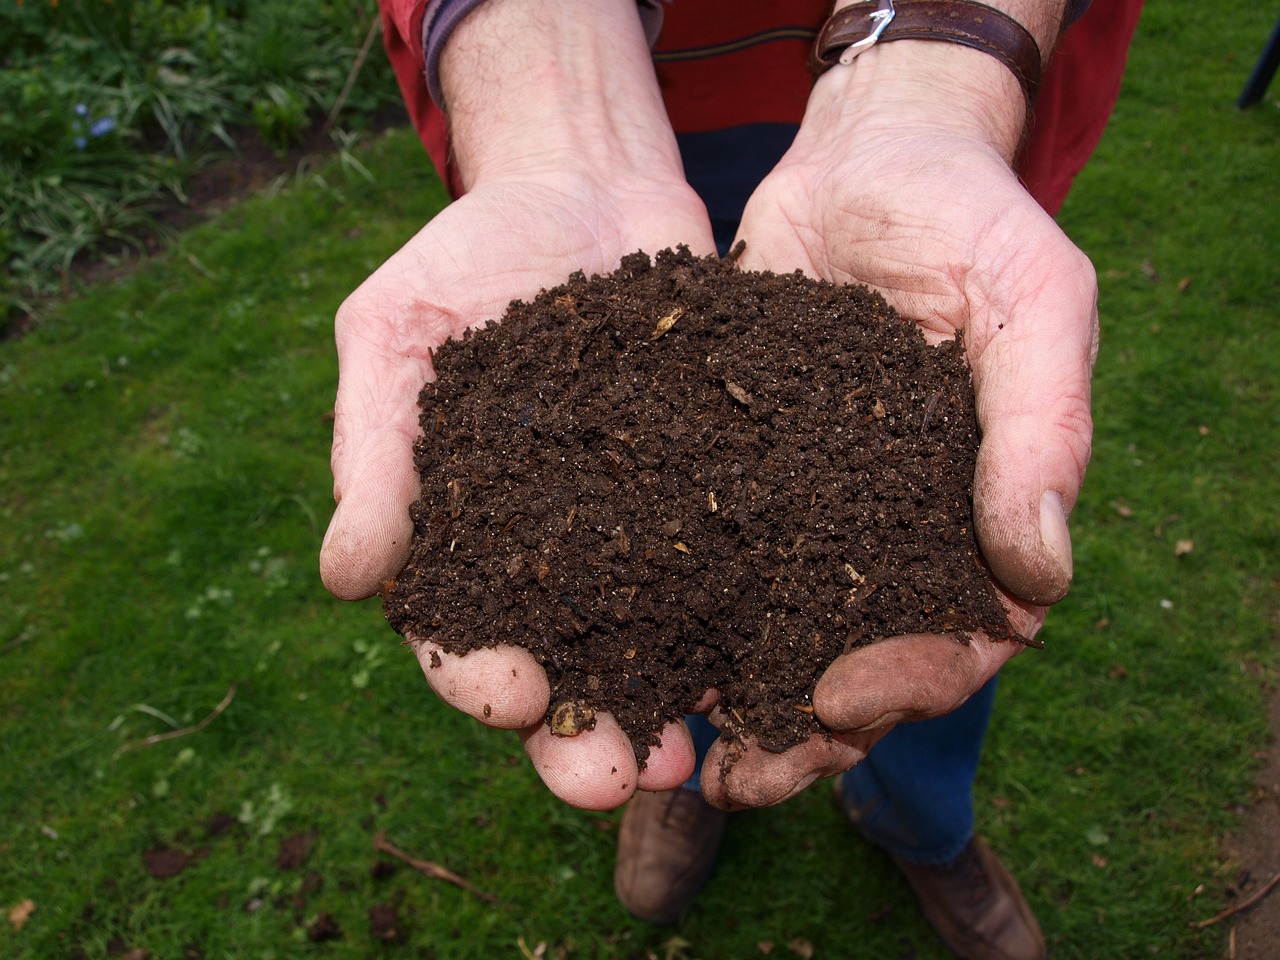
9) Top this up with a thick layer, about twenty cm (eight inches) of humus, compost, potting mix or good, clean garden soil. This acts as the base medium to plant your veggies in.
CAREFUL: You can use grass clippings in the layers of your mix, but be careful! Grass clippings should be mixed in with other material (like compost or dry leaves, bits of bark, or small prunings/twigs) to make a combined layer, so that the grass won’t form into lumpy mats that will go moldy, spoil the mix and may also introduce mould and fungus.
Warning:
1) Some horse or livestock manures may contain residual chemicals used in worming, performance or pest control treatment, especially stuff from pig farms horse studs.
2) Poultry manure (especially pigeon poo) is very high in nitrogen and phosphorus. It must be well broken-down and diluted or combined well with other composted material before using: Never use raw poultry manure as fertilizer on your plants.
Well, that’s about it. Of course, this is just one way to construct and prepare a no-dig garden. You can rig-up just about any sturdy framework and fill it with layers of organic material and grow lovely veggies. So if you don’t have all the material suggested above, use what can obtain cheaply and easily and give it a go. The important thing is to have
a weed-free, nutrient-rich soil base that is deep enough for the plants to grow in.
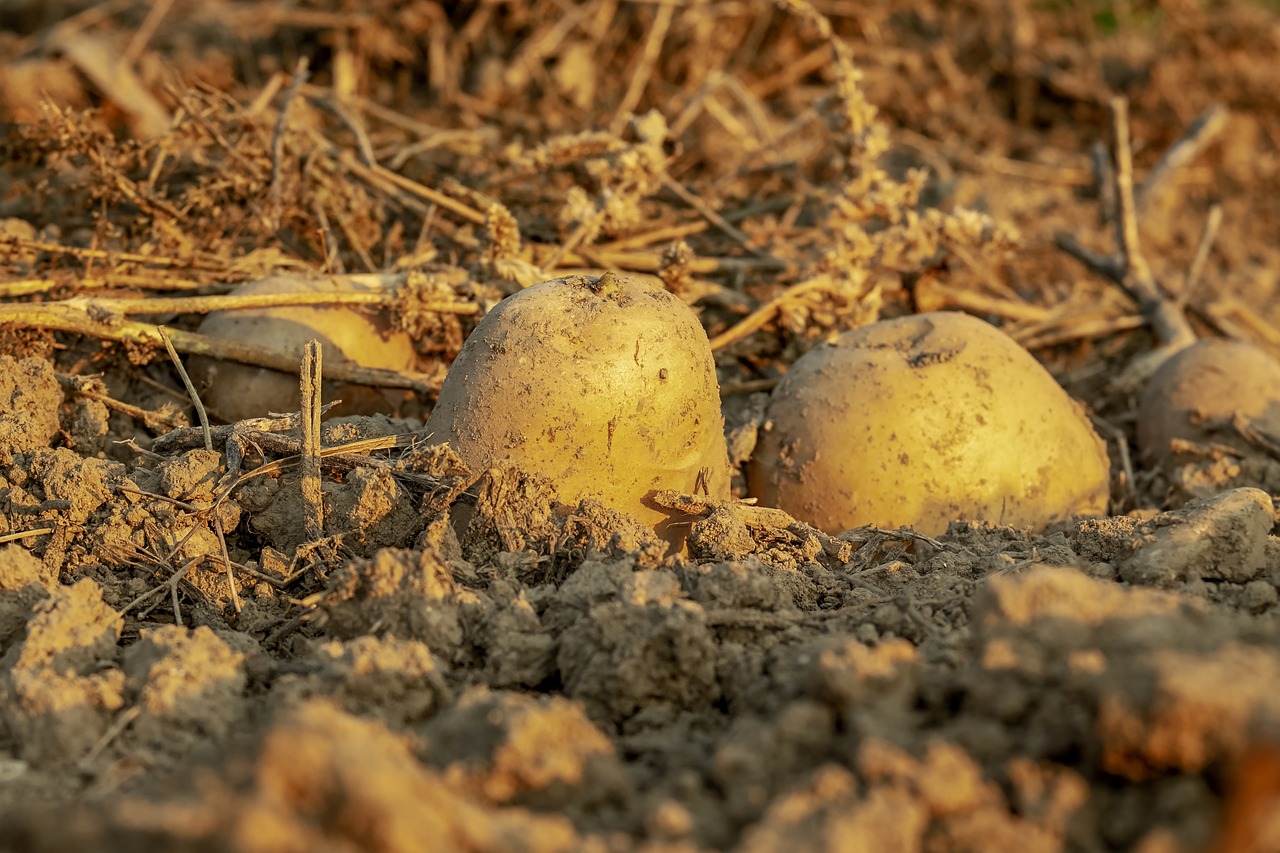
You will also that notice that over time the soil mix in the bed will begin to subside. This is normal. Just keep topping up with organic material to maintain a sufficient depth. A bed using hay/straw bales for the framework will last a couple of crops. Just recycle the hay or straw and use it as mulch or as part of a new no-dig grow bed. Boxes or large pots can be another easy way to no-dig garden as well. Some people grow potatoes in a ring of old tyres, they just keep adding another tyre on top, filling it with more organic material as the spuds develop and grow. When the tops die off, the spuds below are ready to harvest.
Other Materials That Can Be Used in a No-Dig Bed:
- Coconut fibre / coir / comfrey leaves
- Sawdust (mix with manure or leaves, compost or similar)
- Mushroom compost, shredded seaweed
- Rice hulls, Cocoa bean/nut shells, peat
Hint: Mulch around veggie seedlings with seaweed: It adds vital minerals like iodine to the soil mix.
Q. ‘What if I use an old tub with a bottom and the worms can’t get in’? Good question…
A. ‘Well, worm eggs abound in most good soils, so add a couple of handfuls to your mix and once the moisture and conditions are right, they will soon hatch and grow and begin the industrious machinations we all appreciate and treasure.
But if after a few weeks there is still no sign of worms, make sure once again you have adequate drainage (if it’s too moist, they will drown) and then go for a dig around the moist parts of your garden or beg, borrow or buy a few from a neighbor or friend –(you can also purchase worm eggs on-line).
And lastly, be aware that there is a difference between the tiger worms used in worm farms, and the usual garden variety found in most soils.
Well I hope you have enjoyed this story of how I created my no-dig garden. I now have six grow beds in operation – some tin, some wooden-framed. This allows me to leave a grow bed fallow (unplanted) or plant a green-manure crop – but I’ll tell you all about that and also how I achieve non-toxic pest control using companion planting the next time we discuss the fascinating and rewarding adventure we call organic gardening.
The Author:
Smiles from miles
Miles Trench


