Creating Natural Dyes from Your Summer Garden
There is a quiet magic in capturing a season and holding it in a piece of fabric. Long before synthetic pigments lined craft store shelves, our ancestors looked to the fields and hedgerows to color their world. This summer, you can revive this heritage craft using a living palette growing right outside your door.
Transforming garden plants into natural dyes for textiles or handmade paper is a beautiful, grounding process. If you want to start harvesting right now in late spring and early summer, here are the best plants to gather and how to coax the color from them.
The Late-Spring Harvest: Plants to Gather Now
Many dye plants thrive in the warm days of late spring. Some are intentional garden beauties, while others might be hiding in your kitchen scrap bin or weeding pile.
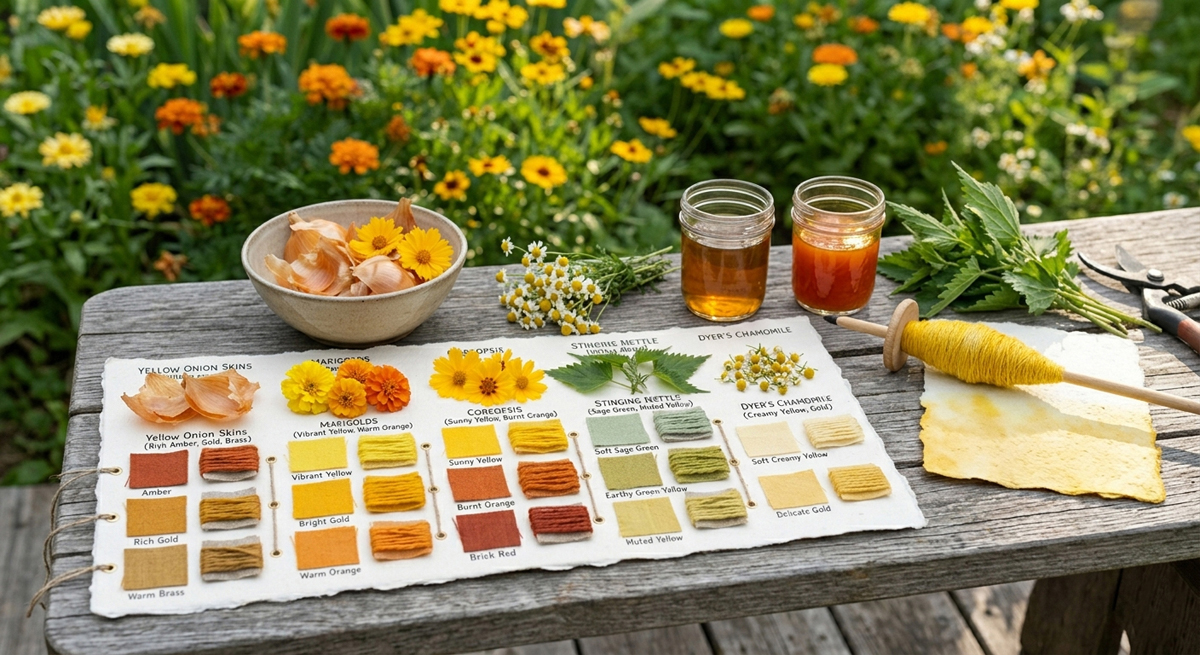
| Plant | Part Used | Resulting Color | Best For |
|---|---|---|---|
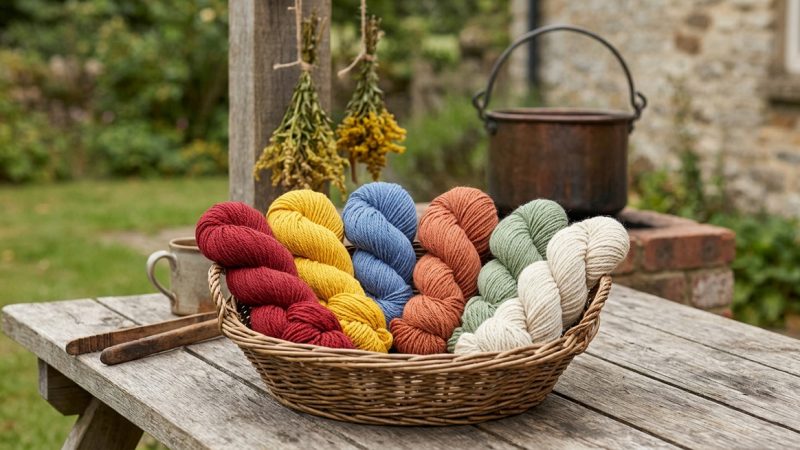
| Marigolds (Tagetes) | Flower heads (fresh or dried) | Vibrant yellows, bright golds, and warm oranges | Cotton, wool, and heavy watercolor papers |
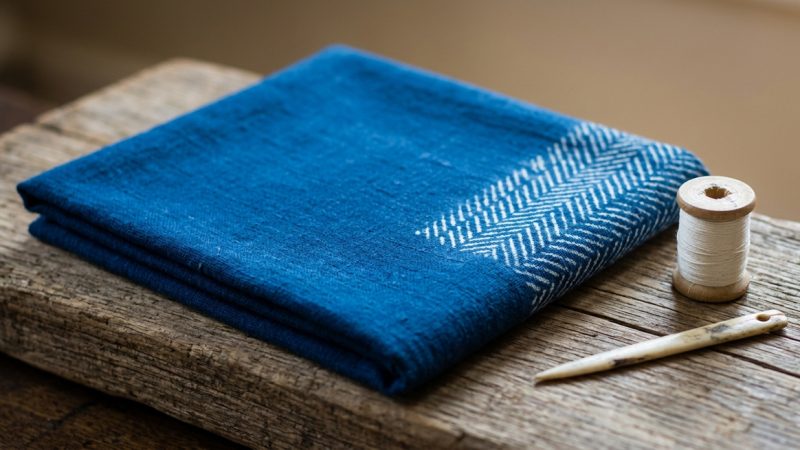
| Yellow Onion (Allium cepa) | Dry, papery outer skins | Rich ambers, deep terracotta, and warm brass | Silk, linen, and fibrous paper pulp |
| Coreopsis (Tickseed) | Whole flower heads | Sunny yellows, burnt oranges, and brick reds | All natural textiles and decorative papers |
| Stinging Nettle (Urtica dioica) | Leaves and stems | Soft, earthy sage greens to muted yellows | Wool, silk, and textured handmade paper |
| Dyer’s Chamomile | Flower heads | Soft, creamy yellows and delicate golds | Light linens and delicate bookbinding paper |
A Note on Kitchen Foraging
Don’t underestimate the power of yellow onion skins. While not a traditional garden flower, saving your kitchen scraps starting now will yield one of the most reliable, potent, and beginner-friendly dyes available.
Step 1: Preparing Your Material (The Secret to Longevity)
Before you dye, you need to prepare your canvas. Natural dyes require a mordant—a mineral compound that binds the plant pigment to the fibers. Without it, your colors will wash out or fade quickly in the sun.
- For Textiles: Wash your natural fabrics (cotton, linen, wool, or silk) thoroughly. Dissolve alum (potassium aluminum sulfate, easily found in the spice aisle or online) in hot water—about 1–2 tablespoons per 100 grams of dry fabric. Submerge the damp fabric and simmer gently for an hour, then let it cool.
- For Paper-Making: If you are blending your own paper pulp, you can add a splash of liquid alum directly to the pulp slurry, or simply dip your finished, dry handmade sheets into a cooled alum-water bath before dyeing them.
Step 2: Brewing the Dye Vat
Extracting color is remarkably like making a giant pot of herbal tea.
- Chop and Fill: Gather your plant material. As a rule of thumb, use a 1:1 ratio by weight of plant material to dry fabric/paper (though onion skins are so potent you need far less). Chop the plants to release the pigment and place them in a large stainless steel pot.
- Simmer: Cover the plants with water and bring the pot to a gentle simmer. Keep it hot but do not boil, as high heat can turn bright yellows and greens into muddy browns. Simmer for about 1 hour.
- Strain: Strain out the plant matter using a cheesecloth or fine mesh sieve, leaving you with a rich, colorful liquid.
Step 3: Transforming Fiber and Paper
Now comes the alchemy.
- For Fabric: Submerge your pre-mordanted, damp fabric into the warm dye vat. Stir gently to ensure even color distribution. Let it simmer on low for 45 to 60 minutes. For deeper shades, turn off the heat and let the fabric steep overnight.
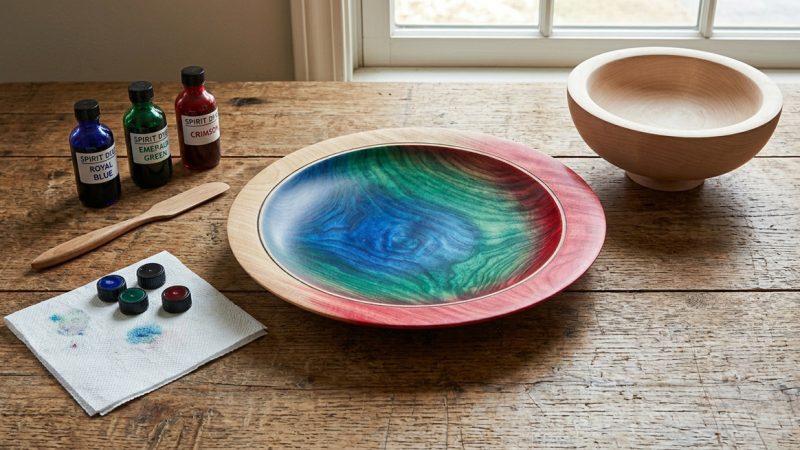
- For Paper-Making: You have two options here. You can use the dye vat as the liquid base for your paper pulp slurry, creating beautifully tinted sheets from scratch. Alternatively, take finished sheets of heavy, textured handmade paper and dip-dye them directly into the vat for a gorgeous, organic watercolor effect.
When finished, rinse your fabric or paper in cool water until it runs clear, then hang it to dry in the shade.
The Joy of Imperfection
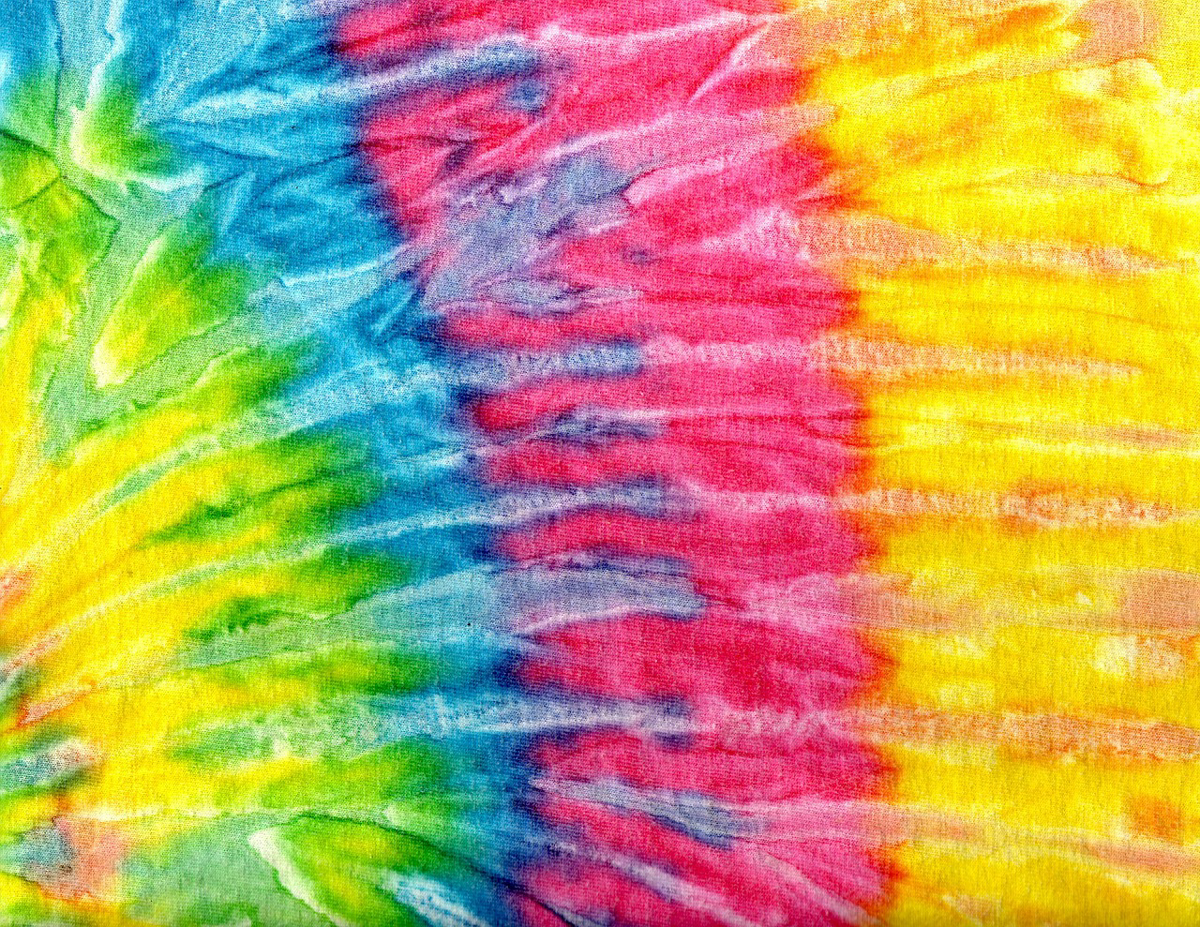
The true beauty of heritage dyeing lies in its unpredictability. The soil your marigolds grew in, the mineral content of your water, and the timing of your harvest will all dictate the final hue. Every batch is a unique fingerprint of your garden in this exact moment of the year.
>> For a complete, year-round master list of dye plants from apple bark to walnut hulls, see our Master Guide to Making Natural Dyes from Plants.
The Pioneer View
In the nineteenth-century household, natural dyeing wasn’t an afternoon hobby—it was a vital expression of self-sufficiency and resourcefulness. Pioneer families couldn’t simply run to a store for a skein of brightly colored yarn or a bottle of synthetic ink. Instead, the homestead kitchen became a center of practical alchemy.
Women carefully saved every scrap of yellow onion skin from the winter larder, gathered the first flush of wild stinging nettle from the fence lines, and tended to patches of marigolds not just for their beauty, but for their utility. They understood the deep satisfaction of working with the rhythm of the seasons, knowing that the bright golds of summer would warm their homes during the grey days of winter.
When we slow down to brew a dye vat today, we are doing more than just coloring fabric or staining paper. We are stepping into that same legacy of mindful living. We are honoring the old ways of looking at the natural world—not as something to be consumed, but as a generous partner that provides everything we need, right from the soil beneath our feet.
What’s Growing in Your Palette?
Which plants are you currently growing in your garden (or saving in your kitchen scraps) that you are most excited to try dyeing with? Whether you are printing custom handmade stationery or dyeing a piece of heirloom linen, leave a comment below and share your summer harvest projects!
The Author:
Pioneerthinking.com: Ingredients for a Simple Life. Insights from a seasoned professional rooted in country living, with 28 years of horticulture expertise and over two decades of practical experience in homesteading, natural beauty and cosmetic creations, natural health, cooking and creative living.
Photo. Gemini