Working with Natural Dyes: Techniques and Recipes
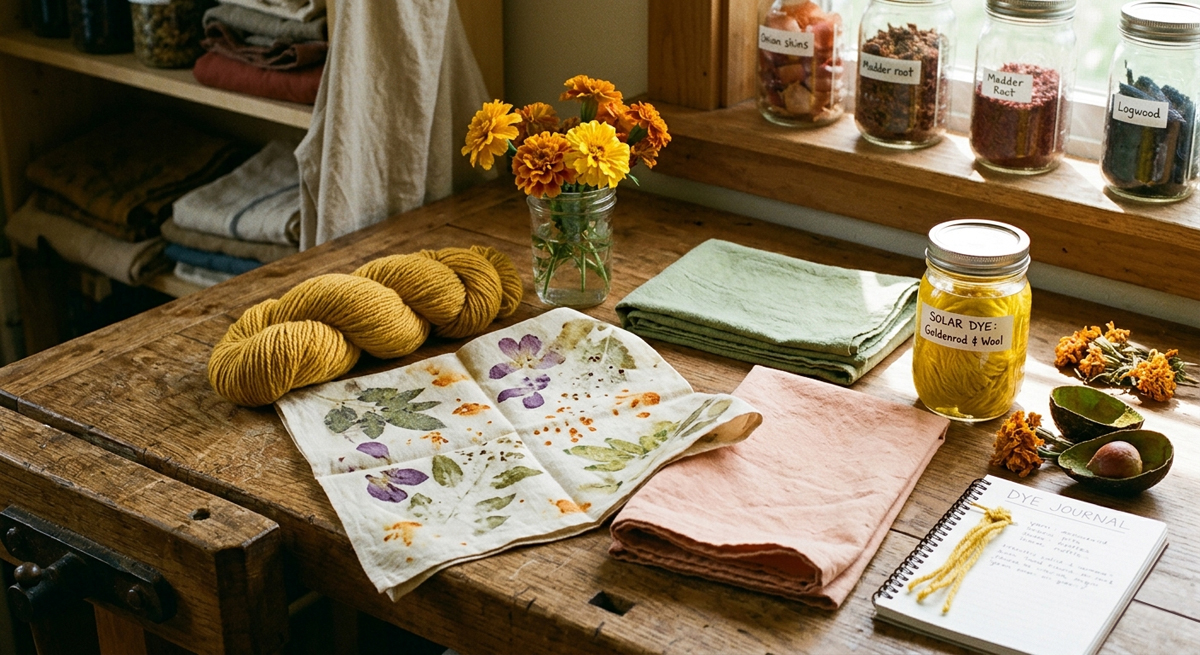
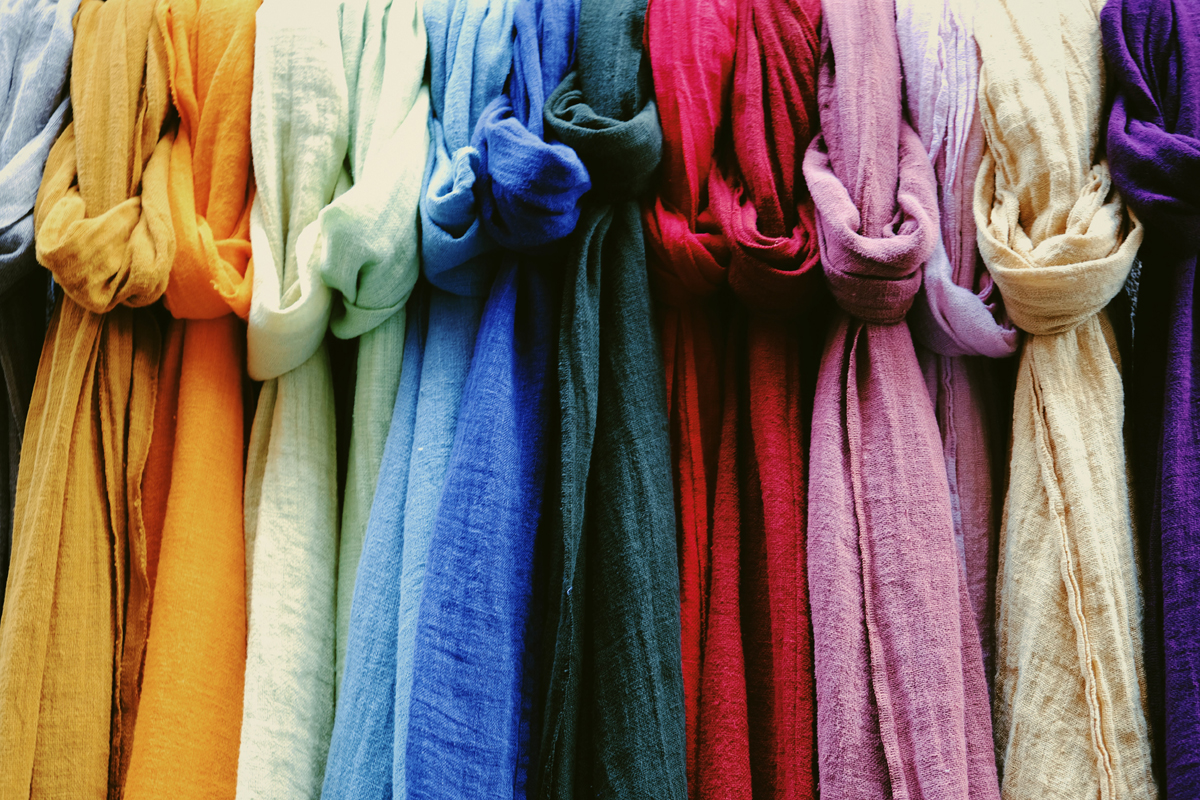
Long before the invention of synthetic pigments, the world was colored by nature. From the brilliant blues of indigo to the warm, earthy yellows of marigolds, natural dyeing is an ancient art form that connects us directly to the environment.
Whether you are looking to live more sustainably, explore textile arts, or simply experiment with the weeds in your backyard, working with natural dyes is a deeply rewarding journey. Here is a comprehensive guide to understanding, preparing, and crafting with nature’s palette.
Understanding Natural Dyes
What Are Natural Dyes and How Do They Work?
Natural dyes are colorants derived from plants, invertebrates, or minerals. Unlike synthetic dyes, which chemically bond to fibers using complex artificial compounds, natural dyes rely on the inherent chemical relationships between organic matter and textile fibers.
Because they are molecularly complex, natural colors are rarely flat. A single plant can contain multiple pigment molecules, giving natural dyes a unique depth, living warmth, and a tendency to change beautifully in different lights.
The Importance of Sustainability
In an era dominated by fast fashion, synthetic dyes pose massive environmental challenges, often dumping toxic heavy metals and chemicals into water systems. Embracing natural dyes encourages a slow-craft philosophy. It promotes:
- Biodegradability: Waste from the dye pot can often be safely composted.
- Foraging and Upcycling: Transforming kitchen scraps (like avocado pits) or invasive weeds into color.
- Mindful Consumption: Developing a deeper appreciation for the time and resources required to create colored textiles.
Sources of Color in Nature
You don’t need an exotic garden to find incredible colors. Nature provides an abundance of dye sources right in your kitchen, grocery store, or backyard:
| Color | Natural Source | Type |
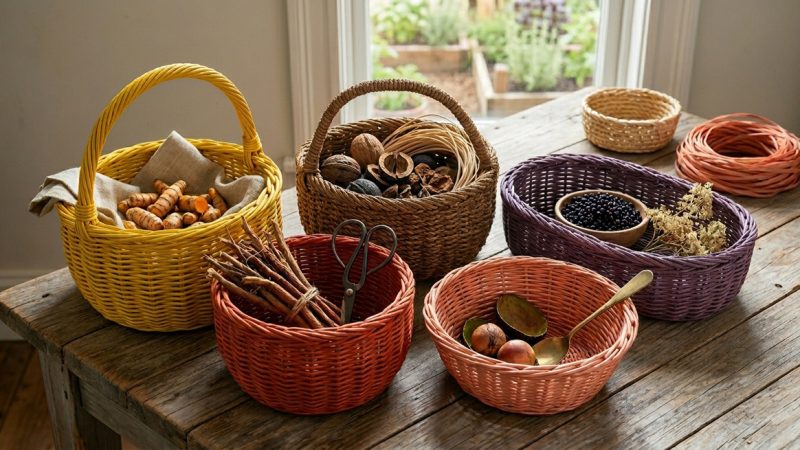
| Pink / Soft Red | Avocado pits and skins, Madder root | Kitchen scrap / Plant root |
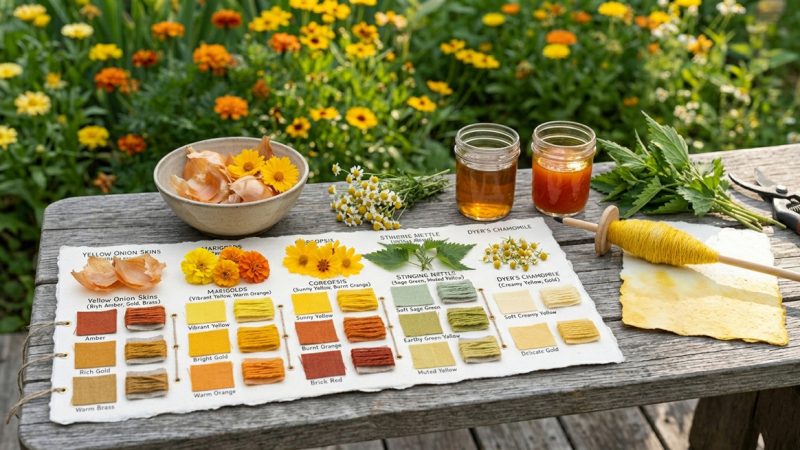
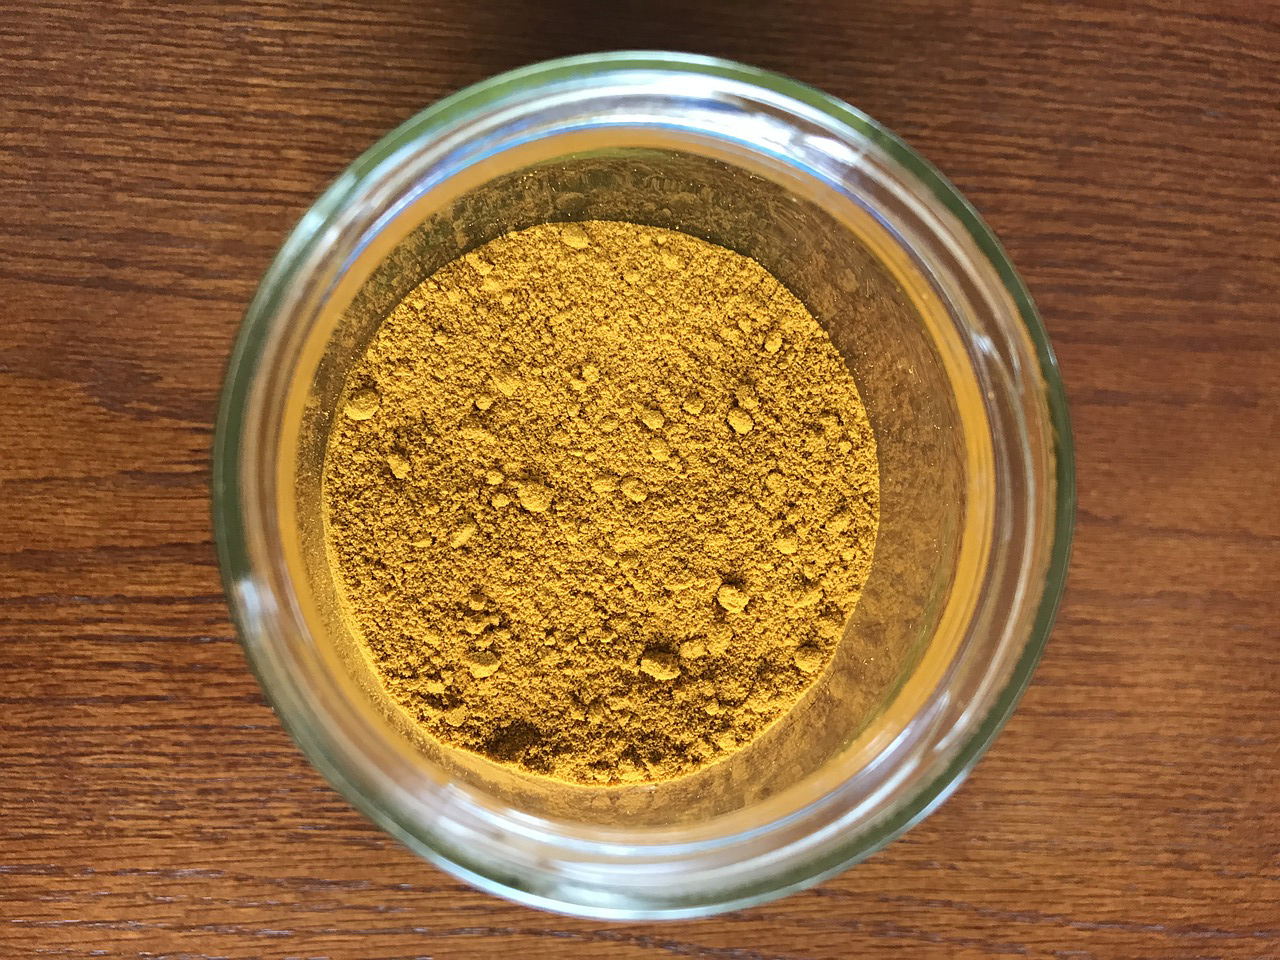
| Yellow / Gold | Turmeric, Marigold petals, Onion skins | Spice / Flower / Kitchen scrap |
| Green | Nettle leaves, Spinach, Artichoke bottoms | Wild plant / Vegetable |
| Blue | Indigo, Woad | Specialized dye plant |
| Purple / Grey | Logwood, Blackberries, Elderberries | Wood / Fruit |
💡 Ready to dive deeper into nature’s color wheel? Explore our comprehensive guide to Natural Dyes for detailed profiles on the best plants, roots, and minerals to jumpstart your palette.
Fabric Preparation Techniques
The secret to successful natural dyeing isn’t actually the dye itself—it’s the preparation. Skip this step, and your color will simply wash down the drain.
Choosing the Right Fabric
Natural dyes have a strong preference for natural fibers. Synthetic fabrics like polyester, nylon, and acrylic will not absorb natural dyes without industrial chemicals. Natural fibers are split into two categories:
- Cellulose Fibers (Plant-based): Cotton, linen, hemp, and bamboo. These require a bit more encouragement (and often tannins) to take up color deeply.
- Protein Fibers (Animal-based): Wool, silk, and alpaca. These are highly receptive to natural dyes and yield the most vibrant results.
Step 1: Scouring (Deep Cleaning)
Even brand-new fabric contains oils, waxes, and manufacturing starches that block dye. Scouring is a heavy-duty washing process.
- For Cotton/Linen: Simmer the fabric in a large pot with water and washing soda (sodium carbonate) for 1–2 hours.
- For Wool/Silk: Gently wash in warm water with a pH-neutral dish soap or specialized wool wash. Avoid rapid temperature changes to prevent wool from felting.
Step 2: Mordanting (The Critical Bond)
What is a mordant? A mordant is a naturally occurring water-soluble metal salt that acts as a bridge between the fabric fiber and the plant pigment. It permanently fixes the dye to the fiber, ensuring light-fastness and wash-fastness.
The most common, non-toxic mordant for beginners is Alum (Potassium aluminum sulfate).
- Weigh your dry fabric. You will need about 10% of the fabric’s weight in Alum.
- Dissolve the Alum in a pot of hot water large enough for your fabric to move freely.
- Submerge the pre-washed, wet fabric into the mordant bath.
- Bring to a gentle simmer for 1 hour, stirring occasionally to ensure even coverage.
- Let it cool, rinse thoroughly, and it is ready for the dye pot!
Dye Extraction Methods
Once your fabric is prepped, it’s time to extract the liquid magic from your plant materials.
[Chop Material] ➔ [Simmer/Soak] ➔ [Strain Clean] ➔ [Add Fabric]
The Standard Extraction Recipe
- Chop and Crush: Cut your plant material (roots, leaves, or skins) into small pieces to expose more surface area. As a rule of thumb, use a 1:1 ratio of plant weight to dry fabric weight for decent color, or 2:1 for vibrant shades.
- The Slow Simmer: Place the material in a large stainless steel pot and cover with water. Bring the water to a gentle simmer ($80^\circ\text{C}$ to $90^\circ\text{C}$). Do not boil hard, as excessive heat can turn vibrant yellows and reds into dull browns. Simmer for 1 to 2 hours until the water is deeply pigmented.
- Strain: Strain out the plant material using a fine mesh sieve or cheesecloth, leaving you with a clean, clear dye liquid.
Keys to Achieving Vibrant Colors
- Time is your friend: Let your plant material soak in water overnight before heating it.
- Mind the pH: Some dyes are highly sensitive to pH. Adding a splash of vinegar (acid) can shift a dull red to a bright pink. Adding a pinch of baking soda (alkaline) can turn a yellow dye into a deep neon orange.
- The Power of Iron: Introducing iron (ferrous sulfate) at the end of your dye process will “sadden” or shift your colors—turning yellows into olive greens, and pinks into beautiful, moody slate greys.
Project Ideas for Natural Dyes
If you are a beginner looking for inspiration, start with small, low-stakes projects before tackling large garments.
1. Kitchen-Scrap Table Linens (Bundle Dyeing)
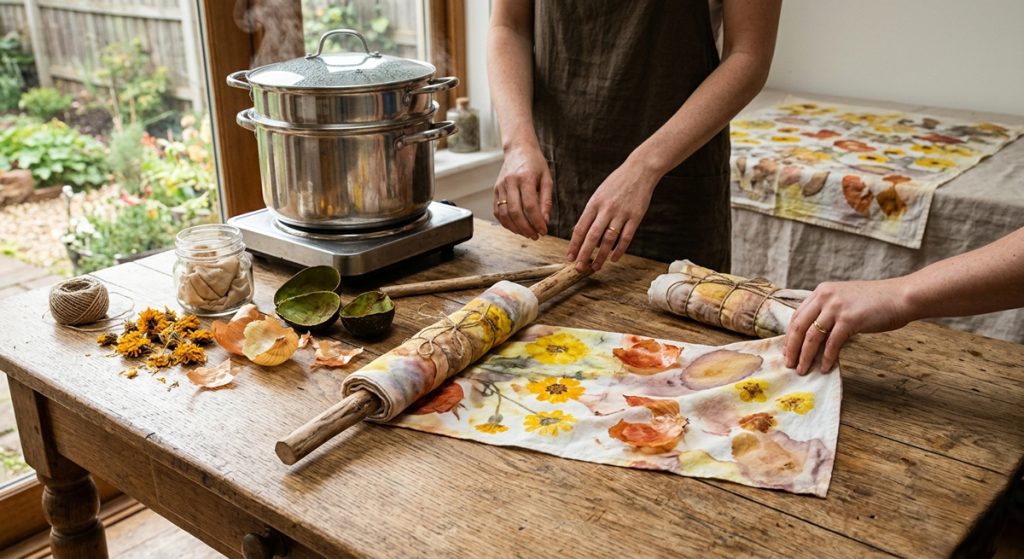
Bundle dyeing (or eco-printing) is a foolproof, beautiful technique that creates abstract, watercolor-like patterns using direct contact with plants.
- How to do it: Lay a mordanted cotton napkin or pillowcase flat. Scatter dried marigolds, onion skins, and avocado skins across the fabric. Roll the fabric tightly around a stick or tie it into a tight bundle with string. Steam the bundle over a pot of boiling water for 1 hour. Unwrap to reveal a stunning, unique print!
2. The Golden Solar Dye Jar
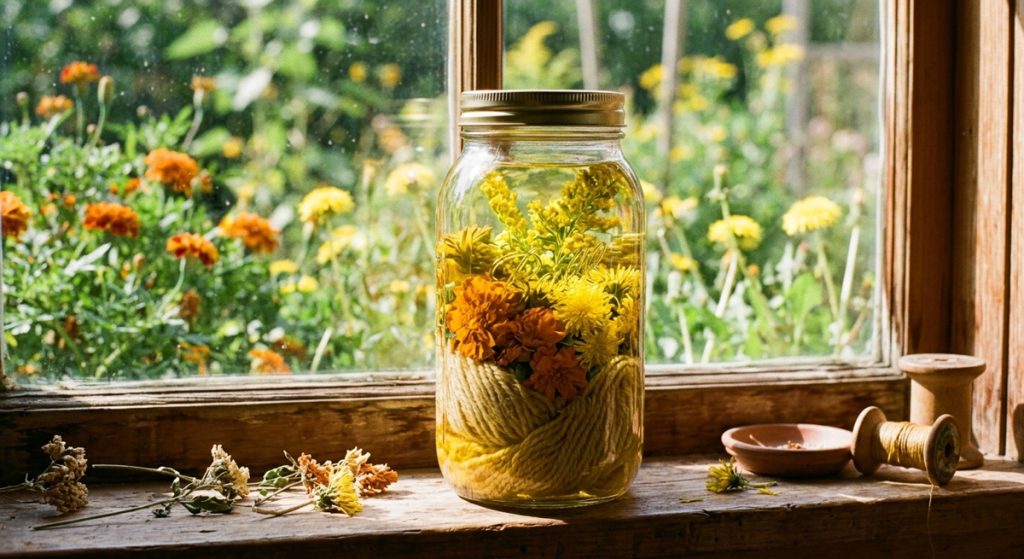
For a completely hands-off, magical crafting experience, try solar dyeing.
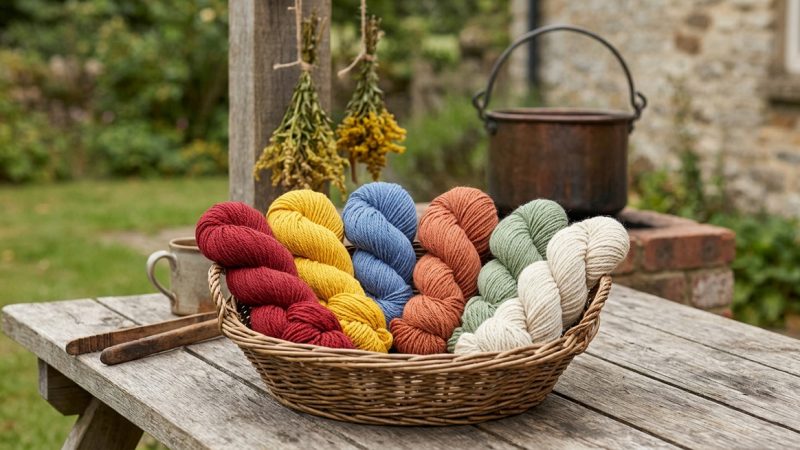
- How to do it: Place your mordanted fiber (like a skein of wool yarn) into a large glass mason jar. Stuff the jar with fresh marigolds, goldenrod, or dandelions from the garden. Fill the jar with water, seal the lid, and place it on a sunny windowsill for 2 to 4 weeks. The sun will slowly extract the dye and transfer it perfectly to the yarn over time.
🌻 Grow Your Own Palette! Why buy dye ingredients when you can harvest them steps from your door? Check out our tutorial on Creating Natural Dyes From Your Summer Garden to learn how to plant, harvest, and craft using seasonal backyard blooms.
Tips for Beginners
- Keep a Dye Journal: Document your process! Paste a small snippet of your dyed fabric into a notebook and write down the plant used, the mordant, the ratio, and the soaking time. Natural dyeing is a science experiment, and you’ll want to remember how you achieved your favorite colors.
- Embrace Imperfection: Natural dyeing is an exercise in letting go of rigid control. Variances in soil, season, and water quality mean that no two dye pots will ever be exactly alike. Embrace the beautiful, organic variations that make your textile truly one of a kind.
The Author:
Pioneerthinking.com: Ingredients for a Simple Life. Insights from a seasoned professional rooted in country living, with 28 years of horticulture expertise and over two decades of practical experience in homesteading, natural dyes, natural beauty and cosmetic creations, natural health, cooking and creative living.
Photo. Gemini